
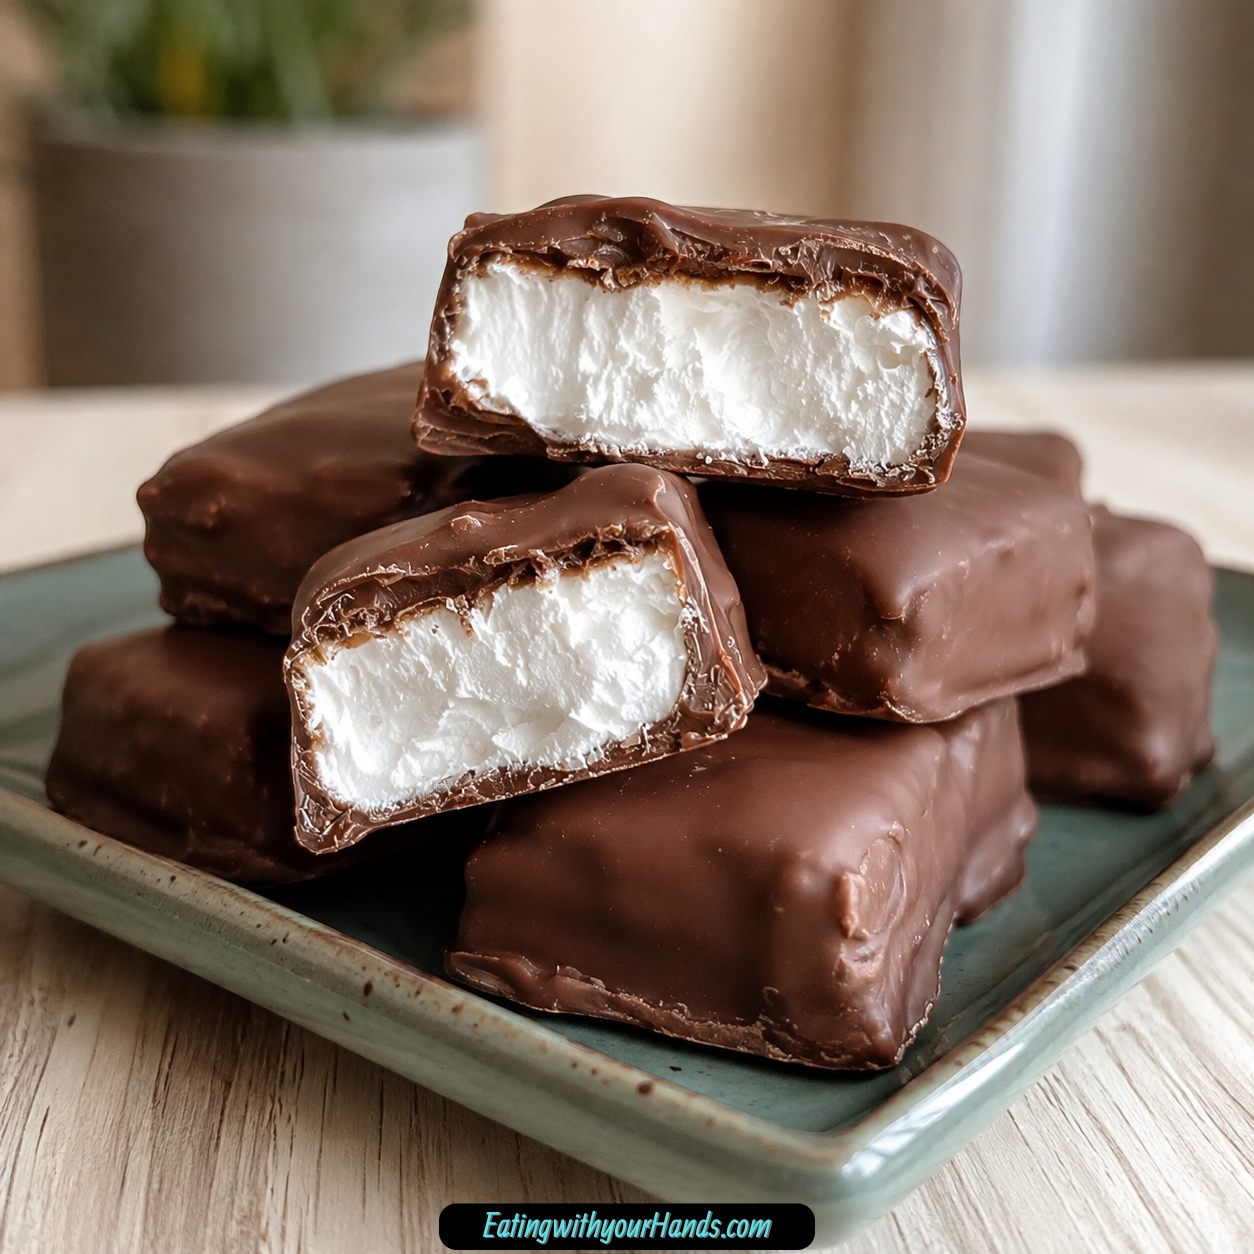
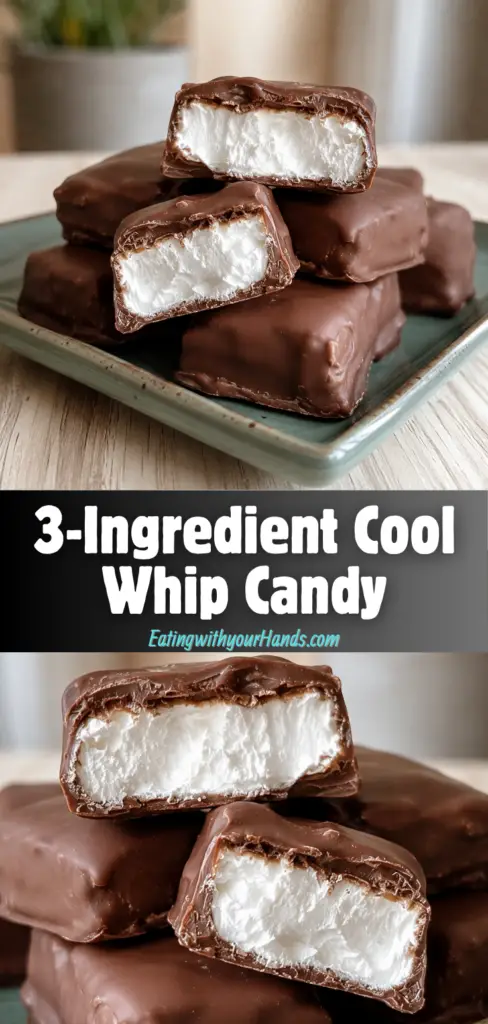
3-Ingredient Cool Whip Candy is the kind of sweet little chocolate treat that feels almost too easy to be this good. It turns milk chocolate chips, thawed Cool Whip, and vegetable shortening into soft, creamy, chilled candy squares that taste rich, nostalgic, and wonderfully simple.
I love recipes that feel like they came from a handwritten card tucked inside an old kitchen drawer. This candy has that cozy, family-gathering feeling, the kind of treat that appears after dinner, disappears quickly, and somehow becomes part of everyone’s memory.
There is no complicated candy thermometer moment here. You melt chocolate with shortening, fold in Cool Whip, spread the mixture into a pan, chill it until set, and slice it into squares or rectangles.
That simplicity is exactly what makes it so easy to love. It is quick enough for a weeknight craving, sweet enough for a holiday tray, and fun enough that kids can help with the mixing, spreading, and waiting.
The result is a decadent chocolate candy with a light, fluffy texture from the Cool Whip. It is rich without feeling difficult, and it can be customized with different chocolates, toppings, mix-ins, or festive flavors.
Table of Contents
- Why You’ll Love This 3-Ingredient Cool Whip Candy
- Recipe Details
- Ingredients
- Optional Swaps, Variations, Add-Ins, and Serving Ideas
- Why This 3-Ingredient Cool Whip Candy Works
- Directions
- Step 1: Gather the Ingredients
- Step 2: Prepare Your Tools
- Step 3: Soften the Cool Whip
- Step 4: Add Chocolate Chips to the Bowl
- Step 5: Add the Vegetable Shortening
- Step 6: Melt in the Microwave
- Step 7: Avoid Overheating the Chocolate
- Step 8: Use a Double Boiler if Preferred
- Step 9: Begin Adding the Cool Whip
- Step 10: Fold Carefully
- Step 11: Mix Until Smooth
- Step 12: Transfer to the Pan
- Step 13: Smooth the Top
- Step 14: Cover the Pan
- Step 15: Refrigerate Until Set
- Step 16: Check the Candy
- Step 17: Lift From the Pan
- Step 18: Slice Into Pieces
- Step 19: Add Optional Finishes
- Step 20: Serve and Enjoy
- Serving Ideas
- Storage
- Reheating
- Freezing
- Make-Ahead
- Helpful Notes for Best Results
- Variations
- Dark Chocolate Cool Whip Candy
- White Chocolate Cool Whip Candy
- Mint Chocolate Cool Whip Candy
- Caramel Chocolate Cool Whip Candy
- Sprinkle Party Candy
- Nut Crunch Candy
- Greek Yogurt Cool Whip Candy
- Chocolate Cool Whip Candy
- Vanilla Cool Whip Candy
- Dairy-Free Cool Whip Candy
- S’mores Cool Whip Candy
- Salted Chocolate Cool Whip Candy
- Troubleshooting
- Frequently Asked Questions
- Why This Recipe Works So Well
- Final Thoughts
- 3-Ingredient Cool Whip Candy
Why You’ll Love This 3-Ingredient Cool Whip Candy
This candy is quick and easy to prepare. The hands-on prep takes just 15 minutes, which makes it perfect when you want a sweet treat without a long project.
It uses only three main ingredients. Milk chocolate chips, Cool Whip, and vegetable shortening keep the recipe simple, budget-friendly, and easy to remember.
It is perfect for family fun. Kids can help mix, fold, spread, and sprinkle toppings if you decide to add them.
It is freezer-friendly. You can make it ahead for parties, holidays, gatherings, or sweet cravings later.
It is versatile. Different chocolate chips, flavored Cool Whip, peppermint extract, sprinkles, nuts, powdered sugar, berries, or crushed graham crackers can all give it a new twist.
It is a decadent chocolate treat without the fuss. You get sweet, creamy candy without complicated steps or special equipment.
Recipe Details
This recipe uses 6 cups milk chocolate chips, divided. The instructions clearly use 3 cups of the chocolate chips with the vegetable shortening to create the melted chocolate base.
The candy also uses 8 ounces thawed Cool Whip. The Cool Whip should be completely thawed so it folds smoothly into the melted chocolate without creating clumps.
The third main ingredient is 1 ½ tablespoons vegetable shortening. It helps the chocolate melt smoothly and gives the candy a nice shine.
An 8×8-inch baking pan works great for this recipe. Lining the pan with parchment paper makes the chilled candy easier to lift out and slice.
The chocolate can be melted in the microwave in 30-second intervals, stirring between each interval until smooth. A double boiler can also be used.
After mixing, the candy chills in the refrigerator for at least 2 hours, or until set. Once firm, it can be sliced into squares or rectangles.
The candy can be stored in an airtight container in the refrigerator for about a week. It can also be frozen for up to 3 months in a freezer-safe container with parchment paper between layers.
Ingredients
Chocolate Base
6 cups milk chocolate chips, divided
1 ½ tablespoons vegetable shortening
Creamy Filling
8 oz Cool Whip, thawed
Ingredient Notes
Milk chocolate chips create the sweet chocolate flavor of this candy. Semi-sweet chocolate can be used for a classic taste if preferred.
Dark chocolate chips can be used for a richer flavor. White chocolate chips can be used for a sweeter twist.
Flavored chocolate chips, such as mint or caramel, can also be used. Each type gives the candy a different personality.
Cool Whip should be fully thawed before mixing. If it is still frozen or too firm, the candy can become clumpy.
Vegetable shortening helps the chocolate melt smoothly. It also gives the finished candy a nice shine.
Coconut oil or unsalted butter can be used instead of vegetable shortening. The texture and flavor may change slightly, but the candy will still be delicious.
Optional Swaps, Variations, Add-Ins, and Serving Ideas
Dark Chocolate Cool Whip Candy
Use dark chocolate chips for a richer flavor. This makes the candy taste deeper and less sweet than the milk chocolate version.
Dark chocolate is a good option when you want the candy to feel a little more grown-up. The Cool Whip still keeps the texture soft and creamy.
White Chocolate Cool Whip Candy
Use white chocolate chips for a sweeter twist. This creates a lighter-looking candy with a very sweet flavor.
White chocolate makes the candy feel festive and fun. It also works well with sprinkles or a drizzle of melted chocolate.
Peppermint Cool Whip Candy
Add a teaspoon of peppermint extract for a festive holiday flavor. This gives the candy a cool, minty finish.
Peppermint works especially well with chocolate. It makes the candy feel ready for holiday trays and winter gatherings.
Nutty Cool Whip Candy
Mix in crushed nuts for added texture. The nuts bring crunch to the soft chocolate candy.
Use this variation when you want a little contrast. The candy will feel richer and more textured.
Sprinkle Cool Whip Candy
Add sprinkles for color and fun. This is a great choice for birthdays, holidays, or kid-friendly dessert trays.
Sprinkles make the candy look cheerful. They also make each piece feel playful.
Greek Yogurt Lightened Version
Substitute half the Cool Whip with Greek yogurt for a lighter version. The texture and flavor will change.
This variation gives the candy a slightly different tang. It still keeps the chocolate base at the center.
Flavored Cool Whip Candy
Use flavored Cool Whip, such as chocolate or vanilla, for a unique taste. This changes the candy without adding many steps.
Chocolate Cool Whip can make the flavor even more chocolatey. Vanilla Cool Whip can make it softer and sweeter.
Dairy-Free Direction
Use dairy-free chocolate chips and non-dairy whipped topping. This creates a dairy-free option.
The texture may vary depending on the products used. Make sure the whipped topping is fully thawed before mixing.
Nut Butter Twist
Experiment with different nut butters instead of shortening for added flavor. This changes the texture and taste.
Nut butter gives the candy a richer, nuttier note. Use this option when you want more depth.
S’mores Cool Whip Candy
Top the candy with crushed graham crackers for a s’mores twist. The graham crackers add a sweet crunch.
This is a fun variation for parties or family movie nights. It gives the candy a different texture and a nostalgic flavor.
Why This 3-Ingredient Cool Whip Candy Works
This candy works because melted chocolate and Cool Whip create a soft, creamy texture after chilling. The chocolate gives structure, while the Cool Whip lightens the mixture.
Vegetable shortening helps the chocolate melt into a smoother base. It also gives the finished candy a glossy look.
Chilling is the key step. The candy needs at least 2 hours in the refrigerator so it can firm up enough to slice.
Parchment paper makes removal easier. Once the candy sets, the parchment helps lift the whole slab from the pan.
The recipe also works because it is flexible. Different chocolates, toppings, extracts, mix-ins, and serving ideas can make the same simple candy feel new every time.
It is especially useful for holidays and gatherings because it can be made ahead. Stored properly, it keeps well in the refrigerator or freezer.
Directions
Step 1: Gather the Ingredients
Gather the milk chocolate chips, thawed Cool Whip, and vegetable shortening. Having all three ingredients ready makes the process smooth.
Make sure the Cool Whip is fully thawed before you begin. Soft, thawed Cool Whip folds into the chocolate much more easily than cold or partially frozen topping.
Set everything on your counter before melting the chocolate. This keeps the candy-making process calm and organized.
Step 2: Prepare Your Tools
Grab a mixing bowl, a spatula, and an 8×8-inch baking pan. The pan size works well for creating sliceable candy pieces.
Line the baking pan with parchment paper. This makes it easier to lift the chilled candy out later.
Press the parchment into the corners as neatly as you can. It does not have to be perfect, but the candy will release more easily if the paper sits flat.
Step 3: Soften the Cool Whip
Check the Cool Whip before mixing. It should be thawed and soft enough to fold.
If it is still too cold or firm, let it sit a little longer. Fully thawed Cool Whip helps prevent lumps.
This step matters because the texture of the candy depends on smooth mixing. No one wants clumpy candy.
Step 4: Add Chocolate Chips to the Bowl
Add 3 cups of the milk chocolate chips to your mixing bowl. The ingredient list uses 6 cups divided, and this first portion is used for the melted chocolate base.
Set the remaining chocolate chips aside. The instructions do not give a required step for the remaining portion, so keep them reserved unless using them for an optional decorative melted chocolate finish.
Use a bowl that gives you enough room to stir. Melted chocolate needs space so it does not spill over the sides.
Step 5: Add the Vegetable Shortening
Add 1 ½ tablespoons vegetable shortening to the chocolate chips. This helps the chocolate melt smoothly.
The shortening also gives the candy a nice shine. It makes the melted chocolate easier to stir and fold.
Make sure the shortening is in the bowl before heating. This allows it to melt with the chocolate.
Step 6: Melt in the Microwave
Microwave the chocolate chips and shortening in 30-second intervals. Stir between each interval.
Do not try to melt the chocolate all at once. Short intervals help prevent overheating.
Continue microwaving and stirring until the chocolate is melted and smooth. It should look glossy and luscious.
Step 7: Avoid Overheating the Chocolate
Be careful not to overheat the chocolate. Chocolate can become thick or difficult to work with if heated too aggressively.
Stir well after each 30-second interval. Sometimes the chips keep their shape but melt as you stir.
If the chocolate looks a little thick, keep stirring gently. It may smooth out as the shortening fully blends in.
Step 8: Use a Double Boiler if Preferred
If you have a double boiler, you can use it instead of the microwave. Melt the chocolate chips and shortening together slowly.
Stir until everything is fully melted and glossy. This method gives you more gentle heat.
The goal is the same either way. You want a smooth chocolate base before adding the Cool Whip.
Step 9: Begin Adding the Cool Whip
Once the chocolate is melted and smooth, add the thawed Cool Whip. Add it gently into the chocolate mixture.
The chocolate will begin changing texture as the Cool Whip folds in. It should start looking lighter and softer.
Use a spatula for this step. A spatula makes it easier to fold rather than stir too harshly.
Step 10: Fold Carefully
Gently fold the Cool Whip into the melted chocolate. Move slowly so the mixture stays light.
The goal is to keep that fluffy texture. Do not beat or overmix the candy base.
Fold from the bottom of the bowl up through the center. Turn the bowl as needed until the mixture begins coming together.
Step 11: Mix Until Smooth
Continue folding until the chocolate and Cool Whip are well combined. There should be no visible lumps.
The mixture should look like a swirled chocolate mousse at first. Keep folding gently until the color becomes even.
This is one of the most satisfying parts of the recipe. The chocolate turns soft, creamy, and beautifully fluffy.
Step 12: Transfer to the Pan
Spoon the chocolate Cool Whip mixture into the prepared baking pan. Use the spatula to scrape the bowl well.
Spread the mixture all the way to the edges. This helps the candy set in an even layer.
Do not worry if the surface is not perfect. It will still chill beautifully.
Step 13: Smooth the Top
Use the spatula to smooth the top of the candy. Work gently.
An even surface makes slicing easier later. It also helps the pieces look neater.
If the top has little swirls, that is fine. Homemade candy does not need to look perfectly flat.
Step 14: Cover the Pan
Cover the pan with plastic wrap. This protects the candy while it chills.
Try not to press the plastic wrap directly into the surface if you want a smoother top. Cover the pan securely.
The candy needs time in the refrigerator to firm up. Covering also helps keep it fresh.
Step 15: Refrigerate Until Set
Place the covered pan in the refrigerator. Chill for at least 2 hours, or until set.
This waiting time is important. The candy needs to become firm enough to cut.
Do not rush the chill. The anticipation is part of the fun, and the texture will be better if the candy has time to set.
Step 16: Check the Candy
After at least 2 hours, check the candy. It should feel firm enough to slice.
If the center still feels too soft, refrigerate longer. The exact setting time can vary.
A fully set candy slab will lift and cut more cleanly. Patience makes serving easier.
Step 17: Lift From the Pan
Remove the candy from the refrigerator and let it sit for just a minute before slicing. If the pan was lined with parchment paper, lift the candy out carefully.
Use the parchment to help pull it from the pan. Move slowly so the slab does not crack.
Place the candy on a cutting board if desired. This makes slicing easier.
Step 18: Slice Into Pieces
Use a sharp knife to cut the candy into squares or rectangles. Choose whichever shape you prefer.
Wipe the knife between cuts if needed. This keeps the edges cleaner.
Small bite-sized pieces are great for parties. Larger rectangles work well for family dessert plates.
Step 19: Add Optional Finishes
If you want a fancy touch, sprinkle sea salt over the top. A little salt can balance the sweetness.
You can also drizzle a little melted chocolate on top before serving. This makes the candy look more decorative.
Powdered sugar can also be sprinkled over the pieces for extra sweetness. Keep the finish simple or dress it up for a special occasion.
Step 20: Serve and Enjoy
Arrange the candy on a platter or plate. Serve chilled for the best texture.
Fresh berries or a scoop of ice cream can be served on the side for an extra treat. The candy also works beautifully on its own.
Watch how quickly the little pieces disappear. This is the kind of simple chocolate sweet that people keep reaching for.
Serving Ideas
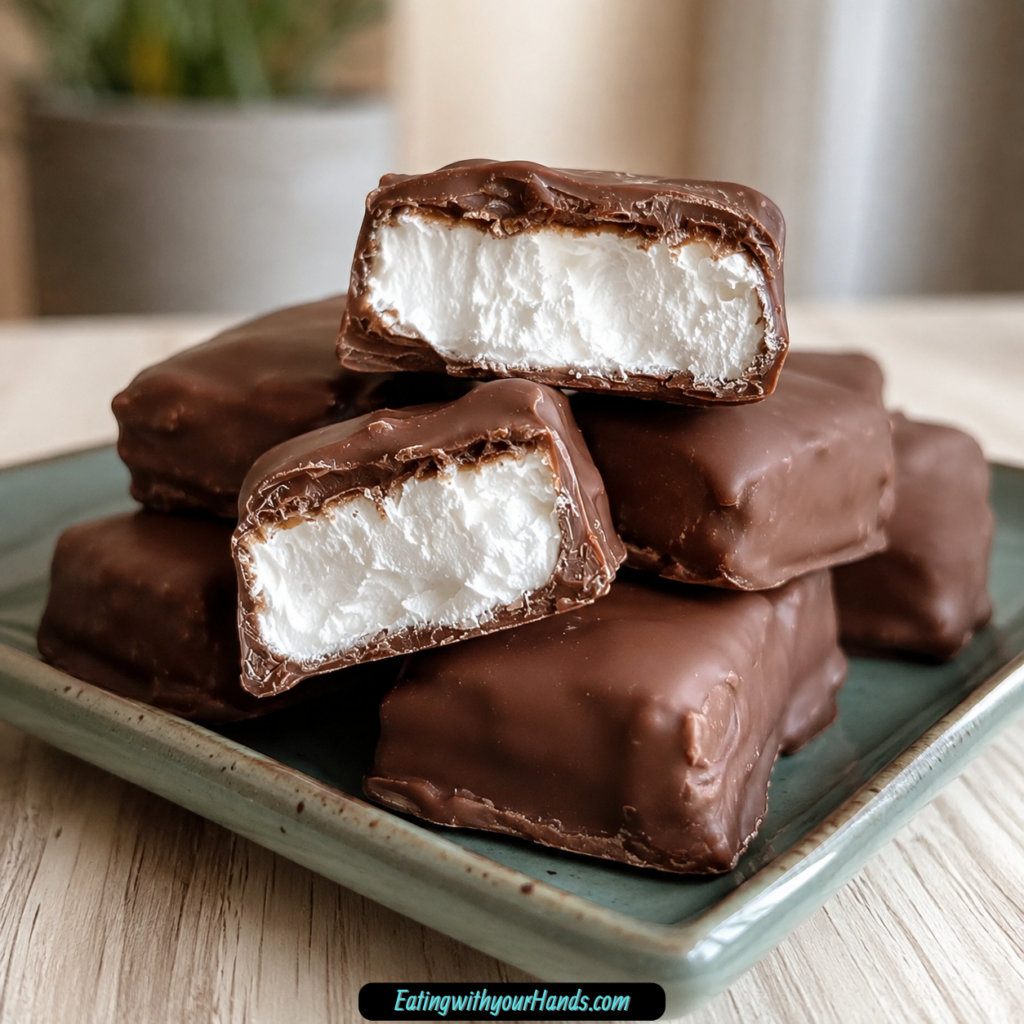
Serve 3-Ingredient Cool Whip Candy chilled. The texture is best when the candy is firm, creamy, and cool.
For a simple presentation, place the pieces on a pretty platter. This makes them feel party-ready without extra effort.
Fresh berries can be served beside the candy. Their brightness balances the chocolate.
A scoop of ice cream makes the candy feel more like a full dessert. It is a fun option for family nights.
Powdered sugar can be sprinkled over the top for added sweetness. Sea salt or melted chocolate drizzle can also make the pieces look special.
For parties, cut the candy into small bite-sized pieces. Guests can grab a piece easily without making a mess.
Storage
Store the candy in an airtight container in the refrigerator. It should last about a week.
Keep the pieces chilled until serving. This helps them hold their texture.
If stacking the candy, place parchment paper between layers. This helps prevent sticking.
The candy may disappear faster than expected. It is one of those treats that tends to get discovered quickly.
Reheating
This candy does not need reheating. It is meant to be served chilled.
Do not warm the finished candy, because it can soften too much. The creamy texture depends on staying cool.
If frozen, thaw gently before serving. Do not use heat to thaw it.
Let frozen pieces thaw in the refrigerator for a few hours or on the counter for about 30 minutes. Then enjoy.
Freezing
This candy freezes well. Cut it into pieces before freezing.
Place the pieces in a freezer-safe container. Separate layers with parchment paper so they do not stick together.
Freeze for up to 3 months. This makes the candy easy to make ahead for parties or special occasions.
When ready to serve, thaw in the refrigerator for a few hours or on the counter for about 30 minutes. Serve once softened enough to enjoy.
Make-Ahead
3-Ingredient Cool Whip Candy is a great make-ahead treat. It needs at least 2 hours to chill, so preparing it ahead is helpful.
You can make it the day before a gathering and store it in the refrigerator. Keep it covered until serving.
For longer make-ahead storage, freeze the pieces for up to 3 months. Use parchment paper between layers to prevent sticking.
This makes it convenient for holidays, parties, movie nights, or anytime you want a sweet chocolate bite ready to go. A little planning gives you dessert with almost no last-minute work.
Helpful Notes for Best Results
Make sure the Cool Whip is fully thawed before mixing. This creates the smoothest texture.
Melt the chocolate slowly. Microwave in 30-second intervals and stir between each one.
Do not overheat the chocolate. Gentle melting keeps it glossy and smooth.
Line the pan with parchment paper. This makes removal much easier after chilling.
Chill for at least 2 hours. The candy needs time to set before slicing.
For extra sweetness, add a tablespoon of powdered sugar to the chocolate mixture. This changes the sweetness level.
Use dairy-free chocolate chips and non-dairy whipped topping for a dairy-free option. The texture may vary.
Try nut butters instead of shortening for added flavor. The final candy may taste richer and nuttier.
Top with crushed graham crackers for a s’mores twist. This adds crunch and a fun flavor.
Check chocolate chip labels if you need the recipe to be gluten-free. The candy is naturally gluten-free as long as the chocolate chips used are gluten-free.
Variations
Dark Chocolate Cool Whip Candy
Use dark chocolate chips instead of milk chocolate chips. This gives the candy a richer flavor.
The result will taste less sweet and more intense. It is a nice option for dark chocolate lovers.
White Chocolate Cool Whip Candy
Use white chocolate chips for a sweeter twist. The candy will taste softer and more sugary.
White chocolate also looks pretty with sprinkles. It makes the treat feel festive.
Mint Chocolate Cool Whip Candy
Use flavored chocolate chips like mint, or add a teaspoon of peppermint extract. This creates a holiday-style flavor.
The peppermint makes the candy cool and refreshing. It is a great option for festive gatherings.
Caramel Chocolate Cool Whip Candy
Use flavored chocolate chips like caramel for a unique twist. This gives the candy a sweeter, deeper flavor.
The texture stays soft and creamy. The flavor becomes more dessert-like.
Sprinkle Party Candy
Mix in sprinkles for fun. This makes the candy colorful and cheerful.
Sprinkles are especially nice for kids, birthdays, and celebrations. They make the candy feel playful.
Nut Crunch Candy
Mix in crushed nuts for texture. The crunch contrasts with the creamy chocolate base.
Use this variation when you want a little more bite. It makes the candy feel more substantial.
Greek Yogurt Cool Whip Candy
Substitute half the Cool Whip with Greek yogurt for a lighter version. The flavor will become slightly tangier.
The texture may also change. Chill well before slicing.
Chocolate Cool Whip Candy
Use chocolate-flavored Cool Whip for a unique taste. This makes the candy extra chocolatey.
The color may also deepen. It is a simple way to change the flavor without adding more steps.
Vanilla Cool Whip Candy
Use vanilla-flavored Cool Whip. This gives the candy a sweeter, softer flavor.
It works well with milk chocolate or white chocolate. The final taste will depend on the chocolate used.
Dairy-Free Cool Whip Candy
Use dairy-free chocolate chips and non-dairy whipped topping. This creates a dairy-free option.
Make sure all ingredients fit your needs. The candy may set differently depending on the products.
S’mores Cool Whip Candy
Top the candy with crushed graham crackers. This gives it a s’mores-style twist.
The graham crackers add crunch and a familiar sweet flavor. Serve chilled.
Salted Chocolate Cool Whip Candy
Sprinkle sea salt on top before serving. This balances the sweetness.
Use only a light sprinkle. The salt should lift the chocolate flavor, not overpower it.
Troubleshooting
Why Is My Candy Clumpy?
The Cool Whip may not have been fully thawed. Make sure it is soft before folding it into the chocolate.
The chocolate may also have cooled too much before mixing. Fold gently while the chocolate is still smooth.
Why Did My Chocolate Get Thick?
The chocolate may have been overheated. Melt in 30-second intervals and stir between each one.
Vegetable shortening helps smooth the chocolate. Keep stirring before adding more heat.
Why Is My Candy Too Soft?
It may not have chilled long enough. Refrigerate for at least 2 hours or until set.
If the pieces soften after cutting, return them to the refrigerator. This candy is best served chilled.
Why Is the Texture Not Smooth?
The mixture may not have been folded long enough, or the Cool Whip may have been too cold. Fold until no lumps remain.
Use a spatula and gentle motions. The goal is smooth, fluffy chocolate.
Why Is It Hard to Remove From the Pan?
The pan may not have been lined with parchment paper. Parchment makes removal much easier.
If it sticks, loosen gently around the edges. Next time, line the pan before spreading the mixture.
Frequently Asked Questions
Can I Freeze 3-Ingredient Cool Whip Candy?
Yes, this candy can be frozen. Cut it into pieces and store it in a freezer-safe container.
Layer the pieces with parchment paper to prevent sticking. It will stay fresh for about 3 months in the freezer.
How Do I Thaw Frozen Cool Whip Candy?
Let the candy thaw in the refrigerator for a few hours. You can also thaw it on the counter for about 30 minutes.
Do not heat it to thaw. The candy is meant to stay cool and creamy.
What Can I Use Instead of Vegetable Shortening?
Coconut oil or unsalted butter can be used instead of vegetable shortening. The texture and flavor may change slightly.
The candy will still be delicious. Choose the substitute that fits your kitchen.
Can I Use Different Types of Chocolate Chips?
Yes, you can use dark chocolate, white chocolate, or flavored chips like mint or caramel. Each one gives the candy a unique twist.
Semi-sweet chocolate can also be used for a classic taste. Experiment with the flavor you like best.
How Long Will the Candy Last in the Fridge?
Stored in an airtight container, this candy will last about a week in the refrigerator. Keep it chilled.
It may not last that long once your family tastes it. The small pieces are easy to grab.
Is This Recipe Gluten-Free?
Yes, the recipe is naturally gluten-free as long as the chocolate chips you use are gluten-free. Always check labels to be sure.
This makes the candy easy to share when gluten-free needs matter. Simple ingredients make checking easier.
Can I Add Toppings?
Yes, sea salt, melted chocolate drizzle, powdered sugar, crushed graham crackers, nuts, or sprinkles can be used. Each topping changes the look and flavor.
Add toppings based on the occasion. Keep them simple for everyday candy or decorate for parties.
Why This Recipe Works So Well
3-Ingredient Cool Whip Candy works because it turns melted chocolate into a lighter, chilled candy with the help of whipped topping. The Cool Whip gives the chocolate mixture a softer, fluffier texture.
The vegetable shortening helps the chocolate melt smoothly. It also gives the candy a shiny finish that makes it look more polished.
The refrigerator sets the candy. Without chilling, the mixture would be too soft to slice.
The parchment-lined pan makes serving easier. Once set, the candy can be lifted out and cut into neat squares or rectangles.
The recipe is also easy to personalize. Different chocolate chips, peppermint extract, sprinkles, nuts, Greek yogurt, flavored Cool Whip, dairy-free ingredients, or graham cracker topping can all make it feel new.
It is simple enough for kids to help with and special enough for holidays. That balance is what makes it such a dependable sweet treat.
Final Thoughts
3-Ingredient Cool Whip Candy is sweet, creamy, chocolatey, and wonderfully easy. With chocolate chips, thawed Cool Whip, and vegetable shortening, you can make a chilled candy that feels homemade, nostalgic, and perfect for sharing.
I love how this recipe turns a few simple ingredients into something that feels like a little celebration. The chocolate melts, the Cool Whip folds in, the pan goes into the fridge, and a few hours later you have soft, sliceable candy waiting for everyone.
Serve it on a platter with berries, ice cream, powdered sugar, sea salt, sprinkles, or a drizzle of melted chocolate if you want to dress it up. Whether you make it for family movie night, holiday trays, parties, or a quiet sweet craving, this Cool Whip candy brings chocolate joy in every chilled bite.
3-Ingredient Cool Whip Candy
This 3-Ingredient Cool Whip Candy is sweet, creamy, chocolatey, and simple to prepare with milk chocolate chips, thawed Cool Whip, and vegetable shortening. It is an easy no-bake-style candy for dessert trays, quick treats, gifting, or anytime you want a soft chocolate bite with minimal ingredients.
Recipe Details
- Prep Time: 15 minutes
- Total Time: 15 minutes
- Course: Dessert
- Cuisine: American
- Servings: 12 pieces
- Calories: 150 kcal
Ingredients
For the Candy
- 1 ½ tablespoons vegetable shortening
- 8 oz Cool Whip thawed
- 6 cups milk chocolate chips divided
Instructions
Step 1: Melt the Chocolate
In a bowl, melt 3 cups of milk chocolate chips with the vegetable shortening until smooth.
Step 2: Add the Cool Whip
Once the chocolate mixture is melted, mix in the thawed Cool Whip until well combined.
Step 3: Spread Into a Pan
Spread the mixture into a pan in an even layer.
Step 4: Chill Until Set
Refrigerate the candy until set.
Step 5: Cut and Serve
Once set, cut into 12 pieces and enjoy.
Notes
You can use different types of chocolate chips for varied flavors.
Serving Suggestions
- Serve as a simple chilled candy for dessert trays.
- Add to holiday treat boxes or edible gift tins.
- Pair with coffee, hot cocoa, or cold milk.
- Cut into small pieces for parties, potlucks, or quick sweet bites.
- Serve chilled so the candy holds its shape best.
Storage
How to Store
Store the candy in an airtight container in the refrigerator so it stays firm and fresh.
Best Texture Tip
Keep the candy chilled until serving so the Cool Whip chocolate mixture stays set and easy to handle.
Serving Tip
Cut the candy only after it has fully set in the refrigerator for cleaner pieces.

Fernando is the creator and writer behind the food blog Eating with your Hands. Living and working in cities like Paris, Barcelona, and Berlin, and being married to a Canadian foodie, has given Fernando a passion and interest in food and inspired him to run EWYH.