
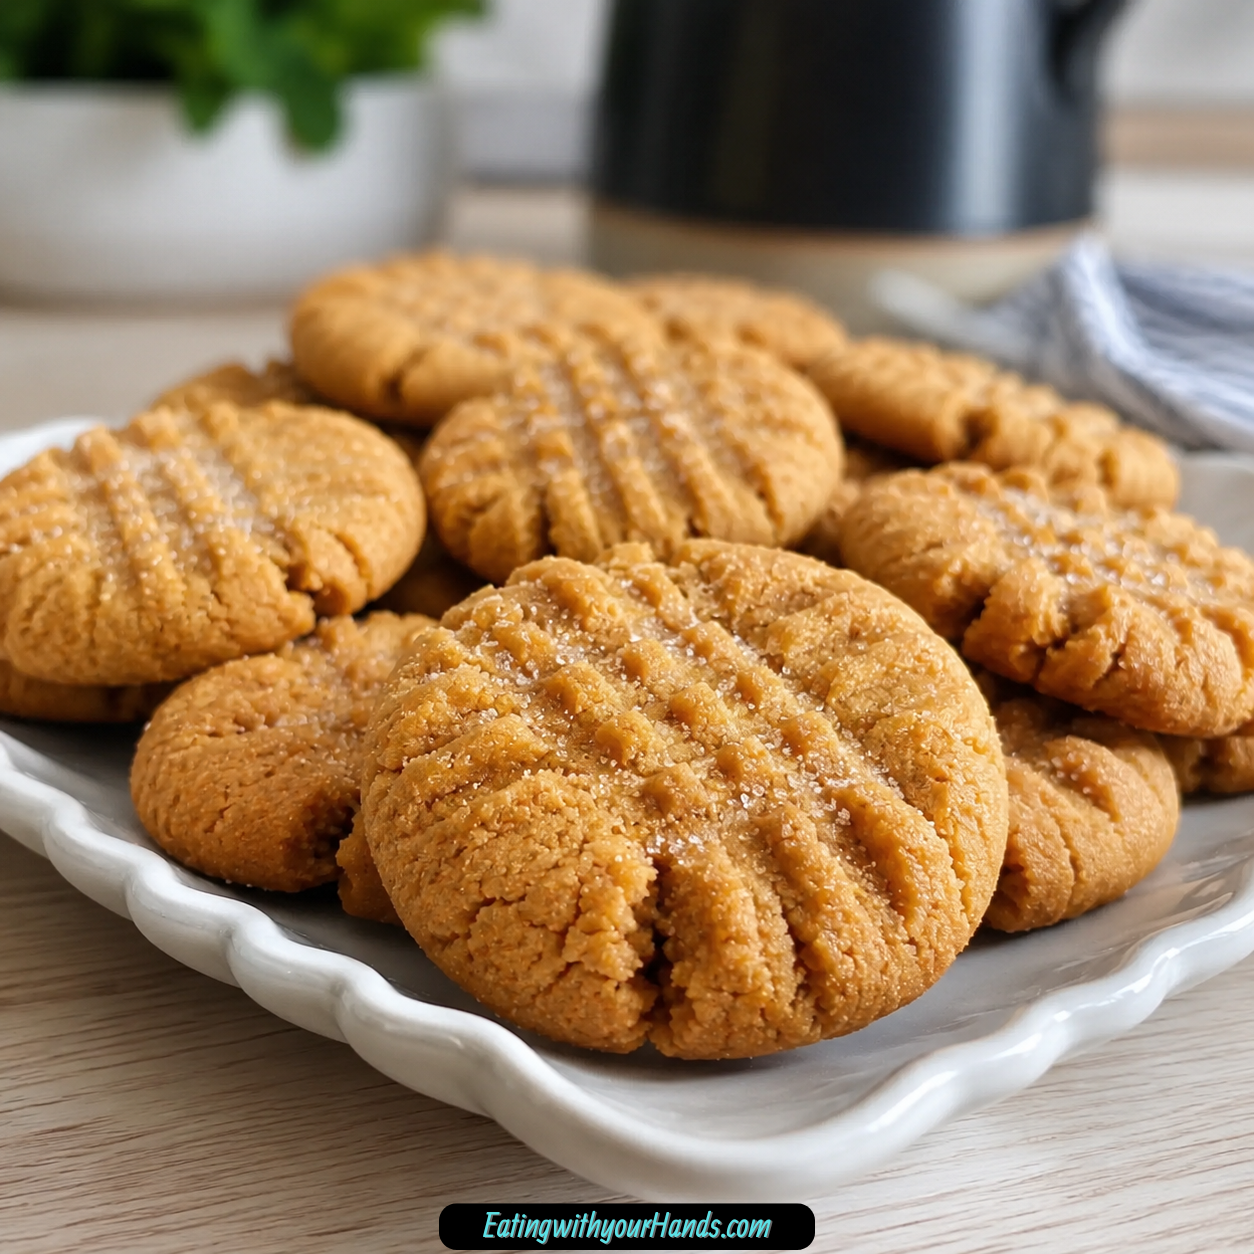
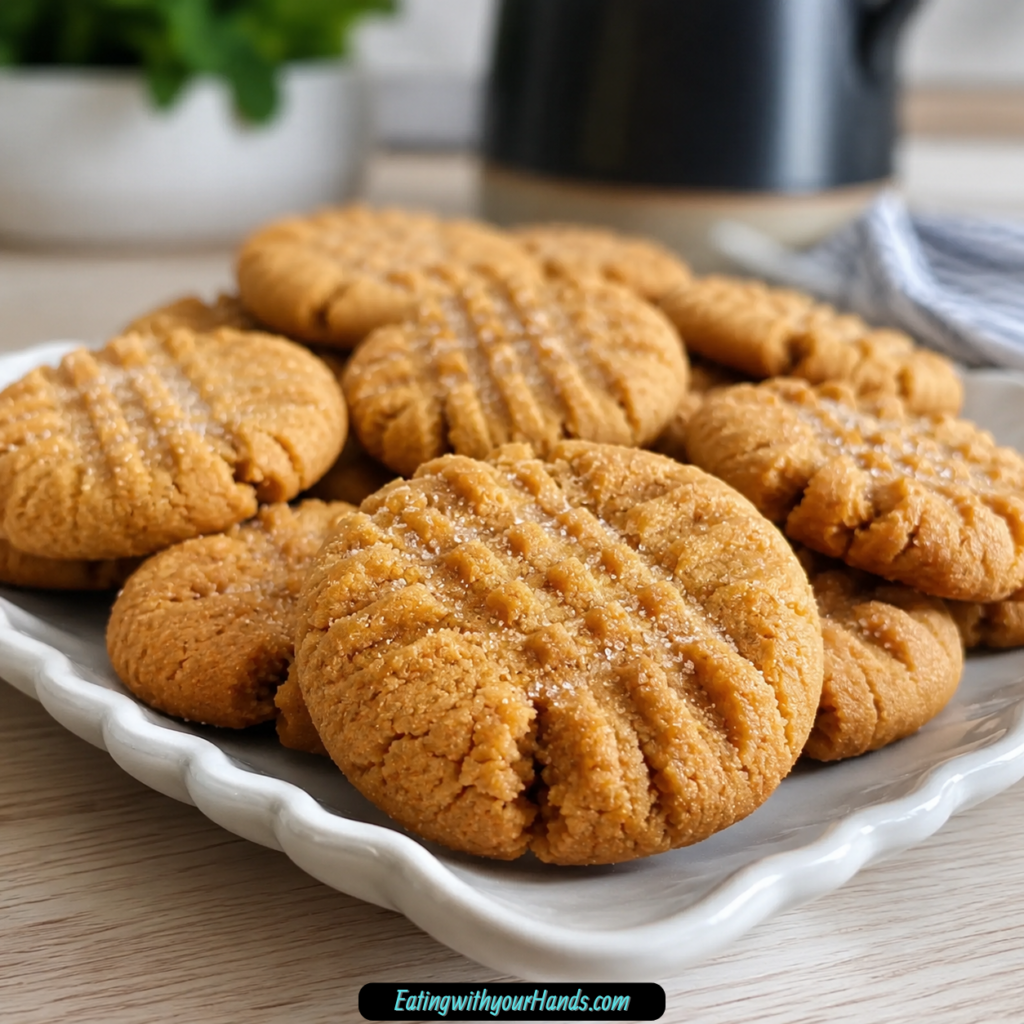
Cake Mix Peanut Butter Cookies are the kind of simple homemade treat that can make the kitchen feel warm in almost no time. They have that nostalgic peanut butter cookie aroma, the soft chewy center, the sparkly sugar coating, and the classic fork-pressed crisscross top that always feels familiar.
I love recipes that feel like they belong to busy afternoons, after-school snacks, last-minute bake sales, and cozy weekends when someone wants something sweet but nobody wants a complicated baking project. These cookies are exactly that kind of recipe.
The secret is a box of yellow cake mix. It turns into a quick cookie dough when mixed with creamy peanut butter, eggs, and vanilla extract, then each dough ball gets rolled in sugar before baking.
The result is a batch of soft peanut butter cookies with very little effort. They taste homemade, look classic, and come together quickly enough to make even a sudden cookie craving feel manageable.
These cookies are also perfect for baking with kids. The dough is thick, the rolling is fun, the sugar coating feels playful, and the fork pattern gives every cookie that old-fashioned peanut butter cookie look.
Table of Contents
- Why You’ll Love This Recipe
- Recipe Details
- Ingredients
- Optional Swaps, Variations, Add-Ins, and Serving Ideas
- Why These Cake Mix Peanut Butter Cookies Work
- Directions
- Step 1: Preheat the Oven to 350°F (175°C)
- Step 2: Line Two Baking Sheets
- Step 3: Add the Cake Mix to a Large Bowl
- Step 4: Add the Peanut Butter
- Step 5: Add the Eggs and Vanilla
- Step 6: Mix Until a Thick Dough Forms
- Step 7: Chill the Dough if Desired
- Step 8: Prepare the Sugar for Rolling
- Step 9: Scoop the Dough
- Step 10: Roll Into 1-Inch Balls
- Step 11: Coat Each Dough Ball in Sugar
- Step 12: Place Dough Balls on Baking Sheets
- Step 13: Press the Fork Pattern
- Step 14: Bake for 10–12 Minutes
- Step 15: Rest on the Baking Sheet
- Step 16: Transfer to a Wire Rack
- Serving Ideas
- Storage
- Reheating
- Freezing
- Make-Ahead
- Helpful Notes for Best Results
- Variations
- Chocolate Chip Peanut Butter Cookies
- Chopped Peanut Cookies
- Mini M&M Peanut Butter Cookies
- Chocolate-Drizzled Peanut Butter Cookies
- Peanut Butter and Jelly Sandwich Cookies
- White Cake Mix Peanut Butter Cookies
- Chocolate Cake Mix Peanut Butter Cookies
- Spice Cake Mix Peanut Butter Cookies
- Gluten-Free Cake Mix Peanut Butter Cookies
- Troubleshooting
- Frequently Asked Questions
- Why This Recipe Works So Well
- Final Thoughts
- Cake Mix Peanut Butter Cookies
Why You’ll Love This Recipe
These Cake Mix Peanut Butter Cookies are ridiculously easy. You only need five main ingredients, and the steps are simple enough for beginner bakers.
They are also very quick. The dough can go from bowl to oven in under 10 minutes because the cake mix already gives the recipe a helpful shortcut.
Cleanup is minimal. Fewer ingredients and fewer steps mean fewer dishes, which is always a gift on a busy day.
They are kid-friendly in the best way. Little helpers can roll the dough balls in sugar, press the fork pattern, and feel like part of the baking process.
The cookies are easy to customize. Add chocolate chips, drizzle with melted chocolate, sandwich them with jelly, or mix in chopped peanuts or mini M&Ms.
They are freezer-friendly, too. You can freeze baked cookies or freeze unbaked dough balls for future cravings.
Recipe Details
These cookies bake at 350°F (175°C). Two baking sheets should be lined with parchment paper before the dough is shaped.
The cookie dough is made with 1 box yellow cake mix, about 15.25 oz, 1 cup creamy peanut butter, 2 large eggs, and 1 teaspoon vanilla extract. The dough should be thick and uniform after mixing.
The dough is shaped into 1-inch balls using about 1 tablespoon of dough per cookie. Each dough ball is rolled in ½ cup granulated sugar before being placed on the baking sheets.
The cookies should be spaced about 2 inches apart. A fork is used to gently press down on each dough ball and create the classic crisscross pattern.
The cookies bake for 10–12 minutes. They are ready when the edges are just beginning to turn golden and the centers still look soft.
After baking, the cookies rest on the baking sheet for 5 minutes. Then they are carefully transferred to a wire rack to cool completely.
The cookies can be stored in an airtight container at room temperature for up to 5 days. Baked cookies can also be frozen in a zip-top bag for up to 3 months.
Ingredients
Cookie Dough
1 box yellow cake mix, about 15.25 oz
1 cup creamy peanut butter
2 large eggs
1 teaspoon vanilla extract
Sugar Coating
½ cup sugar, for rolling
Ingredient Notes
Yellow cake mix creates the base of the cookie dough. A favorite brand like Betty Crocker or Duncan Hines works well.
Creamy peanut butter gives the cookies their classic flavor and smooth texture. Natural peanut butters that separate should be avoided because they can make the dough oily and affect the texture.
Eggs help bind the dough together. Room temperature eggs blend more easily into the mixture.
Vanilla extract adds warmth and depth. It makes the peanut butter flavor feel fuller and more rounded.
Granulated sugar is used for rolling the dough balls. It gives the baked cookies that classic sparkly finish.
A sturdy spoon or hand mixer can be used to mix the dough. The dough will be thick, which is exactly what you want.
Optional Swaps, Variations, Add-Ins, and Serving Ideas
Cake Mix Options
Yellow cake mix gives the cookies a classic sweet base. White cake mix can also work just as well.
Chocolate cake mix can create a chocolate peanut butter version. Spice cake mix can give the cookies a warmer flavor.
Use your favorite brand of cake mix. The important detail is using a box that is about 15.25 oz.
Peanut Butter Options
Classic creamy peanut butter gives the smoothest texture. Jif or Skippy are good examples of the kind of peanut butter that works well.
Crunchy peanut butter can be used if you want more texture. The cookies will be chunkier but still delicious.
Avoid natural peanut butter that separates. The oil separation can affect how the dough comes together and how the cookies bake.
Add-In Ideas
Fold in ½ cup chocolate chips for a chocolate peanut butter version. This makes the cookies feel even more dessert-like.
Chopped peanuts can be added for extra crunch. Mini M&Ms also make the cookies colorful and fun.
Keep add-ins moderate so the dough still holds together. Too many extras can make shaping harder.
Chocolate Finish
Melted chocolate can be drizzled over the cooled cookies. This adds a pretty finish and more sweetness.
Let the cookies cool completely before drizzling. Warm cookies can make the chocolate run too much.
A chocolate drizzle is especially nice for gifting or bake sales. It makes the cookies look more dressed up.
Jelly Sandwich Cookies
These cookies can be sandwiched with jelly for a playful peanut butter and jelly style treat. Use cooled cookies before sandwiching.
This variation turns a simple cookie into something a little more fun. It is a nice idea for kids or casual dessert trays.
Gluten-Free and Dairy-Free Options
Use a gluten-free yellow cake mix for a celiac-friendly treat. Check the texture and bake with the same visual cues.
This recipe is naturally dairy-free if your cake mix does not contain milk powder. Always check the cake mix package if dairy-free baking is needed.
Why These Cake Mix Peanut Butter Cookies Work
These cookies work because the cake mix takes care of much of the dry ingredient structure. It creates a simple base that turns into soft cookie dough when combined with peanut butter, eggs, and vanilla.
The peanut butter is the main flavor. It also gives the dough richness and body, helping the cookies bake into thick, chewy rounds.
The eggs bind everything together. Without them, the dry cake mix and peanut butter would not become a proper cookie dough.
Vanilla extract makes the cookies taste warmer. Even though the ingredient list is short, vanilla adds a soft homemade flavor.
The sugar coating gives texture and appearance. It adds a light crunch and classic sparkle to the outside.
The fork crisscross pattern is practical and nostalgic. It flattens the dough slightly so the cookies bake evenly while giving them the traditional peanut butter cookie look.
Directions
Step 1: Preheat the Oven to 350°F (175°C)
Preheat your oven to 350°F (175°C). This gives the cookies steady heat so they can bake evenly with soft centers and lightly golden edges.
Let the oven fully preheat before placing the baking sheets inside. Since these cookies bake quickly, the correct temperature matters.
While the oven heats, gather the ingredients and prepare the pans. This keeps the process smooth once the dough is mixed.
Step 2: Line Two Baking Sheets
Line two baking sheets with parchment paper. This helps prevent sticking and makes cleanup easier.
Parchment also helps the cookies release cleanly after baking. Since the sugar coating can slightly caramelize on the bottom, a lined pan is helpful.
Set the prepared baking sheets aside. You will place the shaped dough balls on them after rolling in sugar.
Step 3: Add the Cake Mix to a Large Bowl
Pour 1 box yellow cake mix, about 15.25 oz, into a large mixing bowl. Break up any large clumps if needed.
The cake mix is the base of the cookie dough. It already gives the recipe a shortcut, which is why the dough comes together so quickly.
Use a bowl with enough room for stirring. The dough will become thick once the peanut butter and eggs are added.
Step 4: Add the Peanut Butter
Add 1 cup creamy peanut butter to the cake mix. Use smooth peanut butter for the best texture.
Classic creamy peanut butter blends into the dough more evenly. Natural peanut butter that separates can make the dough oily, so it is best avoided.
The peanut butter gives these cookies their main flavor. It also helps create the soft, chewy texture.
Step 5: Add the Eggs and Vanilla
Add 2 large eggs and 1 teaspoon vanilla extract to the bowl. The eggs bind the dough, while the vanilla adds depth.
Room temperature eggs blend more easily. If the eggs are cold, the dough will still work, but mixing may take a little more effort.
The mixture will look separated at first. Keep mixing until it becomes a thick, uniform dough.
Step 6: Mix Until a Thick Dough Forms
Use a sturdy spoon or hand mixer to blend the ingredients. Mix until the dough looks even and no dry cake mix remains.
Do not worry if the dough seems stiff. That thick texture is exactly what you want for cookies that hold their shape.
Scrape the bottom of the bowl as needed. Dry pockets can hide underneath the dough if the bowl is not mixed thoroughly.
Step 7: Chill the Dough if Desired
Chilling the dough is not required, but it can help. If you want slightly thicker cookies or easier rolling, chill the dough for 30 minutes.
Cold dough is firmer and less sticky. It can also help prevent spreading during baking.
If you are short on time, you can shape and bake the cookies right away. They turn out great either way.
Step 8: Prepare the Sugar for Rolling
Pour ½ cup granulated sugar into a shallow bowl. This will be used to coat each dough ball.
The shallow bowl makes rolling easier. You want enough room to turn the dough ball until it is coated on all sides.
The sugar gives the cookies a classic finish. It adds a little sparkle and a light sweet crunch.
Step 9: Scoop the Dough
Scoop about 1 tablespoon of dough for each cookie. Try to keep the portions similar in size.
Evenly sized dough balls bake more evenly. They also look nicer on a cookie tray.
If the dough sticks to your hands, lightly pause and chill it a bit. The dough should be easy enough to roll into balls.
Step 10: Roll Into 1-Inch Balls
Roll each portion of dough between your palms to form a 1-inch ball. Smooth the outside gently.
Do not press the dough too firmly. A gentle roll is enough to shape it.
Keep the dough balls uniform. This helps the cookies bake with the same texture from batch to batch.
Step 11: Coat Each Dough Ball in Sugar
Place each dough ball into the shallow bowl of sugar. Roll until fully coated.
The sugar should cover the outside evenly. This gives the baked cookies their lightly crisp, sparkly surface.
If any spots look bare, roll the dough ball again. A complete coating makes the cookies look more classic.
Step 12: Place Dough Balls on Baking Sheets
Place the sugar-coated dough balls on the prepared baking sheets. Space them about 2 inches apart.
The cookies will spread slightly as they bake. Spacing helps keep them from touching.
Arrange them in neat rows if possible. This makes it easier to press and bake them evenly.
Step 13: Press the Fork Pattern
Use a fork to gently press down on each dough ball. Then turn the fork and press again to create the classic crisscross pattern.
Press gently but firmly enough to flatten the dough slightly. The pattern should be visible, but the dough should not be smashed too thin.
This step helps the cookies bake evenly. It also gives them the familiar peanut butter cookie appearance.
Step 14: Bake for 10–12 Minutes
Bake the cookies in the preheated oven for 10–12 minutes. They are ready when the edges are just beginning to turn golden.
The centers will still look soft, and that is perfect. Do not wait for the centers to look fully firm in the oven.
Soft centers help the cookies stay chewy after cooling. Overbaking can make them dry.
Step 15: Rest on the Baking Sheet
Let the cookies rest on the baking sheet for 5 minutes. This gives them time to set.
Freshly baked cookies are delicate right out of the oven. Moving them too soon can cause them to break.
The centers will continue to firm as they rest. The edges will stay lightly golden.
Step 16: Transfer to a Wire Rack
Carefully transfer the cookies to a wire rack. Let them cool completely.
The wire rack allows air to circulate around the cookies. This keeps the bottoms from staying too warm on the baking sheet.
You can enjoy them slightly warm or let them cool for storage. Either way, they should be soft, chewy, and full of peanut butter flavor.
Serving Ideas
Serve Cake Mix Peanut Butter Cookies slightly warm with a glass of cold milk. The soft peanut butter center is especially good when the cookies are fresh.
They are also delicious with a scoop of vanilla ice cream. This turns a simple cookie into an easy dessert.
These cookies make a delightful after-school snack. They are quick, familiar, and easy for kids to enjoy.
They are also useful for unexpected guests. Since the dough comes together quickly, you can make a fresh batch without much planning.
Bring them to last-minute bake sales, pack them in lunchboxes, or add them to casual cookie trays. Their classic look makes them welcome almost anywhere.
Storage
Store the cookies in an airtight container at room temperature for up to 5 days. Let them cool completely before sealing the container.
Keeping them airtight helps preserve their soft texture. It also keeps the sugar coating from becoming stale.
If stacking the cookies, handle them gently. The fork pattern and sugar coating will stay prettier if the cookies are fully cooled first.
Keep the container closed between servings. This protects the cookies from drying out.
Reheating
These cookies do not need reheating, but they can be warmed slightly if you want that fresh-baked feel. Warm only briefly.
A slightly warm peanut butter cookie tastes soft and cozy. It also pairs beautifully with cold milk.
Do not overheat the cookies. Too much heat can make them dry or crumbly.
Room temperature cookies are also delicious. They stay chewy and flavorful for several days when stored properly.
Freezing
Baked cookies can be frozen in a zip-top bag for up to 3 months. Thaw them at room temperature before serving.
You can also freeze unbaked dough balls. Flash freeze them on a tray first, then store them in a bag.
Bake the frozen dough balls straight from frozen. Add 1–2 extra minutes to the baking time.
Label your freezer containers or bags with the date. This helps you keep track of freshness.
Make-Ahead
You can make the dough ahead by rolling it into balls and freezing it. Flash freeze the dough balls on a tray, then transfer them to a bag.
When you are ready to bake, place the frozen dough balls on a baking sheet and bake straight from frozen. Add 1–2 extra minutes.
You can also bake the cookies ahead and store them at room temperature for up to 5 days. For longer storage, freeze baked cookies for up to 3 months.
If making these for a bake sale or party, the simple dough and freezer option make planning easy. You can have cookies ready without last-minute stress.
Helpful Notes for Best Results
Chilling the dough is optional, but it helps make the dough easier to roll. It can also make the cookies slightly thicker.
Use classic creamy peanut butter like Jif or Skippy for the best texture. Natural peanut butter can make the dough oily because it separates.
Crunchy peanut butter can be used, but the cookies will have a chunkier texture. They will still taste delicious.
Do not overbake. Pull the cookies from the oven when the edges are set and just starting to turn golden while the centers still look slightly underdone.
Use a sturdy spoon or hand mixer to mix the dough. It will be thick, so a weak spoon can make the job harder.
For a dairy-free version, make sure the cake mix does not contain milk powder. For a gluten-free variation, use a gluten-free yellow cake mix.
Fold in ½ cup chocolate chips, chopped peanuts, or mini M&Ms for a fun twist. Keep the amount as listed so the dough stays easy to shape.
Variations
Chocolate Chip Peanut Butter Cookies
Fold ½ cup chocolate chips into the dough. Chocolate and peanut butter make the cookies richer and sweeter.
This variation is great when you want the cookies to feel more like dessert. Keep the dough balls the same size.
Chopped Peanut Cookies
Fold in ½ cup chopped peanuts. This gives the cookies more crunch and a stronger peanut flavor.
This is a good choice if you enjoy texture. It also works well with crunchy peanut butter.
Mini M&M Peanut Butter Cookies
Fold in ½ cup mini M&Ms for a colorful twist. These are especially fun for kids and bake sales.
The candy adds color and sweetness. It also makes the cookies feel more playful.
Chocolate-Drizzled Peanut Butter Cookies
Drizzle cooled cookies with melted chocolate. Let the chocolate set before storing.
This makes the cookies look more polished. It is a nice option for gifting or dessert trays.
Peanut Butter and Jelly Sandwich Cookies
Sandwich two cooled cookies with jelly. This gives the cookies a peanut butter and jelly flavor.
Use cookies that are fully cooled so the jelly stays in place. This turns the recipe into a fun handheld treat.
White Cake Mix Peanut Butter Cookies
Use white cake mix instead of yellow cake mix. The flavor will be slightly different but still works well.
This is a simple swap if yellow cake mix is not available. Use the same method.
Chocolate Cake Mix Peanut Butter Cookies
Use chocolate cake mix for a chocolate peanut butter version. The peanut butter flavor will pair with the chocolate base.
This variation feels richer and more indulgent. The baking cues stay the same.
Spice Cake Mix Peanut Butter Cookies
Use spice cake mix for a new flavor. The warm spices give the peanut butter cookies a different personality.
This is a fun option for fall or holiday baking. Keep the same shaping and baking method.
Gluten-Free Cake Mix Peanut Butter Cookies
Use a gluten-free yellow cake mix. This makes the cookies more friendly for gluten-free needs.
Follow the same steps and watch the baking cues. The edges should be just beginning to turn golden.
Troubleshooting
Why Is My Dough Too Stiff?
The dough is supposed to be thick. Cake mix and peanut butter create a firm dough that holds its shape.
If it is hard to mix, use a hand mixer or sturdy spoon. Make sure the eggs and peanut butter are fully blended in.
Why Is My Dough Oily?
Natural peanut butter may have been used. Peanut butters that separate can make the dough oily and affect texture.
Use classic creamy peanut butter for best results. Jif or Skippy are good examples.
Why Did My Cookies Spread Too Much?
The dough may have been too warm. Chill it for 30 minutes before baking if you want thicker cookies.
Overly oily peanut butter can also affect spreading. Stick with classic creamy peanut butter.
Why Are My Cookies Dry?
They may have been overbaked. Remove them when the edges are just beginning to turn golden and the centers still look soft.
The cookies continue to set on the baking sheet. The 5-minute rest helps them finish without drying out.
Why Did the Fork Pattern Disappear?
The dough may not have been pressed firmly enough. Make a clear crisscross pattern before baking.
If the dough is too sticky, chill it briefly. Firmer dough holds the pattern better.
Frequently Asked Questions
Can I Freeze Cake Mix Peanut Butter Cookies?
Yes, you can freeze both baked cookies and raw dough balls. Label your containers with the date.
Baked cookies can freeze for up to 3 months. Dough balls can be baked straight from frozen with 1–2 extra minutes added.
What If I Do Not Have Yellow Cake Mix?
White cake mix works just as well. You can also try chocolate or spice cake mix for a new flavor.
Each cake mix changes the flavor slightly. The basic method stays the same.
Do I Need to Chill the Dough?
No, chilling is optional. The cookies turn out great either way.
Chilling helps prevent spreading and makes the dough easier to roll. It also creates slightly thicker cookies.
Can I Use Crunchy Peanut Butter?
Yes, crunchy peanut butter can be used. The cookies will have a chunkier texture.
They will still taste delicious. Smooth peanut butter simply gives the most classic texture.
How Do I Make These Cookies Extra Soft?
Avoid overbaking. Pull them from the oven when the edges are set but the centers still look slightly underdone.
Let them rest on the baking sheet for 5 minutes. They will finish setting as they cool.
Can I Add Chocolate Chips or Candy?
Yes, fold in ½ cup chocolate chips, chopped peanuts, or mini M&Ms. This gives the cookies more texture and flavor.
Keep the add-ins moderate. Too many extras can make the dough harder to shape.
Are These Cookies Dairy-Free?
They can be naturally dairy-free if your cake mix does not contain milk powder. Check the cake mix package carefully.
The other main ingredients are peanut butter, eggs, vanilla, and sugar. The cake mix is the ingredient to verify.
Why This Recipe Works So Well
Cake Mix Peanut Butter Cookies work because the cake mix simplifies the dry ingredient base while still giving the cookies a soft, sweet structure. It turns a short ingredient list into a real cookie dough.
The creamy peanut butter gives flavor, richness, and body. It is the ingredient that makes every bite taste like a classic peanut butter cookie.
Eggs help bind the dough and keep the cookies from crumbling. Vanilla extract adds warmth and makes the flavor feel more homemade.
Rolling the dough in sugar gives the cookies a sparkly finish and slight crunch. The fork pattern gives them the familiar peanut butter cookie shape.
The short baking time keeps the centers soft. Pulling them when the edges are just golden is the key to an extra soft cookie.
The recipe also works because it fits real life. It is quick, easy, freezer-friendly, kid-friendly, and flexible enough for last-minute baking.
Final Thoughts
Cake Mix Peanut Butter Cookies prove that homemade baking does not have to be complicated to feel special. With a box of yellow cake mix, creamy peanut butter, eggs, vanilla, and sugar, you can make soft, chewy cookies that taste cozy and classic.
I love how this recipe fits so many little moments. It works for a quick sweet fix, an after-school snack, a bake sale, a weekend baking project with kids, or a tray of cookies for unexpected guests.
Make them plain with the crisscross top, roll them in sugar, add chocolate chips, drizzle them with melted chocolate, or freeze a batch of dough balls for later. However you enjoy them, these cookies bring rich peanut butter flavor with the kind of ease that makes a recipe worth keeping.
Cake Mix Peanut Butter Cookies
These Cake Mix Peanut Butter Cookies are soft, chewy, sweet, and packed with rich peanut butter flavor. Made with yellow cake mix, creamy peanut butter, eggs, vanilla, and a sugar coating, they are an easy cookie for quick baking days, lunchbox treats, cookie trays, or last-minute desserts.
Recipe Details
- Prep Time: 10 minutes
- Cook Time: 12 minutes
- Servings: 24 cookies
- Calories: 150 kcal
Ingredients
- ½ cup granulated sugar for rolling
- 1 teaspoon vanilla extract
- 2 large eggs
- 1 cup creamy peanut butter
- 1 box yellow cake mix about 15.25 oz
Instructions
Step 1: Prepare the Oven and Baking Sheets
Preheat oven to 350°F (175°C). Line baking sheets with parchment paper.
Step 2: Make the Cookie Dough
In a large bowl, mix the yellow cake mix, creamy peanut butter, eggs, and vanilla extract until smooth.
Step 3: Shape the Dough
Roll the dough into 1-inch balls.
Step 4: Coat with Sugar
Roll each dough ball in the granulated sugar until coated.
Step 5: Arrange on the Baking Sheets
Place the coated dough balls on the prepared baking sheets, spacing them 2 inches apart.
Step 6: Make the Crisscross Pattern
Press down gently on each dough ball with a fork to make a crisscross pattern.
Step 7: Bake Until Golden
Bake for 10-12 minutes, until the edges are golden.
Step 8: Cool the Cookies
Cool the cookies on the baking sheet for 5 minutes, then transfer them to a wire rack to cool completely.
Notes
Use creamy peanut butter for the best texture.
Chilling the dough for 30 minutes helps reduce spreading.
Freeze unbaked dough balls or baked cookies for up to 3 months.
Add chocolate chips or chopped peanuts for variety.
These cookies are naturally dairy-free if using a dairy-free cake mix.
Serving Suggestions
- Serve with cold milk, coffee, or hot cocoa.
- Add to cookie trays with chocolate chip cookies, sugar cookies, or brownies.
- Pack into lunchboxes for a simple homemade treat.
- Bring to potlucks, bake sales, or casual family gatherings.
- Serve slightly warm for the softest, chewiest texture.
Storage
How to Store
Let the cookies cool completely, then store them in an airtight container at room temperature.
How to Freeze
Freeze unbaked dough balls or baked cookies for up to 3 months.
Make-Ahead Tip
Chill the dough for 30 minutes before baking if you want to help reduce spreading.
Best Texture Tip
Let the cookies cool on the baking sheet for 5 minutes before transferring them to a wire rack so they can set while staying soft and chewy.

Fernando is the creator and writer behind the food blog Eating with your Hands. Living and working in cities like Paris, Barcelona, and Berlin, and being married to a Canadian foodie, has given Fernando a passion and interest in food and inspired him to run EWYH.