
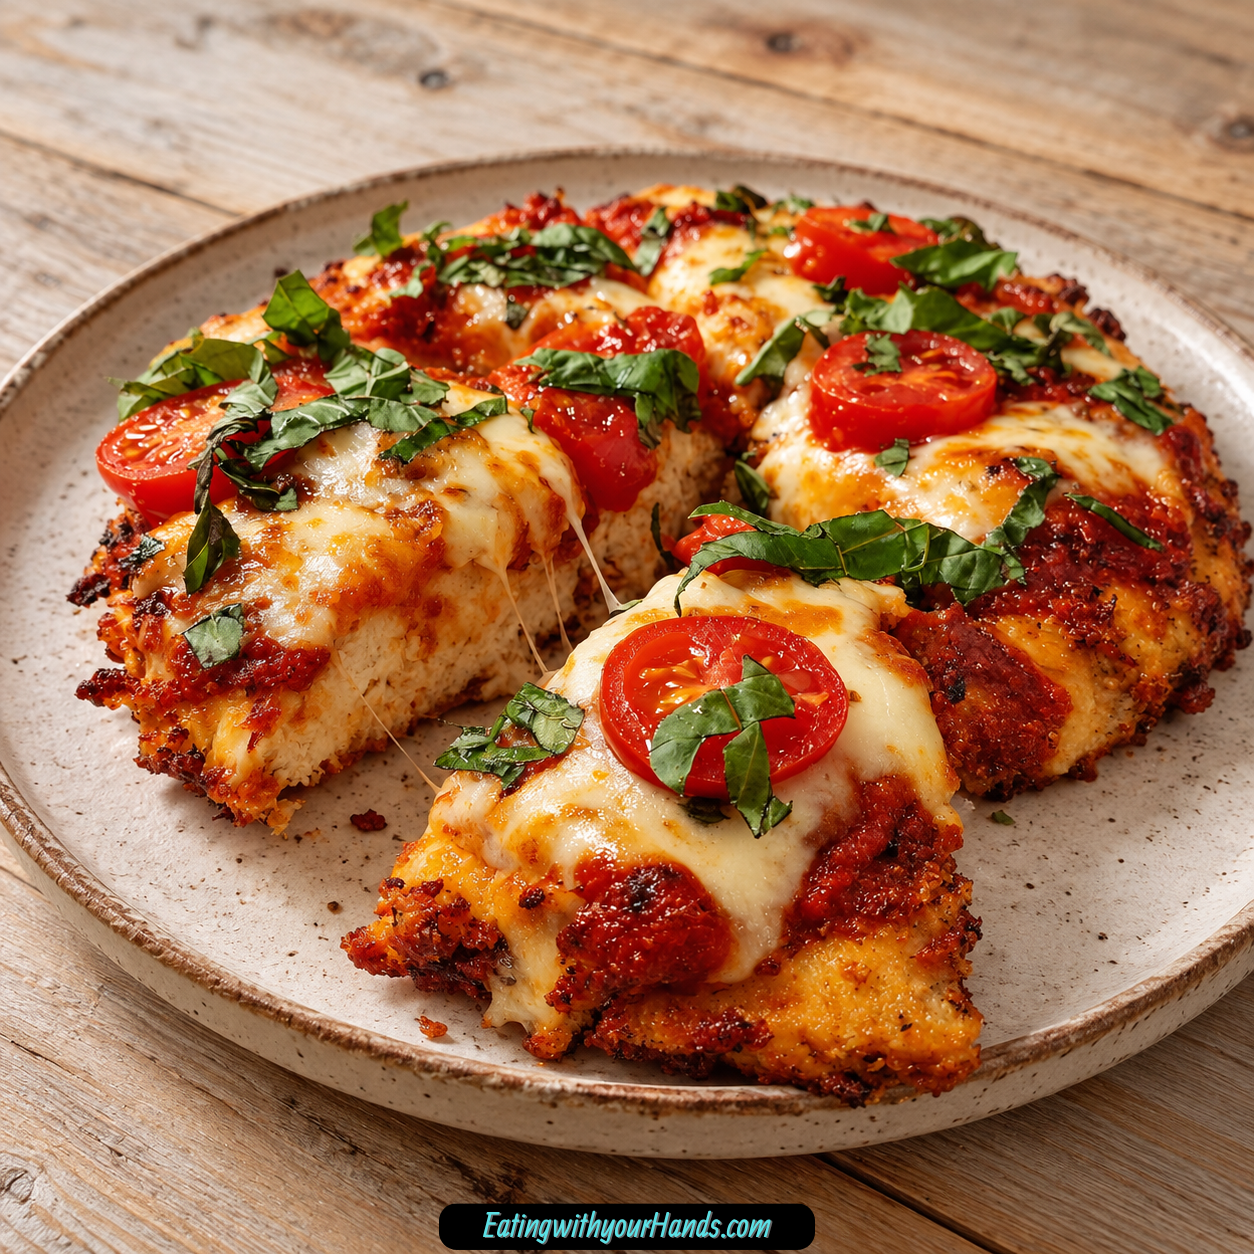
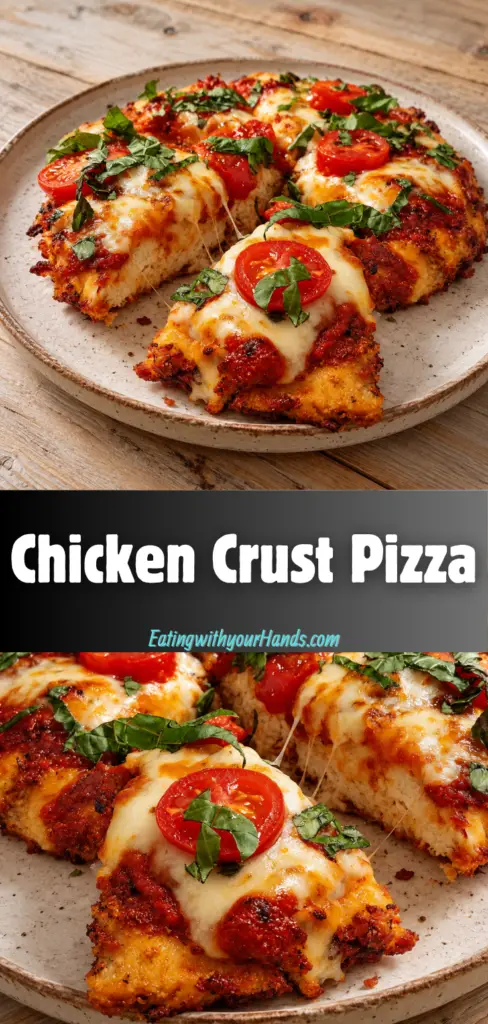
The night I first made Chicken Crust Pizza, I was craving everything I love about pizza but wanted to skip the usual dough. I wanted melted cheese, tangy marinara, fresh basil, and that satisfying feeling of picking up a real slice, but I also wanted something much lower in carbs and rich enough in protein to feel like dinner.
Ground chicken ended up being the answer I did not know I was looking for. Once mixed with Parmesan, egg, garlic, and Italian seasoning, it baked into a golden crust with crisp edges, a tender center, and enough structure to hold all the classic pizza toppings I had been craving.
What surprised me most was how quickly my family stopped questioning it. They had been skeptical when I told them the crust was made from chicken, but once the mozzarella started stretching and the first slices disappeared, nobody seemed to care that flour was nowhere in sight.
That first successful pizza immediately became something I wanted to make again. It was easy enough for a busy weeknight, satisfying enough to feel like real comfort food, and endlessly flexible depending on what I happened to have in the refrigerator.
There is no yeast to activate, no dough to knead, and no waiting for anything to rise. The chicken mixture is simply pressed onto a baking sheet, baked until golden, topped, and returned to the oven until the cheese melts.
The whole process takes about 30 minutes, which makes it one of those recipes that feels much more exciting than the amount of work involved. It is especially handy on nights when takeout sounds tempting but I still want something homemade.
The crust is the part that makes this pizza so different. It is savory, cheesy, crisp around the perimeter, and sturdy enough to support toppings without feeling like a pile of baked ground chicken.
That texture comes from a few simple things done carefully. The chicken needs to be fairly dry, the crust needs to be pressed evenly, and the first bake has to happen before any sauce or cheese goes on top.
Once you understand those details, Chicken Crust Pizza becomes incredibly easy to customize. Keep it classic with marinara, mozzarella, tomato, and basil, or move in a completely different direction with BBQ sauce, pesto, sausage, or scrambled eggs.
Table of Contents
- Why You’ll Love Chicken Crust Pizza
- Ingredients for Chicken Crust Pizza
- Why Ground Chicken Makes Such a Good Pizza Crust
- Parmesan Adds Flavor and Structure
- The Egg Holds the Crust Together
- Seasoning the Chicken Properly
- Choosing the Right Toppings
- How to Make Chicken Crust Pizza
- Step 1: Preheat the Oven
- Step 2: Prepare the Baking Sheet
- Step 3: Pat the Ground Chicken Dry
- Step 4: Mix the Chicken Crust
- Step 5: Shape the Crust
- Step 6: Check for Even Thickness
- Step 7: Bake the Plain Crust
- Step 8: Let the Crust Rest Briefly
- Step 9: Add the Marinara
- Step 10: Add Mozzarella and Tomato
- Step 11: Bake Again
- Step 12: Add Fresh Basil
- Step 13: Slice and Serve
- Tips for the Crispiest Chicken Crust
- Why Chicken Crust Pizza Can Become Soggy
- Chicken Crust Pizza Variations
- Using Ground Turkey Instead
- Make-Ahead Chicken Crust Pizza
- How to Store Leftovers
- How to Reheat Chicken Crust Pizza
- What to Do if the Crust Sticks
- Frequently Asked Questions
- Chicken Crust Pizza Nutrition
- A Weeknight Pizza That Doesn’t Feel Like a Compromise
- The Secret Is in the First Bake
- Final Thoughts
- Unbelievable Chicken Crust Pizza
Why You’ll Love Chicken Crust Pizza
This pizza has quickly become one of my favorite ways to make a high-protein dinner feel fun instead of routine. It gives you the comfort of pizza night without requiring traditional dough or complicated preparation.
- Low in carbs: One generous slice has about 5g net carbs.
- High in protein: Each serving provides approximately 32g protein.
- Fast enough for weeknights: The crust and toppings come together in about 30 minutes.
- No dough-making required: There is no kneading, rising, or flour-covered countertop.
- Crisp edges and tender center: Baking the crust on its own first creates the best texture.
- Easy to customize: Change the sauce, cheese, vegetables, or meat depending on what you are craving.
- Family-friendly: Even skeptical eaters can be won over once the cheese melts and the slices hit the table.
- Meal-prep friendly: The plain crust can be baked up to 2 days ahead.
One of the best things about this recipe is that the chicken base is flavorful enough to stand on its own. The Parmesan and seasonings make sure every bite tastes like part of the pizza rather than simply a substitute underneath it.
Ingredients for Chicken Crust Pizza
For the Chicken Crust
- 1 pound ground chicken, not breast meat
- ½ cup packed finely grated Parmesan
- 1 large egg, beaten
- ½ teaspoon garlic powder
- 1 teaspoon Italian seasoning
- Kosher salt
- Black pepper
For the Toppings
- ½ cup marinara sauce or pizza sauce
- 4 ounces fresh mozzarella, torn
- 1 large tomato, thinly sliced
- Fresh basil leaves
These ingredients are simple, but moisture matters more here than it does with a traditional pizza crust. The drier the chicken and toppings are before baking, the easier it is to get a sturdy, crisp base.
Why Ground Chicken Makes Such a Good Pizza Crust
Ground chicken is soft and sticky before baking, but that actually works in your favor. Once mixed with Parmesan and egg, it can be pressed into a thin, even layer that firms up beautifully in the oven.
The recipe works best with ground chicken that has a little natural richness rather than very lean breast meat. That extra fat helps prevent the crust from becoming dry and tough.
After the first bake, the texture changes completely. The outside becomes golden and slightly crisp while the center stays tender enough to bite through easily.
The result is not trying to imitate bread dough exactly. It has its own savory texture, which is part of what makes it so satisfying.
Parmesan Adds Flavor and Structure
The ½ cup finely grated Parmesan does more than make the crust taste cheesy. It also helps the chicken mixture hold together as it bakes.
Finely grated Parmesan works especially well because it blends throughout the meat rather than sitting in long strands. The powdery texture disappears into the mixture and seasons the entire crust.
Packing the Parmesan into the measuring cup gives you enough to make a noticeable difference. A loose sprinkling would not create quite the same effect.
It also gives the crust a naturally savory flavor before the toppings are added. That means even the outer edges taste good on their own.
The Egg Holds the Crust Together
One large beaten egg acts as the binder. It brings the chicken and Parmesan together so the baked crust can be sliced instead of crumbling apart.
Beating the egg first helps distribute it evenly. Once it is mixed into the chicken, every section of the crust receives the same support.
The mixture will still feel soft before baking. That is completely normal and does not mean the crust will stay fragile.
Seasoning the Chicken Properly
Garlic powder, Italian seasoning, salt, and black pepper give the crust its pizza-style flavor. Because the chicken itself is mild, it benefits from being seasoned generously enough to taste intentional.
Use ½ teaspoon garlic powder and 1 teaspoon Italian seasoning, then add kosher salt and black pepper to taste.
A fresh minced garlic clove can replace the garlic powder if you prefer. The flavor will be slightly sharper and more pronounced.
Choosing the Right Toppings
The classic topping combination keeps things simple: marinara, fresh mozzarella, tomato, and basil.
Use only ½ cup sauce so the crust does not become overloaded. A thin layer is enough to bring in the familiar pizza flavor without adding too much moisture.
Torn fresh mozzarella melts into soft pockets and gives the pizza those irresistible cheese pulls. It also looks more rustic and relaxed than perfectly arranged slices.
The tomato is where a little preparation really matters. Slice it thin, lay the pieces on paper towels, and blot away as much moisture as possible before adding them.
Fresh basil goes on at the very end. Adding it after baking keeps the leaves bright and fragrant.
How to Make Chicken Crust Pizza
The easiest way to think about this recipe is in two stages. First, bake the chicken mixture until it becomes a proper crust, then add the toppings and return it to the oven just long enough to melt the cheese.
Step 1: Preheat the Oven
Preheat the oven to 400°F (200°C).
Do this before mixing the crust so the oven is fully hot when the chicken goes in. Strong heat from the beginning helps the crust firm and brown instead of slowly releasing moisture.
Step 2: Prepare the Baking Sheet
Line a baking sheet with parchment paper.
Parchment is the best choice because foil tends to stick to the chicken crust. If sticking has been a problem before, a very light olive oil spray over the parchment can help.
Step 3: Pat the Ground Chicken Dry
Place the ground chicken on paper towels and gently blot away excess surface moisture.
Do not squeeze it aggressively. The goal is simply to remove obvious wetness that could make the crust steam in the oven.
This small step can make a noticeable difference in crispness.
Step 4: Mix the Chicken Crust
Place the ground chicken in a large bowl.
Add the finely grated Parmesan, beaten egg, garlic powder, Italian seasoning, kosher salt, and black pepper.
Use clean hands to mix everything together until evenly combined. Stop once the ingredients are distributed so the mixture is not worked more than necessary.
Step 5: Shape the Crust
Transfer the chicken mixture to the parchment-lined baking sheet.
Press it into a circle or rectangle about ¼ inch thick. The exact shape does not matter nearly as much as keeping the thickness even.
Dampen your fingers slightly if the chicken sticks to your hands. Smooth the edges and fill in any obvious thin spots or cracks.
A rolling pin can help flatten the crust evenly. A clean wine bottle also works if you do not have one.
Step 6: Check for Even Thickness
Look over the entire crust before putting it in the oven.
Thin edges can burn before the center is ready, while thick sections may stay softer. Aim for the same approximate thickness from edge to edge.
Pay particular attention to the middle, because it is easy to leave the center thicker when shaping by hand.
Step 7: Bake the Plain Crust
Bake the chicken crust at 400°F for 20 minutes.
By the end of the first bake, the edges should be golden and the surface should look firm and cooked.
The crust may begin lifting slightly around the edges, which is another useful sign that it has developed structure.
Do not add sauce before this stage is complete. The crust needs time to cook and dry enough to support wet toppings.
Step 8: Let the Crust Rest Briefly
Remove the baking sheet from the oven and let the crust rest for about 2 minutes.
This short pause helps it firm a little more before sauce is added.
Keep the oven on at 400°F because the pizza will go straight back in after topping.
Step 9: Add the Marinara
Spread ½ cup marinara sauce or pizza sauce over the baked crust.
Keep the layer thin and even. Avoid leaving thick pools of sauce in the center.
Leaving a small border around the edge also helps preserve the crispest part of the crust.
Step 10: Add Mozzarella and Tomato
Tear the 4 ounces fresh mozzarella into pieces and scatter them over the sauce.
Arrange the thin tomato slices across the top after blotting them thoroughly with paper towels.
Try not to crowd the surface with too many wet ingredients. The crust will stay firmer when the topping layer remains balanced.
Step 11: Bake Again
Return the topped pizza to the oven.
Bake for another 5–7 minutes, until the mozzarella is melted and bubbly.
The crust has already done most of its cooking during the first bake, so this second round is mainly about heating the toppings and melting the cheese.
Step 12: Add Fresh Basil
Remove the pizza from the oven and scatter fresh basil leaves over the top.
The residual heat will release the basil’s aroma without completely wilting it.
Step 13: Slice and Serve
Let the pizza settle briefly before cutting.
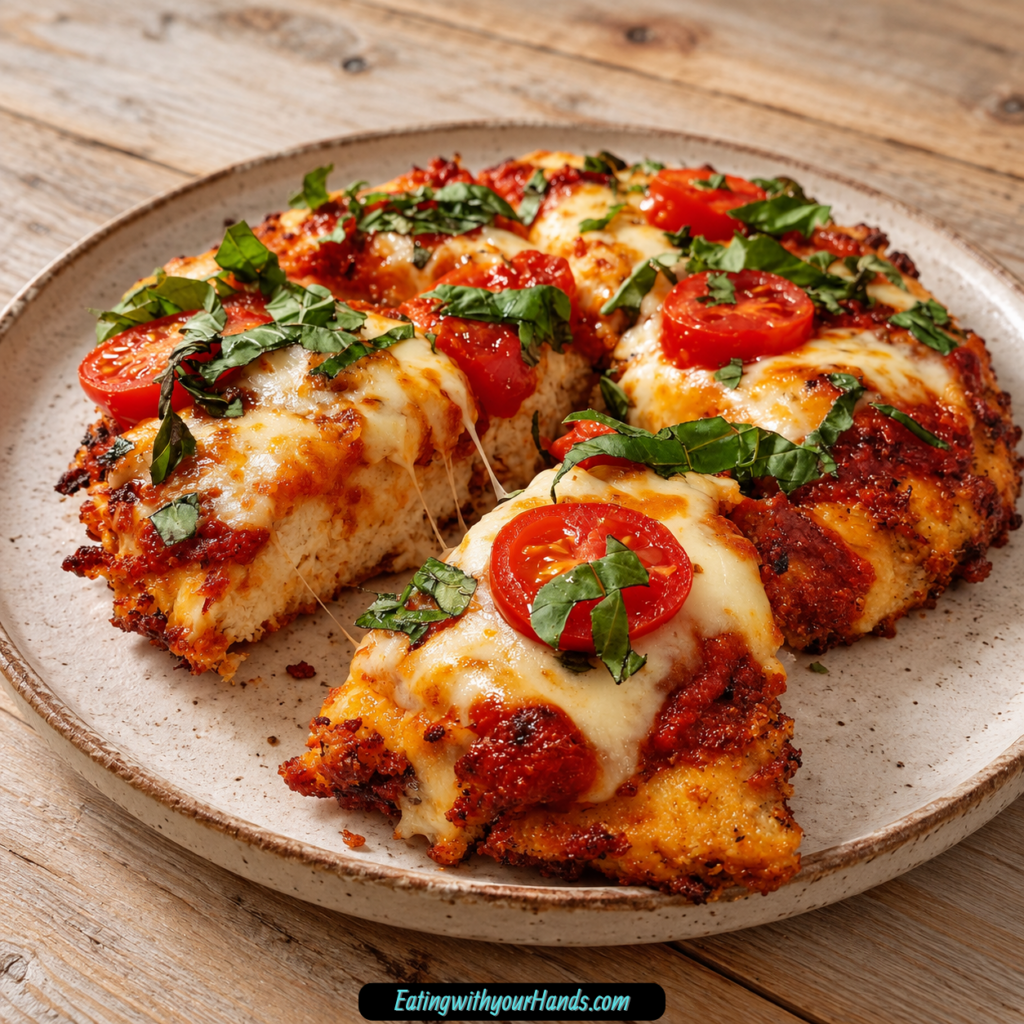
Slice into portions and serve while the cheese is still warm and stretchy.
The nutrition information is based on one generous slice equal to about one-quarter of the whole pizza.
Tips for the Crispiest Chicken Crust
Remove Excess Moisture
Moisture is the biggest challenge when making this crust.
Pat the ground chicken dry before mixing, and do the same with fresh tomato slices before they go on top.
The less unnecessary liquid you introduce, the more easily the crust can brown.
Keep the Crust Thin
About ¼ inch is the sweet spot.
A very thick crust may stay too soft in the center, while an extremely thin one can become dry or burn around the edges.
Take the extra minute to even out the surface before baking.
Use a Fully Preheated Oven
The crust needs immediate heat.
A lukewarm oven allows the chicken to release more moisture before it begins browning, which works against the crisp texture you want.
Do Not Skip the First Bake
The 20-minute bake without toppings is essential.
Trying to cook the crust and toppings at the same time traps too much moisture underneath the sauce and cheese.
Let the chicken become a crust first, then treat it like a pizza base.
Rest Before Adding the Toppings
Two minutes may not sound important, but that short break lets the crust settle.
It is especially helpful when using fresh mozzarella and tomato, both of which bring some moisture to the second bake.
Why Chicken Crust Pizza Can Become Soggy
A soggy crust usually comes down to one of three things: wet chicken, wet toppings, or not enough time in the first bake.
Ground chicken can vary in moisture from package to package. Blotting it before mixing removes some of that extra liquid.
Tomato slices can also release a surprising amount of juice in the oven. Drying them well before topping keeps that moisture off the crust.
Too much sauce creates the same problem. Stick with the ½ cup rather than turning the base into a heavily sauced pizza.
Finally, give the crust its full first bake. It should look golden and firm before any topping goes on.
Chicken Crust Pizza Variations
BBQ Chicken Pizza
Replace the marinara with BBQ sauce.
Add cooked chicken pieces and red onion, then finish the baked pizza with cilantro.
This version changes the personality of the pizza completely. The sweet and smoky sauce works especially well with the savory chicken base.
Meat Lover’s Pizza
Skip the tomato.
Top the crust with pepperoni, cooked sausage, and bacon under the cheese.
Because these toppings are rich and substantial, the pizza becomes much heartier than the classic version.
Veggie Pesto Pizza
Use pesto instead of marinara.
Top with roasted zucchini, mushrooms, and dairy-free mozzarella.
Roasting the vegetables first helps remove extra moisture before they reach the crust.
Breakfast Pizza
Top the baked crust with scrambled eggs, cheddar, and crumbled sausage.
The savory chicken base works surprisingly well with breakfast flavors.
This is an easy way to turn the same crust into a completely different meal.
Using Ground Turkey Instead
Ground turkey can replace the chicken.
Choose 85/15 or 90/10 rather than an extremely lean blend, because very lean turkey may dry out.
Add 1 teaspoon olive oil to the turkey mixture for extra moisture.
The overall method stays the same, although chicken may produce a slightly crisper crust.
Make-Ahead Chicken Crust Pizza
The plain chicken crust can be baked up to 2 days ahead.
Bake it for the full 20 minutes, let it cool, and store it uncovered in the refrigerator.
When you are ready to eat, add the sauce, cheese, and other toppings, then finish it in the oven.
This is a very convenient option for meal prep because the longest stage is already complete.
Fully assembled pizza is not ideal for freezing because the crust can become spongy after thawing.
How to Store Leftovers
Let leftover slices cool before storing them.
Place them in an airtight container and refrigerate for up to 3 days.
The crust naturally softens somewhat in the refrigerator, but the right reheating method can restore much of the original texture.
Avoid packing slices away while they are still hot because trapped steam can make them even softer.
How to Reheat Chicken Crust Pizza
For the best texture, skip the microwave.
Reheat the pizza in an oven or air fryer at 350°F for 3–5 minutes.
The dry heat helps crisp the crust while remelting the cheese.
Add a few fresh basil leaves after reheating if you want the pizza to taste brighter and fresher.
What to Do if the Crust Sticks
Use parchment paper rather than foil.
If you want extra insurance, lightly grease the parchment with olive oil spray before shaping the crust.
Letting the crust cool for about 5 minutes before trying to lift it can also help.
If part of the crust has already stuck, slide a thin spatula underneath while it is still warm and gently work it loose.
Frequently Asked Questions
Can I Use Ground Turkey Instead of Chicken?
Yes.
Use an 85/15 or 90/10 blend so the crust stays moist enough.
Add 1 teaspoon olive oil to the mixture if using turkey.
Why Is My Crust Soggy?
The ground chicken may have been too wet, the toppings may have released too much liquid, or the first bake may have been too short.
Pat the chicken dry, blot tomato slices well, use the correct amount of sauce, and bake the plain crust until the edges are golden.
How Do I Know When the Chicken Crust Is Ready?
Bake it for about 20 minutes at 400°F.
The edges should turn golden and may begin to lift slightly from the parchment.
The surface should look firm enough to support sauce and cheese.
Can I Make the Crust Ahead?
Yes.
Bake the plain crust up to 2 days ahead and store it uncovered in the refrigerator.
Add toppings and complete the final bake just before serving.
Can I Freeze the Finished Pizza?
It is not recommended.
The fully assembled pizza can develop a spongy crust after freezing and thawing.
The make-ahead refrigerated crust is a better option.
Can I Use Fresh Garlic?
Yes.
Replace the ½ teaspoon garlic powder with 1 fresh minced garlic clove.
How Can I Make the Crust Thicker?
Press it less thinly, but remember that the recommended thickness is about ¼ inch.
A much thicker crust may stay softer in the center, so the standard thickness gives the most reliable texture.
Why Did My Crust Stick?
Foil tends to stick more than parchment.
Use parchment paper, lightly grease it if needed, and let the crust cool slightly before lifting.
Chicken Crust Pizza Nutrition
The nutrition estimate is based on one generous slice, approximately ¼ of the whole pizza.
| Nutrient | Estimated Amount Per Serving |
|---|---|
| Calories | 320 |
| Fat | 18g |
| Protein | 32g |
| Net Carbohydrates | 5g |
| Sugar | 3g |
| Sodium | 450mg |
The exact numbers can vary depending on the ground chicken, mozzarella, sauce, and other toppings used.
If sodium is a concern, choosing a lower-salt sauce can reduce the total.
Different topping combinations will naturally change the final nutrition.
A Weeknight Pizza That Doesn’t Feel Like a Compromise
What keeps me coming back to Chicken Crust Pizza is that it never feels like I am settling for something less fun just because I skipped traditional dough.
The cheese still bubbles. The sauce still hits that familiar savory note, and the basil still makes the kitchen smell like pizza night.
The crust simply brings something different to the table. It is more filling, more protein-focused, and sturdy enough to carry plenty of flavor.
That makes it especially useful on busy nights when I want dinner to feel satisfying without requiring much preparation.
There is also something reassuring about how flexible it is. Once the crust method becomes familiar, toppings can change constantly.
One week might be classic marinara and mozzarella. The next could be BBQ chicken, pesto vegetables, or breakfast toppings.
That freedom keeps the recipe from feeling repetitive.
The Secret Is in the First Bake
If there is one stage that matters most, it is baking the plain crust before adding anything wet.
Those first 20 minutes allow the chicken to cook through, release moisture, and develop enough structure to behave like a pizza base.
Skipping or shortening that stage changes the entire result.
Once the edges are golden and the surface feels firm, the crust is ready to handle sauce, cheese, and tomato.
The second bake is much shorter because the hard work has already been done.
That simple two-stage method is what takes the recipe from baked chicken with toppings to something that actually feels like pizza.
Final Thoughts
Chicken Crust Pizza turns ground chicken, Parmesan, egg, garlic, Italian seasoning, salt, and pepper into a thin, savory crust that becomes golden around the edges and sturdy enough to hold classic pizza toppings.
Bake the crust at 400°F for 20 minutes, let it rest briefly, then add marinara, fresh mozzarella, carefully dried tomato slices, and basil before returning it to the oven for another 5–7 minutes.
Keep the classic version simple or change it completely with BBQ sauce, pesto vegetables, breakfast toppings, sausage, bacon, or pepperoni. You can even bake the plain crust up to 2 days ahead when you want pizza night to come together even faster.
For me, the best part is still remembering that first skeptical reaction from my family. A few cheesy, crisp-edged slices later, nobody was asking where the traditional crust had gone.
Unbelievable Chicken Crust Pizza
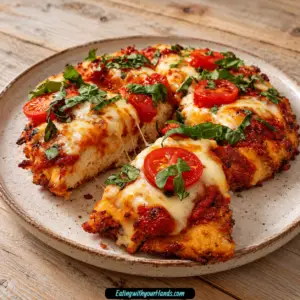
Savory, cheesy, and packed with protein, this Unbelievable Chicken Crust Pizza swaps traditional dough for a flavorful ground chicken base seasoned with parmesan, garlic, and Italian herbs. Finished with marinara, fresh mozzarella, tomato slices, and basil, it delivers classic pizza flavor in a simple low-carb dinner.
Recipe Details
- Prep Time: 10 minutes
- Cook Time: 27 minutes
- Total Time: 37 minutes
- Course: Dinner
- Cuisine: Italian
- Servings: 4 servings
- Calories: 320 kcal
Ingredients
For the Chicken Crust
- Kosher salt and pepper to taste
- 1 teaspoon Italian seasoning
- ½ teaspoon garlic powder
- 1 large egg
- ½ cup finely grated parmesan cheese
- 1 pound ground chicken
For the Toppings
- Fresh basil leaves
- 1 large tomato sliced
- 4 ounce fresh mozzarella cheese
- ½ cup marinara or pizza sauce
Instructions
Step 1: Preheat the Oven
Preheat the oven to 400°F (200°C).
Prepare a lined baking sheet so the chicken mixture can be shaped directly onto the surface.
Step 2: Mix the Chicken Crust
In a bowl, combine the ground chicken, finely grated parmesan cheese, egg, garlic powder, Italian seasoning, kosher salt, and pepper.
Mix until the ingredients are evenly incorporated and the seasoning is distributed throughout the chicken.
Step 3: Shape the Crust
Transfer the chicken mixture to the lined baking sheet.
Press it into a thin, even layer to form the pizza crust. Keeping the thickness consistent will help the crust cook uniformly.
Step 4: Bake the Chicken Base
Bake the crust for 20 minutes, or until it becomes golden and crispy.
Remove it from the oven once the chicken base is cooked and the surface has developed color.
Step 5: Add the Sauce
Spread the marinara or pizza sauce evenly over the baked chicken crust.
Leave the sauce in an even layer so the toppings sit consistently across the surface.
Step 6: Add the Mozzarella and Tomato
Top the sauce with the fresh mozzarella cheese and sliced tomato.
Arrange the toppings evenly so each serving has a balanced amount of cheese and tomato.
Step 7: Finish Baking
Return the pizza to the oven and bake for another 5–7 minutes.
Continue baking until the mozzarella has melted.
Step 8: Garnish and Serve
Remove the pizza from the oven and garnish with fresh basil leaves.
Slice into 4 servings and serve while the cheese is warm.
Notes
- Ensure the crust is evenly pressed for uniform cooking.
- Adjust toppings based on preference.
Serving Suggestions
Serve Unbelievable Chicken Crust Pizza hot after the mozzarella has melted and the basil has been added. The seasoned chicken crust, marinara sauce, fresh mozzarella, tomato, and basil create a simple pizza-style dinner with plenty of savory flavor.
This recipe makes 4 servings and works well for a quick dinner when you want a low-carb alternative to a traditional pizza crust.
For the best texture, keep the chicken mixture thin and evenly pressed before the first bake. You can also adjust the toppings based on preference, as noted.
Storage
How to Store
The recipe does not provide a specific storage method or storage duration, so no exact storage time is added here.
Chicken Tip
Use 1 pound ground chicken for the crust and combine it thoroughly with parmesan, egg, garlic powder, Italian seasoning, salt, and pepper.
Parmesan Tip
Use ½ cup finely grated parmesan cheese. It is mixed directly into the chicken base before shaping.
Seasoning Tip
Use ½ teaspoon garlic powder and 1 teaspoon Italian seasoning, then add kosher salt and pepper to taste.
Crust Tip
Press the chicken mixture into a thin, even crust on the lined baking sheet. Uniform thickness helps it cook evenly.
Sauce Tip
Use ½ cup marinara or pizza sauce and spread it over the crust after the first 20-minute bake.
Topping Tip
Add 4 ounce fresh mozzarella cheese and 1 large sliced tomato before returning the pizza to the oven.
Baking Tip
Bake the crust at 400°F (200°C) for 20 minutes, then add the toppings and bake for another 5–7 minutes until the cheese melts.
Finishing Tip
Garnish with fresh basil leaves before serving.

Fernando is the creator and writer behind the food blog Eating with your Hands. Living and working in cities like Paris, Barcelona, and Berlin, and being married to a Canadian foodie, has given Fernando a passion and interest in food and inspired him to run EWYH.