
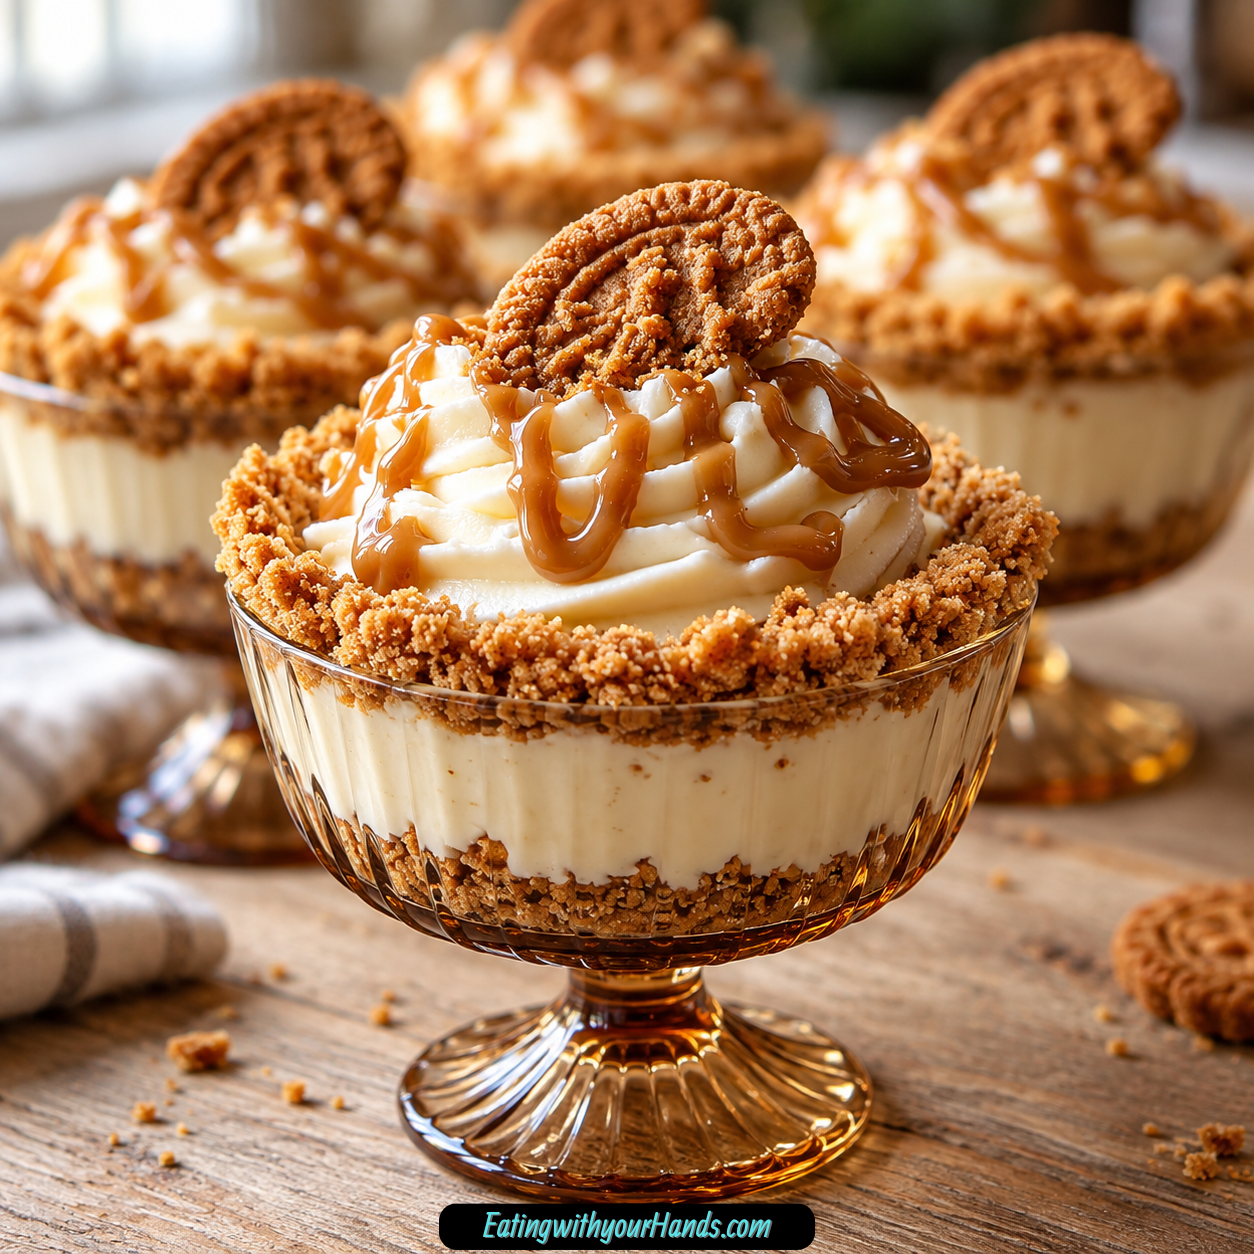
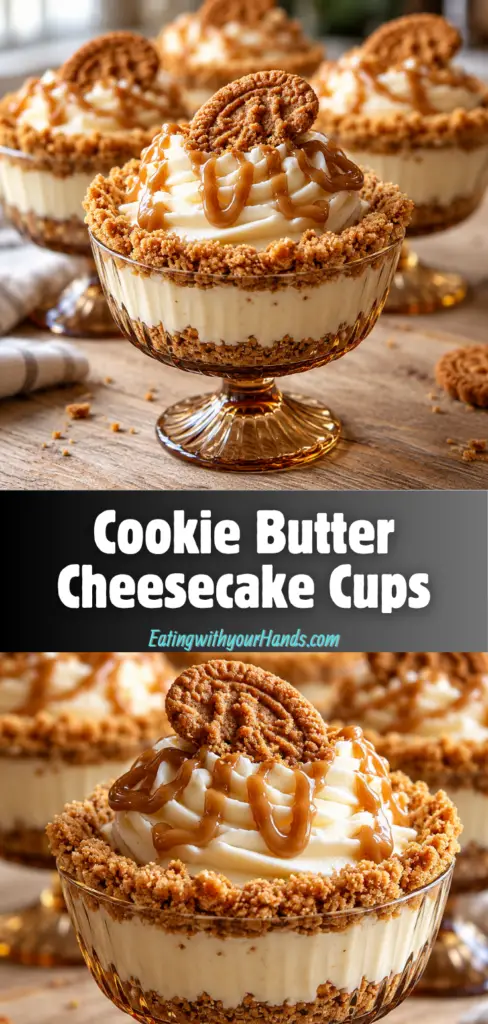
Cookie Butter Cheesecake Cups are the kind of no-bake dessert that feels far more impressive than the effort it takes to make them. They are creamy, spiced, buttery, smooth, and layered into little cups that look beautiful enough for a party but easy enough for an ordinary weeknight.
The flavor is built around cookie butter, that dreamy spread with the cozy taste of spiced cookies and caramelized sweetness. When it is blended with cream cheese, powdered sugar, vanilla, and whipped cream, it turns into a silky cheesecake filling that tastes rich without needing an oven.
The crust is just as simple. Biscoff or speculoos cookie crumbs are mixed with melted butter, then pressed firmly into the bottom of cups, liners, or jars.
That buttery crumb layer gives each spoonful the perfect contrast. The bottom is crisp and cookie-like, while the filling is soft, creamy, and full of cookie butter flavor.
These cheesecake cups are especially useful when you need a dessert that looks thoughtful but does not require baking. They work for birthdays, potlucks, family dinners, parties, or those nights when you want a cold little treat waiting in the refrigerator.
The recipe is also wonderfully make-ahead friendly. The cups need at least 2 hours to chill, and they taste even better after the filling has time to set.
Right before serving, drizzle extra cookie butter over the top and add crushed Biscoff cookies. That final touch makes them look finished, but it also adds more flavor and crunch.
Cookie Butter Cheesecake Cups are small, rich, and satisfying. They have the comfort of cookies, the creaminess of cheesecake, and the ease of a no-bake dessert.
Table of Contents
- Why You’ll Love Cookie Butter Cheesecake Cups
- Recipe Details
- Ingredients
- Ingredient Notes
- Optional Swaps, Variations, Add-Ins, and Serving Ideas
- Classic Cookie Butter Cheesecake Cups
- Chocolate Cookie Butter Cheesecake Cups
- Peanut Butter Cheesecake Cups
- Almond Butter Cheesecake Cups
- Raspberry Cookie Butter Cups
- Strawberry Jam Cookie Butter Cups
- Salted Caramel Cookie Butter Cups
- Mini Cookie Butter Cheesecake Bites
- Graham Cracker Cookie Butter Cups
- Vanilla Wafer Cheesecake Cups
- Lighter Cookie Butter Cheesecake Cups
- Less Sweet Cookie Butter Cups
- Why This Recipe Works
- Directions
- Step 1: Prepare the Cups
- Step 2: Make the Cookie Crumbs
- Step 3: Mix the Crust
- Step 4: Press the Crust Into Cups
- Step 5: Soften the Cream Cheese
- Step 6: Beat the Cheesecake Base
- Step 7: Fix Grainy Texture if Needed
- Step 8: Whip the Heavy Cream
- Step 9: Fold in the First Batch of Whipped Cream
- Step 10: Fold in the Remaining Whipped Cream
- Step 11: Fill the Cups
- Step 12: Chill the Cheesecake Cups
- Step 13: Firm Quickly if Needed
- Step 14: Warm Cookie Butter for Drizzling
- Step 15: Garnish Before Serving
- Step 16: Serve Chilled
- Step 17: Store Leftovers
- Step 18: Freeze for Later
- Serving Ideas
- Storage
- Freezing
- Make-Ahead
- Helpful Notes for Best Results
- Variations
- Classic Cookie Butter Cheesecake Cups
- Chocolate Cookie Butter Cheesecake Cups
- Peanut Butter Cheesecake Cups
- Almond Butter Cheesecake Cups
- Raspberry Cookie Butter Cheesecake Cups
- Strawberry Jam Cheesecake Cups
- Salted Caramel Cheesecake Cups
- Mini Cookie Butter Cheesecake Cups
- Graham Cracker Cheesecake Cups
- Vanilla Wafer Cheesecake Cups
- Lighter Cheesecake Cups
- Less Sweet Cheesecake Cups
- Troubleshooting
- Frequently Asked Questions
- Can I freeze these cheesecake cups?
- What if I do not have Biscoff cookies for the crust?
- Can I use peanut butter instead of cookie butter?
- My filling is too soft. What went wrong?
- Can I make these ahead for a party?
- Can I make mini cheesecake cups?
- Can I make them less sweet?
- Do they need to be served cold?
- Why This Recipe Works So Well
- Final Thoughts
- Cookie Butter Cheesecake Cups
Why You’ll Love Cookie Butter Cheesecake Cups
These cups are no-bake. They are perfect when you do not want to turn on the oven.
They come together quickly. The active prep takes about 15 minutes before chilling.
They use simple ingredients. Cookie crumbs, butter, cream cheese, powdered sugar, cookie butter, vanilla, and heavy cream create the whole dessert.
They have great texture. The buttery crust gives crunch, while the filling is light, creamy, and smooth.
They are easy to customize. Chocolate, fruit, caramel, sea salt, peanut butter, and different crusts can all work.
They are party-friendly. Clear cups or jars show off the layers and make serving simple.
Recipe Details
This is a no-bake dessert. The cups need chilling time instead of oven time.
The crust uses 1 cup Biscoff or speculoos cookie crumbs and 3 tablespoons melted butter. If the mixture feels too dry, add another ½ tablespoon butter.
The cookie crumbs should be fine. You can crush them in a blender or use pre-crumbed cookies.
The filling uses 8 oz softened cream cheese. It should be taken out of the refrigerator at least 1 hour ahead for smooth mixing.
The filling also includes ¾ cup powdered sugar, ½ cup smooth cookie butter, 1 teaspoon vanilla extract, and 1 cup cold heavy whipping cream.
The heavy whipping cream should be cold and whipped to stiff peaks. This gives the filling its light texture.
The whipped cream is folded into the cream cheese mixture in two batches. Gentle folding helps keep air in the filling.
The cheesecake cups should chill for at least 2 hours. Overnight chilling is even better for flavor and texture.
The garnish uses extra cookie butter and crushed Biscoff cookies. Add the garnish right before serving for the best look and texture.
Ingredients
For the Crust
- 1 cup Biscoff or speculoos cookie crumbs
- 3 tablespoon melted butter
For the Filling
- 8 oz cream cheese
- ¾ cup powdered sugar
- ½ cup cookie butter
- 1 teaspoon vanilla extract
- 1 cup heavy whipping cream
For Garnish
- Extra cookie butter
- Crushed Biscoff cookies, optional
Optional Swaps, Add-Ins, and Finishes
- ½ tablespoon extra melted butter
- 2 tablespoon cocoa powder
- Melted chocolate
- Mini chocolate chips
- Peanut butter
- ½ teaspoon cinnamon
- Almond butter
- Fresh raspberries
- Strawberry jam
- Caramel extract
- Flaky sea salt
- Graham cracker crumbs
- Pinch of nutmeg
- Vanilla wafers
- Low-fat cream cheese
- Whipped cream
Ingredient Notes
Biscoff or speculoos cookie crumbs create the best crust for this dessert. Their warm spiced flavor matches the cookie butter filling beautifully.
Melted butter holds the crumbs together. Let it cool slightly before mixing so the crumbs do not become greasy.
Cream cheese creates the cheesecake base. It must be softened so the filling becomes smooth instead of lumpy.
Powdered sugar sweetens the filling and blends smoothly. Sift it first if it looks clumpy.
Smooth cookie butter is the star of the filling. Use smooth rather than chunky for the creamiest texture.
Vanilla extract rounds out the caramelized cookie flavor. It gives the filling a fuller taste.
Cold heavy whipping cream is important. It whips into stiff peaks and lightens the filling.
Extra cookie butter makes the perfect drizzle. Warm it slightly only if needed so it flows.
Crushed Biscoff cookies add crunch on top. They are optional but highly recommended.
Optional Swaps, Variations, Add-Ins, and Serving Ideas
Classic Cookie Butter Cheesecake Cups
Make the crust with Biscoff or speculoos crumbs and melted butter. Fill with the cookie butter cream cheese mixture and garnish with cookie butter drizzle and crushed cookies.
This version gives the full spiced cookie flavor. Serve chilled.
Chocolate Cookie Butter Cheesecake Cups
Add 2 tablespoon cocoa powder to the filling. Drizzle with melted chocolate instead of cookie butter.
Mini chocolate chips can be sprinkled on top. This variation is rich and chocolatey.
Peanut Butter Cheesecake Cups
Use peanut butter instead of cookie butter. Add ½ teaspoon cinnamon to mimic some of the spiced cookie flavor.
The taste will be different but still creamy and satisfying. Use smooth peanut butter for the best texture.
Almond Butter Cheesecake Cups
Use almond butter for a milder nutty flavor. The filling will taste less like Biscoff but still rich.
Add cinnamon if you want more warmth. Keep the texture smooth.
Raspberry Cookie Butter Cups
Top the cheesecake cups with fresh raspberries. The tart fruit contrasts nicely with the sweet filling.
Add the berries right before serving. This keeps them fresh.
Strawberry Jam Cookie Butter Cups
Add a dollop of strawberry jam on top. It creates a sweet-tart finish.
Use a small amount so it does not overpower the cookie butter. Swirl lightly if desired.
Salted Caramel Cookie Butter Cups
Swap the vanilla extract for caramel extract. Finish with a sprinkle of flaky sea salt.
This gives the cups a salted caramel direction. Keep the salt light.
Mini Cookie Butter Cheesecake Bites
Make the recipe in a mini muffin tin. These bite-sized versions are perfect for parties.
Chill until firm before removing. Silicone liners make release easier.
Graham Cracker Cookie Butter Cups
Use graham cracker crumbs instead of Biscoff cookies. Add ½ teaspoon cinnamon and a pinch of nutmeg to mimic the cozy spice.
This is a good option when Biscoff cookies are not available. The flavor will be different but still delicious.
Vanilla Wafer Cheesecake Cups
Use vanilla wafers for the crust. They create a buttery, sweet base.
This variation tastes less spiced. Add cinnamon if you want warmth.
Lighter Cookie Butter Cheesecake Cups
Use low-fat cream cheese or whipped cream for a lighter option. The texture will be less rich.
The cups will still taste good. Keep them well chilled.
Less Sweet Cookie Butter Cups
Reduce the powdered sugar to ½ cup. Cookie butter already brings plenty of sweetness.
This makes the filling a little less sweet. It is helpful if you prefer a more balanced dessert.
Why This Recipe Works
This recipe works because the crust and filling balance each other. The crust is buttery and crisp, while the filling is creamy and soft.
Cookie butter brings a deep spiced cookie flavor. It makes the filling taste rich without needing many ingredients.
Cream cheese adds tang and structure. It keeps the filling from tasting only sweet.
Powdered sugar sweetens the mixture smoothly. It dissolves into the cream cheese base without graininess when beaten well.
Whipped cream makes the filling lighter. Folding it in gently keeps the texture fluffy.
Chilling allows the cups to set. At least 2 hours gives the filling time to firm, while overnight chilling makes the texture even better.
Garnishing right before serving keeps the top fresh. The drizzle looks glossy, and the crushed cookies keep more crunch.
The recipe also works because it is adaptable. Chocolate, fruit, caramel, peanut butter, almond butter, and different crusts all fit the same no-bake method.
Directions
Step 1: Prepare the Cups
Choose muffin cups, silicone liners, clear cups, small jars, or a mini muffin tin. Silicone liners are helpful if you want easy removal.
Set the cups on a tray so they are easy to move to the refrigerator. This keeps assembly neat.
Step 2: Make the Cookie Crumbs
Crush Biscoff or speculoos cookies until you have 1 cup fine crumbs. A blender works well for this.
The crumbs should be fine enough to pack together. Larger pieces can make the crust fall apart.
Step 3: Mix the Crust
Place the cookie crumbs in a bowl and add 3 tablespoons melted butter. Stir until the mixture looks like wet sand.
If it feels too dry, add another ½ tablespoon melted butter. The mixture should hold when pressed.
Step 4: Press the Crust Into Cups
Spoon the crumb mixture into the bottom of each cup. Press firmly with the back of a spoon, small glass, or measuring cup.
Pack the crust tightly so it holds together. An even crust makes each cup easier to eat.
Step 5: Soften the Cream Cheese
Make sure the 8 oz cream cheese is softened before mixing. Take it out of the refrigerator at least 1 hour ahead.
If it is still too cold, microwave it unwrapped in 10-second bursts. It should be soft but not melted.
Step 6: Beat the Cheesecake Base
In a large bowl, beat the softened cream cheese, ¾ cup powdered sugar, ½ cup smooth cookie butter, and 1 teaspoon vanilla extract. Mix until completely smooth.
Scrape the bowl a few times as you beat. This helps remove hidden lumps.
Step 7: Fix Grainy Texture if Needed
If the mixture looks grainy, keep beating. The powdered sugar may need a little more time to blend.
The base should look silky before the whipped cream is added. Smooth filling starts here.
Step 8: Whip the Heavy Cream
In a separate bowl, beat 1 cup cold heavy whipping cream until stiff peaks form. The cream should hold its shape.
Cold cream whips better. Do not use spray whipped cream for this step.
Step 9: Fold in the First Batch of Whipped Cream
Add about half of the whipped cream to the cream cheese mixture. Fold gently with a spatula.
Use slow, broad strokes. This keeps the filling airy.
Step 10: Fold in the Remaining Whipped Cream
Add the second half of the whipped cream. Continue folding until the mixture is combined.
Do not overmix. Overmixing can make the filling dense.
Step 11: Fill the Cups
Spoon or pipe the cheesecake filling over the crusts. Leave a little room at the top for garnish.
Smooth the tops with a spoon or small knife. Keep the layers neat if using clear cups.
Step 12: Chill the Cheesecake Cups
Place the cups in the refrigerator and chill for at least 2 hours. Overnight chilling is even better.
The filling sets as it chills. The flavors also become richer.
Step 13: Firm Quickly if Needed
If the filling is too soft and you are in a hurry, place the cups in the freezer for 30 minutes. This helps them firm faster.
Do not forget them in the freezer if you only need a quick set. They should be chilled, not frozen solid for serving.
Step 14: Warm Cookie Butter for Drizzling
If the extra cookie butter is too thick to drizzle, warm it slightly. Stir until smooth.
Use just enough warmth to make it pourable. Do not make it hot.
Step 15: Garnish Before Serving
Right before serving, drizzle extra cookie butter over the cups. Sprinkle crushed Biscoff cookies on top if using.
Adding the garnish at the end keeps the topping fresher. It also makes the cups look polished.
Step 16: Serve Chilled
Serve the cheesecake cups straight from the refrigerator. They taste best cold.
Use spoons if serving in jars or clear cups. If using silicone liners, remove gently after they have set.
Step 17: Store Leftovers
Cover leftovers and refrigerate for up to 3 days. The crust may soften slightly over time.
Keep the cups chilled until serving. The flavor becomes richer as they sit.
Step 18: Freeze for Later
Freeze ungarnished cups in an airtight container for up to 1 month. Thaw overnight in the refrigerator.
Add drizzle and crushed cookies after thawing. The texture may be slightly denser but still delicious.
Serving Ideas
Serve Cookie Butter Cheesecake Cups chilled. The cold filling makes the texture smooth and creamy.
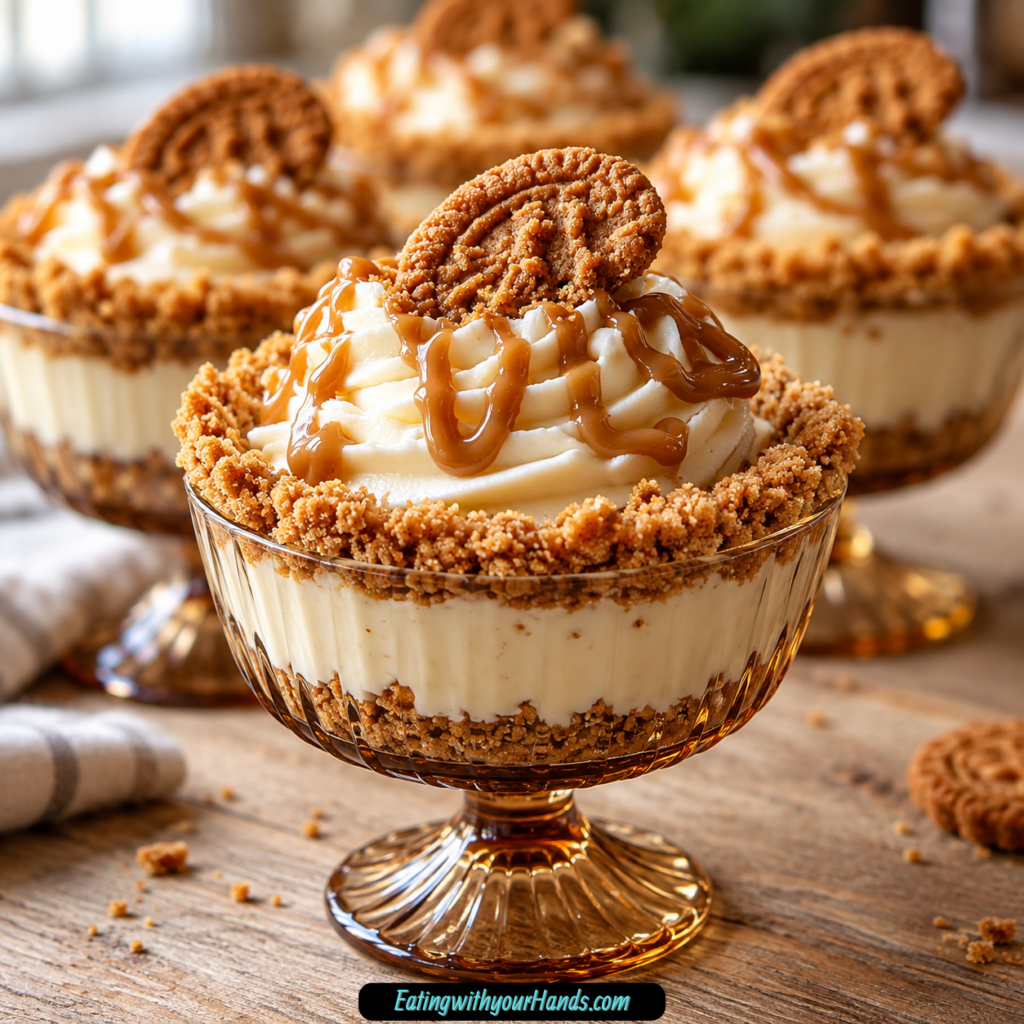
Use clear cups or jars for a pretty layered look. The cookie crust and cheesecake filling are too lovely to hide.
Top each cup with a Biscoff cookie for a simple decoration. It makes the dessert look instantly finished.
Drizzle cookie butter at the table if you want a dramatic serving moment. The glossy drizzle makes the cups feel special.
Add crushed cookies right before serving. This keeps the garnish crunchy.
Serve them for birthdays, potlucks, or parties. They are easy to portion and do not need slicing.
Make mini versions for dessert trays. Bite-sized cups are perfect for guests.
Keep one tucked away in the refrigerator for later. These little desserts disappear quickly.
Storage
Store the cheesecake cups covered in the refrigerator. They keep for up to 3 days.
The crust may soften slightly as the cups sit. The flavor becomes richer.
For the best texture, garnish right before serving. Crushed cookies stay crunchier this way.
Use an airtight container or cover the cups well. This keeps the filling fresh.
If using jars, lids make storage easy. If using cups, cover the tray carefully.
Keep the cups chilled until ready to serve. The filling is meant to be cold and set.
Do not leave the cups uncovered in the refrigerator. The filling can absorb other flavors.
Freezing
Freeze cheesecake cups without garnish for the best result. Place them in an airtight container.
They can be frozen for up to 1 month. The texture may become a little denser after thawing.
Thaw overnight in the refrigerator. Do not thaw at room temperature for long.
Add cookie butter drizzle and crushed cookies after thawing. This keeps the garnish fresh.
Mini cheesecake cups can also be frozen. Freeze them in a single layer first.
Once firm, they can be stored more compactly. Keep them protected from freezer air.
Freezing is helpful for planning ahead. These cups can be made before a party and finished the day of serving.
Make-Ahead
These cups are excellent for make-ahead dessert planning. Make them 1 to 2 days in advance and keep them chilled.
Wait to garnish until just before serving. This keeps the cookie crumbs crisp and the drizzle pretty.
The filling tastes even better after a night in the refrigerator. The cookie butter flavor becomes deeper.
You can prepare the crusts ahead. Press them into cups and chill until ready to fill.
You can also make the filling ahead and pipe it into the cups later. Keep it covered and chilled.
For parties, use clear cups or jars. They make serving easier and show off the layers.
Make-ahead cheesecake cups are useful when you want dessert ready before guests arrive. They keep stress low and flavor high.
Helpful Notes for Best Results
Use softened cream cheese. Cold cream cheese causes lumps.
Use cold heavy whipping cream. Cold cream whips to stiff peaks more easily.
Whip the cream until stiff peaks form. Soft whipped cream can make the filling too loose.
Fold gently. Overmixing can deflate the whipped cream and make the filling dense.
Chill at least 2 hours. Overnight is even better.
If the filling is too soft, freeze for 30 minutes. This helps it firm quickly.
Reduce powdered sugar to ½ cup if you want the dessert less sweet. Cookie butter already adds sweetness.
If you do not have Biscoff cookies, use graham cracker crumbs with cinnamon and nutmeg. Vanilla wafers also work.
Variations
Classic Cookie Butter Cheesecake Cups
Use Biscoff or speculoos crumbs, melted butter, cream cheese, powdered sugar, cookie butter, vanilla, heavy whipping cream, and cookie butter garnish. This is the full classic version.
Chill well before serving. Garnish right before eating.
Chocolate Cookie Butter Cheesecake Cups
Add 2 tablespoon cocoa powder to the filling. Drizzle melted chocolate over the top instead of cookie butter.
Add mini chocolate chips for extra chocolate flavor. This version is rich and dessert-like.
Peanut Butter Cheesecake Cups
Use peanut butter instead of cookie butter. Add ½ teaspoon cinnamon for warmth.
The flavor will change, but the texture remains creamy. Smooth peanut butter works best.
Almond Butter Cheesecake Cups
Use almond butter for a milder nutty version. It will be less spiced than cookie butter.
Add a little cinnamon if desired. Keep the filling smooth.
Raspberry Cookie Butter Cheesecake Cups
Top the cups with fresh raspberries. The tartness balances the sweet filling.
Add berries right before serving. This keeps them bright and fresh.
Strawberry Jam Cheesecake Cups
Add a dollop of strawberry jam on top. The fruitiness contrasts with the spiced cookie butter.
Use a small amount. Too much jam can overpower the filling.
Salted Caramel Cheesecake Cups
Swap vanilla extract for caramel extract. Sprinkle flaky sea salt on top.
This creates a salted caramel-style dessert. Keep the salt delicate.
Mini Cookie Butter Cheesecake Cups
Make the dessert in a mini muffin tin. These are perfect for parties.
Use silicone liners if possible. They make removal much easier.
Graham Cracker Cheesecake Cups
Use graham cracker crumbs instead of Biscoff crumbs. Add ½ teaspoon cinnamon and a pinch of nutmeg.
This gives a warm spiced flavor. The crust will taste different but still good.
Vanilla Wafer Cheesecake Cups
Use vanilla wafers for the crust. They give a sweet, buttery base.
This option is simple and mild. Add cookie butter garnish for stronger flavor.
Lighter Cheesecake Cups
Use low-fat cream cheese or whipped cream. The texture will be less rich.
Keep the cups well chilled. They will still be delicious.
Less Sweet Cheesecake Cups
Reduce the powdered sugar to ½ cup. The cookie butter brings plenty of sweetness.
This version tastes a little more balanced. It is still creamy and indulgent.
Troubleshooting
The Filling Is Runny
The heavy cream may not have been whipped to stiff peaks. Stiff peaks are important for structure.
The cups may also need more chill time. Overnight chilling is ideal.
The Filling Has Lumps
The cream cheese was probably too cold. Soften it before mixing.
Microwave unwrapped cream cheese in 10-second bursts if needed. It should be soft but not melted.
The Crust Falls Apart
The crumbs may need more butter. Add another ½ tablespoon melted butter if the mixture is too dry.
Press the crust firmly into each cup. A tight crust holds better.
The Crust Is Greasy
The butter may have been too hot or too much was added. Let melted butter cool slightly before mixing.
Use just enough butter to moisten the crumbs. The texture should resemble wet sand.
The Filling Is Too Sweet
Reduce the powdered sugar to ½ cup next time. Cookie butter is already sweet.
Add fruit like raspberries for contrast. Tart toppings help balance sweetness.
The Filling Is Dense
The whipped cream may have been overmixed into the base. Fold gently with broad strokes.
Do not beat the whipped cream into the filling. Folding keeps the texture light.
The Cups Did Not Set
They may need more time in the refrigerator. Chill at least 2 hours, preferably overnight.
For a quick fix, use the freezer for 30 minutes. Then return to the refrigerator.
The Garnish Looks Messy
Warm the cookie butter only slightly so it drizzles smoothly. Do not make it hot and runny.
Use crushed cookies sparingly. A little garnish looks cleaner.
The Crust Softened
This can happen during storage. The dessert is still good.
Add crushed cookies right before serving for fresh crunch. Garnishing late helps texture.
The Dessert Tastes Different with Substitutions
Peanut butter, almond butter, graham crackers, vanilla wafers, and dairy-free swaps all change the flavor. They can still be delicious, but they will not taste exactly like cookie butter.
Use Biscoff or speculoos cookies and smooth cookie butter for the most classic result. Keep the filling chilled.
Frequently Asked Questions
Can I freeze these cheesecake cups?
Yes, freeze them without garnishes in an airtight container for up to 1 month. Thaw overnight in the refrigerator.
Add toppings before serving. The texture may be slightly denser after freezing.
Graham crackers work too. Add a pinch of cinnamon to the crumbs for a warm spiced flavor.
You can also use vanilla wafers. They give a buttery twist.
Yes, peanut butter can be used. The flavor will be different but still delicious.
Add ½ teaspoon cinnamon to mimic some of the Biscoff spice. Almond butter also works for a milder flavor.
My filling is too soft. What went wrong?
The cream may not have been whipped enough, or the cups may need more chilling time. Stiff peaks are key.
Place them in the freezer for 30 minutes if you need a quick firm-up. Overnight chilling gives the best set.
Can I make these ahead for a party?
Yes, make them 1 to 2 days in advance and keep them chilled. They often taste better after a night in the refrigerator.
Garnish right before serving. This keeps the topping pretty and fresh.
Can I make mini cheesecake cups?
Yes, use a mini muffin tin. These are great for parties.
Use silicone liners for easy removal. Chill until firm before serving.
Can I make them less sweet?
Yes, reduce the powdered sugar to ½ cup. The cookie butter already adds sweetness.
You can also top with fresh raspberries for tart contrast. That helps balance the dessert.
Do they need to be served cold?
Yes, these cheesecake cups are best served chilled. The filling sets in the refrigerator.
Keep them cold until serving. This gives the best texture.
Why This Recipe Works So Well
Cookie Butter Cheesecake Cups work because they combine a simple crumb crust with a light no-bake filling. The crust gives buttery crunch, while the filling brings smooth cheesecake richness.
Cookie butter gives the dessert its signature flavor. It tastes warmly spiced, sweet, and cozy.
Cream cheese provides tang and body. Powdered sugar sweetens the filling without adding grit when beaten well.
Whipped cream makes the filling airy. Folding it in gently keeps the cheesecake cups from feeling too heavy.
The chilling time is what sets the dessert. Two hours is the minimum, but overnight gives the best texture.
The recipe also works because it can be served in many ways. Muffin cups, silicone liners, clear cups, jars, and mini muffin tins all make sense.
The garnish adds the final touch. Cookie butter drizzle and crushed cookies make the cups look finished and taste even better.
Most of all, these no-bake cups work because they feel special without being stressful. They are creamy, cozy, easy, and made for sharing.
Final Thoughts
Cookie Butter Cheesecake Cups are made with a Biscoff or speculoos cookie crumb crust, melted butter, softened cream cheese, powdered sugar, smooth cookie butter, vanilla extract, cold heavy whipping cream, extra cookie butter, and optional crushed Biscoff cookies. They are no-bake, creamy, spiced, and ready with about 15 minutes of prep before chilling.
Serve them cold in clear cups, jars, muffin cups, or mini portions, then finish with cookie butter drizzle and crunchy cookie crumbs. With their 3-day refrigerator storage, 1-month freezer option, make-ahead party method, and variations like chocolate filling, melted chocolate, mini chocolate chips, peanut butter, almond butter, raspberries, strawberry jam, caramel extract, flaky sea salt, graham crackers, cinnamon, nutmeg, vanilla wafers, low-fat cream cheese, whipped cream, and reduced powdered sugar, these cheesecake cups are an easy no-bake dessert that feels cozy, creamy, and wonderfully indulgent.
Cookie Butter Cheesecake Cups
Creamy, sweet, no-bake, and full of cookie butter flavor, these Cookie Butter Cheesecake Cups are made with a Biscoff or speculoos crumb crust and a fluffy cream cheese filling. A drizzle of extra cookie butter and optional cookies on top make each cup feel rich, simple, and perfect for an easy dessert.
Recipe Details
- Prep Time: 15 minutes
- Total Time: 15 minutes
- Course: Dessert
- Cuisine: American
- Servings: 6 cups
Equipment
- Mixing bowl
- electric mixer
- muffin tin or cups
Ingredients
For Garnish
- extra cookies optional
For the Filling
- 1 cup heavy whipping cream
- 1 teaspoon vanilla extract
- ½ cup cookie butter plus extra for drizzling
- ¾ cup powdered sugar
- 8 oz cream cheese softened
For the Crust
- 3 tablespoon melted butter
- 1 cup Biscoff or speculoos cookie crumbs
Instructions
Step 1: Make the Cookie Crust
Mix the Biscoff or speculoos cookie crumbs with the melted butter until combined. The crumbs should be evenly moistened so they can press together into a crust.
Press the mixture into the bottom of muffin cups or a muffin tin. Form an even crust layer in each cup before adding the cheesecake filling.
Step 2: Beat the Cream Cheese Mixture
In a bowl, beat the softened cream cheese, powdered sugar, cookie butter, and vanilla extract until smooth. The mixture should look creamy and fully blended.
Use softened cream cheese so the filling mixes evenly. The cookie butter gives the cheesecake cups their main sweet, spiced cookie flavor.
Step 3: Whip the Heavy Cream
In another bowl, whip the heavy whipping cream until stiff peaks form. The whipped cream should be thick enough to hold its shape.
This step helps make the filling lighter and fluffier. Once stiff peaks form, the whipped cream is ready to fold into the cream cheese mixture.
Step 4: Fold the Filling Together
Fold the whipped cream into the cream cheese mixture. Work gently so the filling stays airy while becoming smooth and even.
Continue folding until no large streaks remain. The finished filling should be creamy, fluffy, and easy to spoon over the crusts.
Step 5: Fill and Chill
Spoon the filling over the crust in the muffin cups. Smooth the tops lightly so each cheesecake cup looks even.
Chill for at least 2 hours before serving. For best results, chill the cheesecake cups overnight so they can set completely.
Step 6: Garnish and Serve
Drizzle with extra cookie butter before serving. Garnish with extra cookies if desired.
Serve the cheesecake cups chilled. Each cup should have a buttery cookie crumb crust, creamy cookie butter filling, and optional cookie garnish.
Notes
- For best results, chill the cheesecake cups overnight to set completely.
Serving Suggestions
Serve Cookie Butter Cheesecake Cups chilled after they have had time to set. The Biscoff or speculoos crust, cookie butter cheesecake filling, whipped cream, and vanilla create a creamy dessert with rich cookie flavor in every bite.
Drizzle extra cookie butter over the top just before serving. Add extra cookies if desired for a simple garnish and a little crunch.
These cups make 6 servings, so they are easy to portion for small gatherings, dessert trays, make-ahead treats, or individual sweet cups. For the best texture, chill them overnight as noted.
Storage
How to Store
The recipe does not provide a specific storage duration, so no exact storage time is added here.
Chilling Tip
Chill the cheesecake cups for at least 2 hours before serving. For best results, chill overnight so the filling sets completely.
Crust Tip
Use 1 cup Biscoff or speculoos cookie crumbs with 3 tablespoon melted butter. Press the mixture firmly into the bottom of each muffin cup or cup.
Filling Tip
Beat the softened cream cheese, powdered sugar, cookie butter, and vanilla until smooth before folding in the whipped cream. This helps the filling stay creamy.
Whipped Cream Tip
Whip the heavy whipping cream until stiff peaks form. Fold it gently into the cream cheese mixture so the filling stays light.
Garnish Tip
Drizzle with extra cookie butter before serving. Add extra cookies if desired for a simple finished look.

Fernando is the creator and writer behind the food blog Eating with your Hands. Living and working in cities like Paris, Barcelona, and Berlin, and being married to a Canadian foodie, has given Fernando a passion and interest in food and inspired him to run EWYH.