
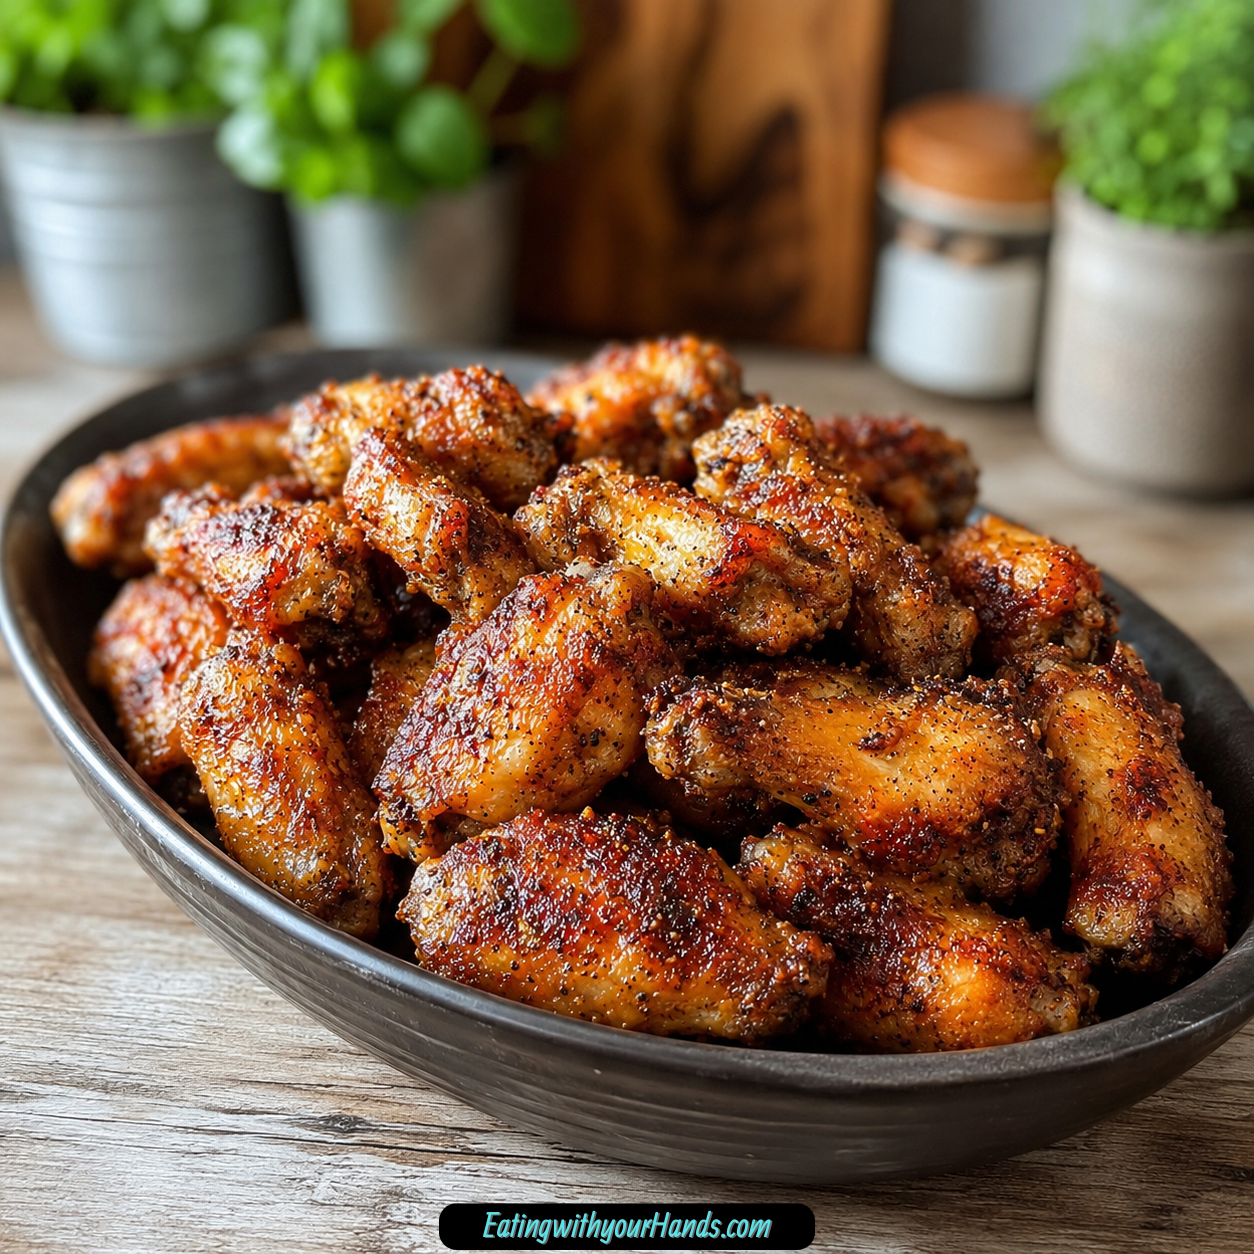
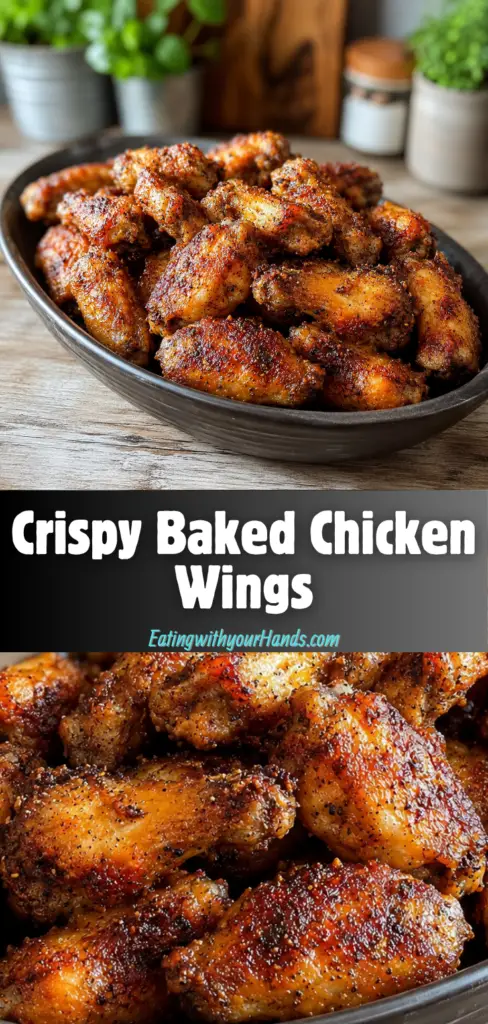
Crispy Baked Chicken Wings are the kind of food that instantly changes the mood of a table. The moment a tray of golden wings comes out of the oven, everything feels a little more relaxed, a little louder, and a lot more fun.
There is something timeless about sharing chicken wings with people you love. Whether they show up for a game night, a summer dinner, a backyard-style meal, or a quiet evening at home, they bring that easy feeling of everyone reaching in, laughing, and choosing their favorite piece.
These wings are baked, not fried, but they still deliver the crisp texture everyone hopes for. The secret in this recipe is baking powder, and it is important to use baking powder, not baking soda, because that detail is key for crispiness.
The seasoning is simple and pantry-friendly. Salt, garlic powder, onion powder, paprika, and black pepper coat the wings with savory flavor before they bake at high heat.
Because the oven does the work, this recipe keeps things easy. The active time is only about 10 minutes, and there is no messy frying setup to manage afterward.
The finished wings are crisp, golden, flavorful, and ready for dipping sauces, crunchy vegetables, or a full plate of sides. Serve them hot from the oven with ranch, blue cheese, celery sticks, carrot sticks, fries, coleslaw, or your favorite sauce, and they will disappear fast.
Table of Contents
- Why You’ll Love These Crispy Baked Chicken Wings
- Recipe Details
- Ingredients
- Ingredient Notes
- Optional Sauces, Seasonings, and Flavor Variations
- Why This Recipe Works
- Directions
- Step 1: Preheat the Oven
- Step 2: Gather the Ingredients
- Step 3: Prepare the Chicken Wings
- Step 4: Use Fresh Paper Towels If Needed
- Step 5: Choose a Mixing Bowl
- Step 6: Add the Baking Powder
- Step 7: Add the Salt
- Step 8: Add the Garlic Powder
- Step 9: Add the Onion Powder
- Step 10: Add the Paprika
- Step 11: Add the Black Pepper
- Step 12: Mix the Seasoning
- Step 13: Add the Wings to the Seasoning
- Step 14: Check the Coating
- Step 15: Prepare the Baking Sheet
- Step 16: Leave Room Between the Wings
- Step 17: Place the Wings in the Oven
- Step 18: Bake the First Half
- Step 19: Flip the Wings Halfway Through
- Step 20: Finish Baking
- Step 21: Check the Texture
- Step 22: Rest Briefly
- Step 23: Add Sauce If Desired
- Step 24: Serve Hot
- Serving Ideas
- Storage
- Reheating
- Freezing
- Make-Ahead
- Helpful Notes for Best Results
- Variations
- Troubleshooting
- Frequently Asked Questions
- Why This Recipe Works So Well
- Final Thoughts
- Crispy Baked Chicken Wings
Why You’ll Love These Crispy Baked Chicken Wings
These Crispy Baked Chicken Wings are quick and easy to prepare. The active time is only about 10 minutes, which makes them practical even when the day already feels full.
They bake up with a perfectly crispy texture without the mess of frying. There is no large pot of oil, no splatter, and no heavy cleanup afterward.
The recipe uses minimal ingredients that you likely already have in the pantry. Chicken wings, baking powder, salt, garlic powder, onion powder, paprika, and black pepper are all you need for the main version.
They are family-friendly and easy to love. The flavor is savory and simple enough for picky eaters, while still being flexible enough for people who want extra sauce or heat.
These wings are great for meal prep because they can be frozen for later use. Once cooled, they can be stored in an airtight container or freezer bag and frozen for up to 3 months.
They are also versatile. You can keep them classic, add hot sauce, use lemon pepper seasoning, finish them with BBQ sauce, add herbs, or take them in an Asian-inspired direction with soy sauce and sesame oil.
Recipe Details
Crispy Baked Chicken Wings are baked at 425°F, or 220°C. This high oven temperature is important for achieving crispy skin.
The recipe uses 2 pounds of chicken wings. The wings should be rinsed and patted dry before seasoning.
The seasoning mixture is made with baking powder, salt, garlic powder, onion powder, paprika, and black pepper. The baking powder should not be replaced with baking soda, because the recipe specifically notes that baking powder is key for crispiness.
The wings are tossed until fully coated in the seasoning mixture. They are then arranged in a single layer on a baking sheet so the heat can circulate.
The baking time is 40 minutes. The wings should be flipped halfway through baking so both sides can become golden and crispy.
Leftovers can be stored in an airtight container in the refrigerator for up to 3 days. They can also be frozen for up to 3 months and reheated in the oven at 375°F, or 190°C, for about 10 to 15 minutes.
Ingredients
For the Chicken Wings
- 2 pounds chicken wings, rinsed and patted dry
- 1 tablespoon baking powder (not baking soda; this is key for crispiness!)
- 1 teaspoon salt
- 1 teaspoon garlic powder
- 1 teaspoon onion powder
- 1 teaspoon paprika (smoked paprika can add a delicious depth!)
- ½ teaspoon black pepper
Ingredient Notes
Chicken wings are the center of the recipe. They should be rinsed and patted dry before being coated in the seasoning mixture.
Baking powder is the crisping ingredient. It must be baking powder, not baking soda, because that difference matters for the finished texture.
Salt seasons the wings and helps the simple spice mixture taste complete. The recipe uses 1 teaspoon.
Garlic powder gives the wings a savory kick. It spreads evenly over the surface and seasons each piece.
Onion powder adds a sweet, savory flavor. It works well with garlic powder and paprika.
Paprika brings color and warmth to the wings. Smoked paprika can be used if you want a deeper flavor.
Black pepper adds a little bite. It rounds out the seasoning without making the wings overly spicy.
Optional Sauces, Seasonings, and Flavor Variations
Hot Sauce Wings
Hot sauce can be added to the seasoning for a spicy kick. This gives the wings more heat before they go into the oven.
This option works well when you want something bolder than the basic seasoning. Use your favorite hot sauce to match the spice level you like.
Lemon Pepper Wings
Lemon pepper seasoning can be used for a bright, zesty flavor. It changes the wings from smoky-savory to sharper and more citrusy.
This version is especially nice when you want a lighter-tasting wing. The crisp baked texture still stays the focus.
Herb Baked Wings
Fresh herbs like rosemary or thyme can be used for a fragrant twist. These herbs give the wings a more aromatic flavor.
Rosemary brings a stronger herb note, while thyme feels a little softer. Either one can make the wings feel more special.
BBQ Baked Wings
For a BBQ version, toss the wings in your favorite BBQ sauce after baking. Adding the sauce after baking helps keep the crispy process focused first.
This creates a sweet, smoky, saucy wing. It is a great option for backyard meals or casual dinners.
Asian-Inspired Wings
Soy sauce and sesame oil can be added to the seasoning mix for an Asian-inspired version. This gives the wings a deeper savory flavor.
That variation changes the profile while keeping the baked method. The wings still bake until golden and crisp.
Extra Heat Wings
Cayenne pepper can be mixed in if you love heat. This gives the wings a stronger spicy finish.
You can also serve the wings with spicy sriracha mayo. That keeps the basic wings simple while letting the dipping sauce bring the heat.
Gluten-Free Wing Option
For gluten-free needs, make sure your seasoning ingredients are certified gluten-free. This is especially important when using packaged seasonings.
The main wing recipe uses simple spices, but labels still matter. Choose ingredients that fit your gluten-free needs.
Dairy-Free Wing Option
These wings can be made dairy-free easily because no dairy is included in the recipe. The main seasoning mixture does not require butter, milk, cheese, or cream.
If serving with dipping sauces, choose sauces that fit your dairy-free needs. The wings themselves are dairy-free as written.
Why This Recipe Works
Crispy Baked Chicken Wings work because the method focuses on dryness, coating, space, and heat. Patting the wings dry helps remove moisture, and moisture is the enemy of crispiness.
The baking powder is important because it supports the crisp texture of the skin. The recipe is clear that it should not be baking soda.
The high oven temperature helps the wings bake with a golden exterior. At 425°F, or 220°C, the wings cook through while the outside crisps.
Arranging the wings in a single layer gives them space. When wings overlap, they do not crisp as well because the heat cannot circulate properly.
Flipping halfway through gives both sides a chance to brown. This simple step helps the finished tray look and taste more evenly crisp.
The seasoning stays simple so the wings can be served many ways. They are flavorful on their own but can also handle sauces, dips, herbs, or spice.
Directions
Step 1: Preheat the Oven
Preheat your oven to 425°F, or 220°C. This high temperature is crucial for getting the wings crispy.
Let the oven fully heat before placing the wings inside. A properly preheated oven helps the skin begin crisping right away.
Step 2: Gather the Ingredients
Set out the chicken wings, baking powder, salt, garlic powder, onion powder, paprika, and black pepper. Having everything ready makes the process smoother.
This recipe moves quickly once the wings are dry. The active prep is short, so a little organization helps.
Step 3: Prepare the Chicken Wings
Take 2 pounds of chicken wings and rinse them as directed. After rinsing, pat them dry thoroughly with paper towels.
This drying step is very important. Moisture is the enemy of crispiness, so the wings should be as dry as possible before seasoning.
Step 4: Use Fresh Paper Towels If Needed
If the first round of paper towels becomes too damp, use fresh ones. Continue patting until the wings feel dry on the surface.
This may feel like a small step, but it makes a big difference. Dry wings crisp better in the oven.
Step 5: Choose a Mixing Bowl
Place a mixing bowl on the counter for the seasoning mixture. It should be large enough to stir the spices evenly.
You can also use a large bowl for tossing the wings after the seasoning is mixed. The goal is an even coating on every piece.
Step 6: Add the Baking Powder
Add 1 tablespoon baking powder to the mixing bowl. Make sure it is baking powder and not baking soda.
This ingredient is key for crispiness. Using the wrong one would change the recipe.
Step 7: Add the Salt
Add 1 teaspoon salt to the bowl. This seasons the chicken wings clearly and simply.
The salt also helps the other seasonings taste more complete. It gives the wings a balanced savory base.
Step 8: Add the Garlic Powder
Add 1 teaspoon garlic powder. Garlic powder gives the wings a nice savory kick.
It blends easily into the dry seasoning mixture. That helps it coat the wings evenly.
Step 9: Add the Onion Powder
Add 1 teaspoon onion powder. Onion powder gives the wings a sweet, savory background flavor.
It pairs well with the garlic powder. Together, they make the seasoning taste fuller.
Step 10: Add the Paprika
Add 1 teaspoon paprika. Smoked paprika can be used if you want delicious depth.
Paprika also helps give the wings a warmer color. It makes the finished wings look more golden and seasoned.
Step 11: Add the Black Pepper
Add ½ teaspoon black pepper. The pepper adds a gentle bite.
It does not make the wings overly spicy. It simply rounds out the dry seasoning.
Step 12: Mix the Seasoning
Stir the baking powder, salt, garlic powder, onion powder, paprika, and black pepper until well mixed. The mixture should look even.
This helps prevent pockets of one seasoning from landing on only a few wings. A well-mixed coating means better flavor in every bite.
Step 13: Add the Wings to the Seasoning
Place the dried chicken wings into the bowl with the seasoning. Toss them gently at first.
Once the seasoning begins to cling, continue tossing until the wings are fully coated. Every wing should have a nice even layer.
Step 14: Check the Coating
Look over the wings to make sure there are no bare patches. The seasoning should cover the skin well.
Do not be shy with the tossing. A full coating gives every bite flavor and helps with the final texture.
Step 15: Prepare the Baking Sheet
Set out a baking sheet for the wings. Arrange the coated wings on it in a single layer.
Make sure they are not overlapping. Space allows the oven heat to circulate around each piece.
Step 16: Leave Room Between the Wings
Give the wings a little space if possible. Crowding can trap moisture.
Better spacing helps the wings crisp up beautifully. This is especially important because the recipe is baked, not fried.
Step 17: Place the Wings in the Oven
Put the baking sheet into the preheated oven. Set the timer for 40 minutes.
The wings will bake at 425°F, or 220°C. This high heat creates the crisp finish.
Step 18: Bake the First Half
Let the wings bake for the first part of the cooking time. Watch for the skin beginning to tighten and turn golden.
Do not move them too early. Letting them bake undisturbed at first helps the crisp texture form.
Step 19: Flip the Wings Halfway Through
Halfway through baking, flip the wings. This helps both sides cook evenly.
Use tongs or a suitable utensil to turn them carefully. Return the tray to the oven once all wings are flipped.
Step 20: Finish Baking
Continue baking until the full 40 minutes are complete. The wings should become golden brown and crispy.
Look for that gorgeous color and dry, crisp-looking skin. That is the finish you want.
Step 21: Check the Texture
When the wings are done, the outside should look crisp. The surface should not look pale or soggy.
If you want extra crispiness, you can broil the wings for an additional 2 to 3 minutes at the end. Watch them closely while broiling.
Step 22: Rest Briefly
Remove the wings from the oven and let them rest briefly. They will be very hot right away.
A short rest makes them easier to handle. It also gives you time to prepare dipping sauces and sides.
Step 23: Add Sauce If Desired
If making the BBQ version, toss the wings in your favorite BBQ sauce after baking. This gives you crisp wings first, then sauce.
You can also serve hot sauce on the side or add your preferred sauce after baking. This keeps the base recipe flexible.
Step 24: Serve Hot
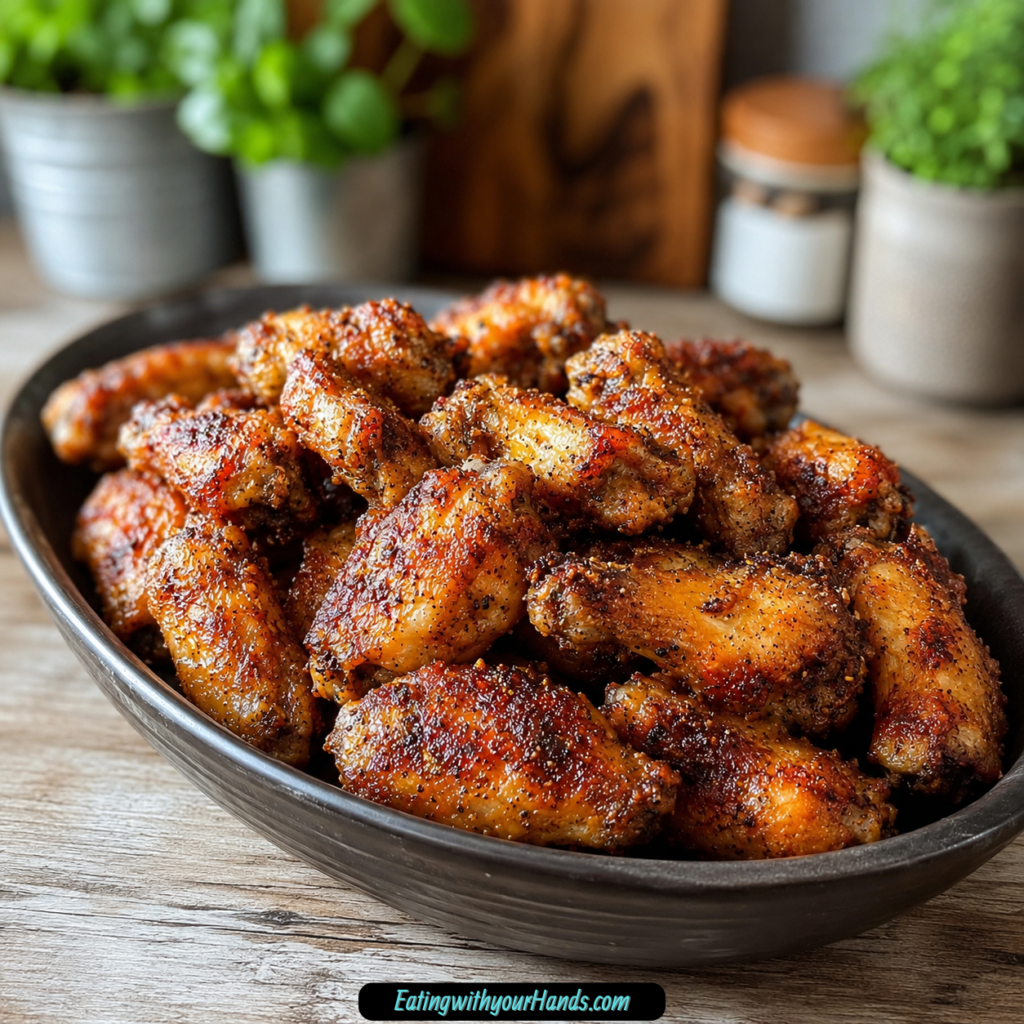
Serve the wings hot out of the oven. They are best when the skin is crisp and the seasoning is still warm.
Add dipping sauces like ranch or blue cheese if desired. Celery and carrot sticks make a classic side.
Serving Ideas
Serve Crispy Baked Chicken Wings hot from the oven. That is when the skin has the best crisp texture and the seasoning tastes warm and fresh.
Ranch and blue cheese are classic dipping sauces for these wings. They give the plate a cool, creamy contrast.
Celery and carrot sticks add crunch and freshness. They also make the serving feel like a familiar wing platter.
For a heartier meal, serve the wings with coleslaw or crispy fries. Both sides fit the casual, comforting feeling of the recipe.
Spicy sriracha mayo can be offered if you want a hotter dipping option. It works well beside the savory baked seasoning.
These wings also make a fantastic appetizer. Put them on a platter for game night, a casual dinner, a party, or a backyard-style meal.
Storage
Store leftover wings in an airtight container in the refrigerator for up to 3 days. Let them cool before sealing the container.
The skin may soften in the fridge. Reheating in the oven helps bring back the crispy texture.
Reheating
To reheat, place the wings back in the oven at 375°F, or 190°C. Warm them for about 10 to 15 minutes.
This reheating method helps regain that crispy texture. Avoid rushing them if you want the best result.
Freezing
Crispy Baked Chicken Wings can be frozen for up to 3 months. Make sure they are completely cooled before placing them in an airtight container or freezer bag.
When ready to enjoy them again, reheat them in the oven. This helps bring back their crispy goodness.
Make-Ahead
These wings are helpful for meal prepping because they freeze well. Bake them, cool them completely, and store them properly for later use.
For best texture, reheat them in the oven instead of relying only on gentle warming. The oven helps the exterior crisp again.
If you plan to sauce them, consider adding sauce after reheating. This helps preserve the baked crispness as much as possible.
Helpful Notes for Best Results
Pat the wings very dry before seasoning. This is one of the most important steps for crispiness.
Use baking powder, not baking soda. The recipe specifically notes that baking powder is key for the crispy texture.
Arrange the wings in a single layer on the baking sheet. Do not overlap them because the heat needs room to circulate.
Flip the wings halfway through baking. This helps both sides become golden and crispy.
For extra crispiness, broil the wings for an additional 2 to 3 minutes at the end of baking. Watch carefully so they do not burn.
If you are out of baking powder, cornstarch can be used as a substitute. It may alter the flavor slightly.
Cayenne pepper can be mixed in for an extra kick if you love heat. You can also add hot sauce or serve with spicy dips.
For gluten-free options, make sure your seasoning ingredients are certified gluten-free. This keeps the wings suitable for gluten-sensitive needs.
These wings can be made dairy-free easily because no dairy is included in the recipe. Be mindful of any dipping sauces you choose.
Variations
Hot Sauce Baked Wings
Add your favorite hot sauce to the seasoning for a spicy kick. This gives the wings heat before they bake.
The final flavor depends on the hot sauce you choose. Serve with ranch, blue cheese, or spicy sriracha mayo if desired.
Lemon Pepper Chicken Wings
Try lemon pepper seasoning for a bright, zesty flavor. It gives the wings a fresher taste.
This variation keeps the same baked method. The crisp texture still comes from the dry preparation and high oven heat.
Rosemary Chicken Wings
Use fresh rosemary for a fragrant twist. Rosemary gives the wings a more aromatic flavor.
This is a good option when you want the wings to feel a little different. The savory base still stays simple.
Thyme Chicken Wings
Fresh thyme can also be used for a fragrant twist. It has a softer herb flavor than rosemary.
Thyme pairs well with garlic powder, onion powder, paprika, and black pepper. It makes the wings taste more herb-forward.
BBQ Baked Chicken Wings
Bake the wings first, then toss them in your favorite BBQ sauce. This creates a saucy BBQ version.
Adding BBQ sauce after baking keeps the method aligned with crispy baked wings. The sauce becomes the final flavor layer.
Asian-Inspired Chicken Wings
Add soy sauce and sesame oil to the seasoning mix for an Asian-inspired variation. This brings a deeper savory flavor.
The texture may vary because these ingredients are liquid. Still, the recipe lists them as a way to change the seasoning profile.
Cayenne Chicken Wings
Mix in cayenne pepper if you love heat. This makes the wings spicier without needing a sauce.
Cayenne works well with paprika, garlic powder, onion powder, salt, and black pepper. Add it based on the level of heat you enjoy.
Smoked Paprika Wings
Use smoked paprika instead of regular paprika. It adds delicious depth.
This version gives the wings a slightly smoky flavor. It is still simple and pantry-friendly.
Garlic Salt Wing Option
Garlic powder can be replaced with garlic salt if needed. Reduce the added salt in the recipe accordingly.
This matters because garlic salt already contains salt. Adjusting prevents the wings from becoming too salty.
Troubleshooting
The Wings Are Not Crispy
Make sure the wings are patted dry very well before seasoning. Moisture is the enemy of crispiness.
Also make sure the wings are arranged in a single layer. Overlapping prevents the heat from circulating properly.
The Wings Taste Like Baking Soda
Use baking powder, not baking soda. The recipe specifically warns that baking powder is key.
Baking soda is not the ingredient called for here. Double-check the label before mixing the seasoning.
The Wings Are Pale
Bake the wings at 425°F, or 220°C. The high temperature helps them become golden brown.
If you want extra color and crispiness, broil them for an additional 2 to 3 minutes at the end. Watch them closely.
The Wings Are Browning Too Fast
Keep an eye on the wings while they bake. If broiling at the end, do not walk away.
The goal is golden brown and crispy, not burnt. Remove them when they look done.
The Seasoning Is Uneven
Mix the dry seasonings well before tossing them with the wings. This helps the baking powder and spices distribute evenly.
Toss the wings until fully coated. Every piece should have seasoning on the surface.
The Wings Need More Heat
Add cayenne pepper or hot sauce. Both are listed options for increasing spice.
You can also serve them with spicy sriracha mayo. This lets people control their own heat level.
The Wings Need to Be Gluten-Free
Use certified gluten-free seasoning ingredients. The recipe itself is simple, but labels can matter.
Check any sauces or dips too. Ranch, blue cheese, BBQ sauce, hot sauce, or spicy mayo should match your gluten-free needs if you are serving them.
Frequently Asked Questions
Can I freeze Crispy Baked Chicken Wings?
Yes, these wings can be frozen. Make sure they are completely cooled before placing them in an airtight container or freezer bag.
They can be frozen for up to 3 months. When ready to enjoy them again, reheat them in the oven to bring back their crispy goodness.
How can I substitute ingredients in the recipe?
If you are out of baking powder, cornstarch works in a pinch. It may slightly change the flavor.
You can also swap out the spices for your favorites. For example, garlic powder can be replaced with garlic salt, but the added salt in the recipe should be reduced accordingly.
What can I serve with Crispy Baked Chicken Wings?
These wings are fantastic on their own, but they also pair beautifully with celery and carrot sticks. Ranch, blue cheese, and spicy sriracha mayo are all good dipping options.
For a complete meal, serve them with coleslaw or crispy fries. They also work as an appetizer for gatherings.
How do I make the wings extra crispy?
Pat the wings dry very well before seasoning. Arrange them in a single layer and bake at 425°F, or 220°C.
For extra crispiness, broil the wings for an additional 2 to 3 minutes at the end of baking. Watch them carefully so they do not burn.
Can I use smoked paprika?
Yes, smoked paprika can be used. It adds delicious depth to the seasoning.
Regular paprika is listed in the main recipe. Smoked paprika changes the flavor slightly in a savory direction.
Can I make these wings dairy-free?
Yes, these wings are easy to make dairy-free because no dairy is included in the recipe. The dry seasoning does not use milk, butter, cheese, or cream.
Choose dairy-free dipping sauces if needed. The wings themselves fit the dairy-free note as written.
Can I make these wings gluten-free?
Yes, make sure the seasoning ingredients are certified gluten-free. This is the gluten-free guidance provided.
If serving with sauces, check those labels too. The wing seasoning can be simple, but sauces may vary.
Why This Recipe Works So Well
Crispy Baked Chicken Wings work so well because the recipe focuses on the small details that matter most. Dry wings, baking powder, high heat, single-layer spacing, and a halfway flip all help create the crisp baked texture.
The seasoning is simple enough to support any sauce or dip. Garlic powder, onion powder, paprika, salt, and pepper give the wings enough flavor to stand alone.
The oven method makes them easier than frying. You still get golden, crunchy wings without dealing with a pot of hot oil.
They are also flexible for almost any occasion. Serve them plain, spicy, lemon pepper, herby, BBQ-style, Asian-inspired, smoky, or with classic dipping sauces.
The storage and freezer options make them practical beyond one meal. Refrigerate leftovers for 3 days, freeze for 3 months, and reheat in the oven when the craving returns.
Most importantly, these wings feel like food meant for sharing. A hot tray in the middle of the table is enough to make people gather, reach, dip, and settle into the moment.
Final Thoughts
Crispy Baked Chicken Wings bring all the fun of a wing platter without the mess of frying. With a short ingredient list, a hot oven, and a few careful steps, they turn into golden, crunchy, flavorful wings that fit game nights, casual dinners, parties, and cozy evenings at home.
Serve them hot with ranch, blue cheese, celery, carrot sticks, coleslaw, crispy fries, or whichever sauce makes the plate feel complete. They are simple, dependable, freezer-friendly, and crisp enough to earn a permanent spot in the rotation.
Crispy Baked Chicken Wings
Golden, savory, and crisp from the oven, these Crispy Baked Chicken Wings are simple to prepare with chicken wings, baking powder, and a bold seasoning blend. They make an easy American appetizer for game day, parties, casual gatherings, or any time you want flavorful wings without a complicated method.
Recipe Details
- Prep Time: 10 minutes
- Cook Time: 40 minutes
- Total Time: 50 minutes
- Course: Appetizer
- Cuisine: American
- Servings: 4 wings
- Calories: 300 kcal
Equipment
- Baking sheet
- Mixing bowl
Ingredients
For the Seasoning
- 1 tablespoon baking powder
- 1 teaspoon paprika
- 1 teaspoon garlic powder
- ½ teaspoon black pepper
- 1 teaspoon onion powder
- 1 teaspoon salt
For the Chicken Wings
- 2 pounds chicken wings
Instructions
Step 1: Preheat the Oven
Preheat your oven to 425°F (220°C).
Step 2: Mix the Seasoning
In a mixing bowl, combine baking powder, salt, garlic powder, onion powder, paprika, and black pepper. Stir until the seasoning mixture is evenly blended.
Step 3: Dry and Coat the Wings
Pat the chicken wings dry with paper towels. Toss them in the seasoning mixture until well coated.
Step 4: Arrange on the Baking Sheet
Arrange the wings in a single layer on a baking sheet. Keep them spread out so they can bake evenly.
Step 5: Bake Until Crispy
Bake for 40 minutes, flipping halfway through, until crispy and golden brown.
Notes
- For extra crispiness, you can broil the wings for an additional 2-3 minutes after baking.
Serving Suggestions
Serve these Crispy Baked Chicken Wings warm after they come out of the oven. Their crispy golden exterior and savory seasoning make them easy to enjoy as an appetizer for parties, game day, or casual meals.
They are flavorful on their own because the seasoning includes garlic powder, onion powder, paprika, salt, and black pepper. For extra crispiness, you can broil the wings for an additional 2-3 minutes after baking, exactly as noted.
Storage
How to Store
The recipe does not provide specific storage instructions or storage duration, so no exact storage time is added here.
Best Texture Tip
Pat the chicken wings dry with paper towels before tossing them in the seasoning mixture. This helps the wings bake up crispier in the oven.
Crispiness Tip
Bake the wings for 40 minutes, flipping halfway through, until crispy and golden brown. For extra crispiness, broil the wings for an additional 2-3 minutes after baking.
Serving Tip
Serve the wings warm soon after baking. This keeps the outside crisp and the seasoning bold.

Fernando is the creator and writer behind the food blog Eating with your Hands. Living and working in cities like Paris, Barcelona, and Berlin, and being married to a Canadian foodie, has given Fernando a passion and interest in food and inspired him to run EWYH.