

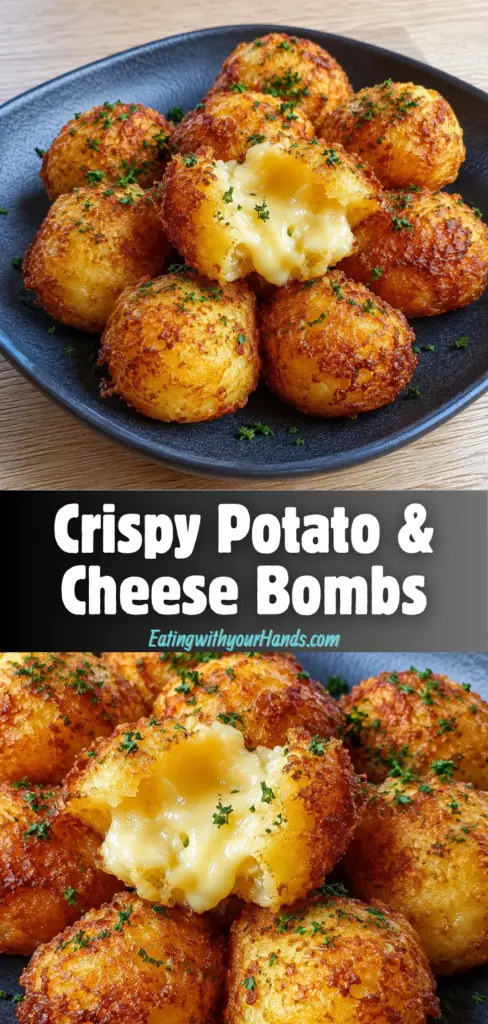
Some foods have a way of making a room feel warmer before anyone even takes a bite. Crispy Potato & Cheese Bombs are exactly that kind of recipe.
They are golden on the outside, soft and creamy on the inside, and filled with the simple comfort of mashed potatoes, melted cheese, butter, and fresh parsley. Every bite has that cozy contrast of crisp edges and warm, cheesy filling.
This is the kind of snack that feels right on a chilly evening when everyone naturally gathers near the kitchen. The smell of potatoes frying in butter, the richness of cheddar and Parmesan, and the little burst of fresh herbs make the whole recipe feel familiar and special at the same time.
What makes these potato cheese bombs so lovable is how simple they are. You do not need fancy ingredients or complicated skills, yet the result feels like something people will reach for again and again.
Table of Contents
- What Are Crispy Potato & Cheese Bombs?
- Why This Recipe Feels So Comforting
- Recipe Overview
- Why You’ll Love These Crispy Potato & Cheese Bombs
- Ingredients You’ll Need
- Ingredient Notes
- Directions
- Step 1: Prepare the Potatoes
- Step 2: Bring Salted Water to a Boil
- Step 3: Cook the Potatoes Until Tender
- Step 4: Drain the Potatoes Well
- Step 5: Let the Potatoes Cool Slightly
- Step 6: Mash the Potatoes Until Smooth
- Step 7: Transfer the Mashed Potatoes to a Mixing Bowl
- Step 8: Add the Cheddar Cheese
- Step 9: Add the Parmesan Cheese
- Step 10: Add the Fresh Parsley
- Step 11: Season With Salt and Pepper
- Step 12: Mix the Filling Thoroughly
- Step 13: Taste and Adjust the Seasoning
- Step 14: Prepare a Plate or Tray
- Step 15: Dampen Your Hands
- Step 16: Shape the Potato Balls
- Step 17: Repeat Until All Mixture Is Used
- Step 18: Heat the Butter
- Step 19: Add the Potato Balls to the Pan
- Step 20: Fry Until Golden on One Side
- Step 21: Turn and Fry the Other Side
- Step 22: Drain the Potato Balls
- Step 23: Serve Hot
- Pro Tips for the Best Potato Cheese Bombs
- Variations
- Serving Suggestions
- Storage Tips
- Make-Ahead Instructions
- Common Mistakes to Avoid
- Helpful Notes
- Frequently Asked Questions
- Final Thoughts
- Crispy Potato & Cheese Bombs
What Are Crispy Potato & Cheese Bombs?
Crispy Potato & Cheese Bombs are small potato bites made from tender mashed potatoes mixed with shredded cheddar cheese, grated Parmesan cheese, chopped fresh parsley, salt, and pepper. The mixture is rolled into balls and pan-fried in butter until the outside becomes golden and crisp.
Inside, the texture stays soft, creamy, and cheesy. The cheddar brings meltiness, the Parmesan adds savory depth, and the parsley gives a fresh note that keeps the filling from feeling too heavy.
They work beautifully as a snack, appetizer, or side dish. You can serve them hot with sour cream, marinara sauce, or any dipping sauce you love.
They are also practical for gatherings because they feel fun and easy to share. A plate of crispy potato cheese bombs in the middle of the table has a way of disappearing quickly.
Why This Recipe Feels So Comforting
There is something deeply nostalgic about potatoes and cheese together. The combination is simple, but it always feels generous, warm, and satisfying.
These Crispy Potato & Cheese Bombs carry that same feeling of comfort. They remind you of family kitchens, chilly evenings, and food made not to impress in a complicated way, but to make people happy.
The outside becomes crisp from the butter, while the inside stays tender and flavorful. That contrast is what makes each bite feel so satisfying.
They are also the kind of recipe that feels homemade in the best way. Rolling the potato mixture by hand, frying the balls until golden, and serving them warm creates a small but meaningful kitchen moment.
Recipe Overview
Prep Time: 15 minutes
Cook Time: 25 minutes
Total Time: 40 minutes
Servings: 4 people
This recipe comes together in about 40 minutes from start to finish. The potatoes are boiled until tender, mashed until smooth, mixed with cheese and herbs, shaped into balls, and fried until crisp.
It is simple enough for beginners but flavorful enough to serve to family and friends. Because the ingredients are familiar and easy to find, this is a recipe you can make whenever a cozy craving hits.
Why You’ll Love These Crispy Potato & Cheese Bombs
You will love this recipe because it turns a few simple ingredients into something golden, cheesy, and comforting. It feels special without being difficult.
The preparation is quick and straightforward. In about 40 minutes, you can have warm potato cheese bombs ready to serve.
The ingredients are simple and familiar. Potatoes, cheddar, Parmesan, parsley, butter, salt, and pepper come together in a way that feels classic and satisfying.
This recipe is also beginner-friendly. If you can boil potatoes, mash them, mix a filling, and shape small balls, you can make these with confidence.
They are perfect for gatherings because they are easy to serve and easy to enjoy. People can pick them up, dip them, and keep coming back for more.
They also offer make-ahead convenience. You can prepare them in advance, freeze them, and fry them when you are ready to enjoy.
Ingredients You’ll Need
2 large potatoes, peeled and diced: Choose starchy potatoes like Russets for the best texture.
1 cup shredded cheddar cheese, packed: Feel free to use your favorite cheese for a unique twist.
¼ cup grated Parmesan cheese: Adds extra flavor and richness.
¼ cup chopped fresh parsley, finely chopped: Adds a fresh herbaceous note.
4 tablespoons butter, for frying: Can substitute with olive oil for a lighter option.
Salt and pepper, to taste: Always season to enhance the flavor of your ingredients.
Ingredient Notes
Potatoes are the foundation of this recipe, so choosing the right kind matters. Starchy potatoes like Russets create a fluffy, smooth mash that holds together well when shaped into balls.
Cheddar cheese brings the melty, comforting flavor that makes these bites feel rich and satisfying. A packed cup gives the mixture enough cheese to taste generous in every bite.
Parmesan cheese adds a deeper savory note. It gives the filling more character and helps balance the softness of the potatoes.
Fresh parsley adds color and brightness. It gives the potato mixture a fresh herb flavor that keeps the recipe from tasting too heavy.
Butter is used for frying, and it gives the outside a rich, golden finish. If you prefer a lighter option, olive oil can be used instead.
Salt and pepper are simple, but they are very important. Potatoes need seasoning, and tasting the mixture before shaping helps make sure the filling is flavorful.
Directions
Step 1: Prepare the Potatoes
Start by peeling 2 large potatoes and cutting them into diced pieces. Try to keep the pieces similar in size so they cook evenly.
Using evenly diced potatoes helps prevent some pieces from becoming too soft while others remain firm. This makes the mashing step easier and gives the final mixture a better texture.
Step 2: Bring Salted Water to a Boil
Fill a large pot with water and add salt. Bring the water to a boil before adding the diced potatoes.
Salted water helps season the potatoes from the beginning. Since potatoes can taste bland without enough seasoning, this first step makes a difference in the final flavor.
Step 3: Cook the Potatoes Until Tender
Carefully add the diced potatoes to the boiling water. Let them cook for about 15 minutes, or until they are tender when pierced with a fork.
The potatoes should be soft enough to mash easily. If the fork slides in without resistance, they are ready.
Be careful not to cook them too long. Overcooked potatoes can absorb too much water, which may make the mixture softer and harder to shape.
Step 4: Drain the Potatoes Well
Once the potatoes are tender, drain them thoroughly. Let the excess water run off so the potatoes do not become watery.
This step is important because extra moisture can make the potato mixture loose. A drier mash will hold its shape better when rolled into balls.
Let the drained potatoes sit for a short moment before mashing. This gives some of the steam a chance to escape.
Step 5: Let the Potatoes Cool Slightly
Allow the potatoes to cool slightly before mashing and mixing. They should still be warm, but not so hot that they are difficult to handle later.
Slightly cooled potatoes are easier to work with. They also help the cheese soften gently without turning the mixture too loose.
Skipping this cooling step can make shaping harder. If the mixture is too hot, the balls may not hold together as well.
Step 6: Mash the Potatoes Until Smooth
Mash the potatoes until they are smooth and free from large chunks. You can use a potato masher for a classic homemade texture.
For an extra creamy texture, use a potato ricer instead of a masher. This creates a finer mash and helps the potato balls feel softer inside.
Try not to leave big pieces of potato in the mixture. A smoother base makes it easier to shape even, compact balls.
Step 7: Transfer the Mashed Potatoes to a Mixing Bowl
Place the mashed potatoes into a large mixing bowl. Make sure the bowl is big enough to comfortably hold the cheese, parsley, and seasonings too.
Using a larger bowl gives you room to mix without spilling. It also helps distribute the ingredients more evenly.
At this point, the potatoes should look soft and smooth. They will become the base that holds all the cheesy flavor together.
Step 8: Add the Cheddar Cheese
Add 1 packed cup of shredded cheddar cheese to the mashed potatoes. Scatter it across the top so it is easier to mix evenly.
The warmth from the potatoes will help the cheddar soften slightly. This makes the filling taste creamy and cheesy once everything is combined.
Cheddar gives these potato bombs their familiar comfort-food flavor. It melts into the potatoes and makes the center rich and satisfying.
Step 9: Add the Parmesan Cheese
Add ¼ cup of grated Parmesan cheese to the bowl. This brings extra flavor and richness to the filling.
Parmesan has a stronger savory taste than cheddar, so a smaller amount goes a long way. It helps deepen the flavor without overpowering the potatoes.
Mixing cheddar and Parmesan gives the filling more balance. One cheese brings meltiness, while the other brings a more concentrated savory note.
Step 10: Add the Fresh Parsley
Add ¼ cup finely chopped fresh parsley to the potato mixture. The parsley adds freshness, color, and a gentle herbaceous flavor.
Fresh parsley also makes the filling look more vibrant. The little green flecks create a pretty contrast against the pale potatoes and cheese.
Make sure the parsley is finely chopped. Smaller pieces distribute better and give a more even flavor throughout the mixture.
Step 11: Season With Salt and Pepper
Add salt and pepper to taste. Start with a modest amount, then adjust after tasting the mixture.
Seasoning is important because potatoes need help to bring out their flavor. Without enough salt and pepper, the filling may taste flat even with cheese.
Pepper adds a gentle warmth. It does not need to be overpowering, but it helps round out the savory taste.
Step 12: Mix the Filling Thoroughly
Use a spoon or spatula to mix the mashed potatoes, cheddar, Parmesan, parsley, salt, and pepper together. Continue mixing until everything is fully incorporated.
The cheese should be evenly spread throughout the potatoes. You do not want one potato ball to be full of cheese while another has almost none.
The mixture should feel thick enough to shape. If it looks too soft because it is still very hot, let it cool a little longer before rolling.
Step 13: Taste and Adjust the Seasoning
Taste a small amount of the mixture before forming the balls. This is the best time to adjust the salt and pepper.
If the filling tastes bland, add a little more seasoning and mix again. A well-seasoned filling will make the finished potato bombs much more satisfying.
This step is simple, but it can make the difference between a good result and a truly flavorful one. Always taste before shaping when possible.
Step 14: Prepare a Plate or Tray
Set a clean plate or tray near your mixing bowl. You will place the formed potato balls there before frying.
Having the tray ready keeps the process organized. It also prevents you from trying to shape and fry at the same time.
If you are making these ahead or freezing them, a tray also makes it easier to move them safely. Place them in a single layer so they keep their shape.
Step 15: Dampen Your Hands
Lightly dampen your hands before shaping the potato mixture. This helps prevent the mixture from sticking to your fingers.
You do not need your hands to be wet, just slightly damp. Too much water can make the outside of the balls slippery.
This small trick makes rolling much easier. It also helps create smoother potato balls.
Step 16: Shape the Potato Balls
Take a small handful of the potato mixture and roll it into a ball about the size of a golf ball. Use gentle pressure so the ball holds together without becoming too compact.
If the ball cracks, press it gently back together and roll again. The mixture should be soft but firm enough to keep its shape.
Try to make the balls similar in size. This helps them cook evenly in the pan.
Step 17: Repeat Until All Mixture Is Used
Continue shaping the potato mixture into balls until all of it has been used. Place each finished ball on the prepared plate or tray.
Leave a little space between them so they do not stick together. This also makes it easier to pick them up when you are ready to fry.
If the mixture starts sticking to your hands again, dampen them lightly once more. This keeps the rolling process smooth.
Step 18: Heat the Butter
Place a frying pan over medium heat and add 4 tablespoons of butter. Let the butter melt slowly until it begins to bubble.
The bubbling shows that the butter is hot enough to start frying. You want it warm and active, but not browned or burned.
Keep the heat moderate. If the heat is too high, the outside of the potato balls may burn before the inside becomes warm.
Step 19: Add the Potato Balls to the Pan
Carefully place the potato balls into the pan. Work in batches if needed so the pan is not overcrowded.
Overcrowding can make it harder for the potato balls to crisp properly. It can also make turning them more difficult.
Give each ball enough space. This helps the butter reach the surface evenly and creates a better golden crust.
Step 20: Fry Until Golden on One Side
Let the potato balls cook for about 4 to 5 minutes on the first side. Avoid moving them too much at the beginning.
Allowing them to sit gives the outside time to form a crisp golden crust. If you move them too soon, they may stick or lose their shape.
Watch the color carefully. You want a deep golden exterior, not a dark or burned surface.
Step 21: Turn and Fry the Other Side
Gently turn the potato balls and cook the other side for another 4 to 5 minutes. Use a spoon, spatula, or tongs carefully so they do not break apart.
The second side should become golden brown and crisp just like the first. Continue turning as needed until the outside looks evenly cooked.
Be patient and keep the heat steady. Moderate heat gives the best balance of crisp outside and warm, cheesy inside.
Step 22: Drain the Potato Balls
Once the potato balls are golden and crisp, transfer them to a paper towel-lined plate. This helps absorb any excess butter.
Let them rest for a short moment before serving. The filling will be very warm, and the brief rest helps the texture settle.
Do not cover them tightly while they are hot. Trapped steam can soften the crisp exterior.
Step 23: Serve Hot
Serve the Crispy Potato & Cheese Bombs while they are hot. This is when the outside is crispiest and the inside is soft, warm, and cheesy.
Garnish with extra parsley if desired. The fresh green color makes the finished plate look inviting.
Serve them with sour cream, marinara sauce, or your favorite dipping sauce. They are delicious as a snack, appetizer, or side dish with a hearty meal.
Pro Tips for the Best Potato Cheese Bombs
Use starchy potatoes like Russets for the best texture. They mash smoothly and help the balls hold together.
Do not overcook the potatoes. Boil them only until fork-tender so they do not become watery.
Let the mixture cool slightly before rolling. If it is too hot, the balls may be difficult to shape and may not hold together well.
Keep your hands slightly damp while forming the balls. This prevents sticking and helps create a smoother shape.
Fry over moderate heat. Heat that is too high can burn the outside before the inside is warmed through.
Variations
Add cooked bacon bits or ham for a savory twist. These additions bring extra richness and make the potato bombs feel even heartier.
You can also incorporate spices like smoked paprika or garlic powder. These seasonings add more depth and warmth to the filling.
Try different cheeses if you want a new flavor. Mozzarella will create a softer, stretchier center, while pepper jack can add a little kick.
For a healthier option, bake the potato balls in the oven instead of frying. The texture will be different, but they can still be delicious.
To make them gluten-free, make sure all ingredients are certified gluten-free. Check labels carefully, especially on cheese and seasonings.
Serving Suggestions
Serve Crispy Potato & Cheese Bombs hot for the best flavor and texture. The contrast between the crisp outside and creamy center is most enjoyable when they are freshly cooked.
They pair wonderfully with sour cream. The cool creaminess balances the warm, cheesy potato filling.
Marinara sauce is another great option. It gives each bite a bright, savory contrast.
You can also serve them with your favorite dipping sauce. This makes them easy to customize for different tastes.
They work well as a snack, appetizer, or side dish. Serve them with a hearty meal or place them on a party table for everyone to share.
Storage Tips
Store leftover potato cheese bombs in an airtight container in the refrigerator for up to 3 days. Let them cool completely before sealing the container.
Cooling first helps prevent moisture from building up inside. Too much moisture can soften the crisp exterior.
For longer storage, freeze the potato balls before frying. They can last up to 2 months in the freezer.
When ready to enjoy, reheat them in the oven or air fryer for a crispy texture. This helps bring back some of the original golden exterior.
Make-Ahead Instructions
You can prepare the potato mixture in advance and store it in the refrigerator for up to 2 days before forming and frying the balls. This makes the recipe convenient for gatherings.
If you want to freeze them, shape the potato balls first and place them on a baking sheet in a single layer. Freeze until solid, then transfer them to an airtight container.
Freezing them before frying makes it easy to cook only what you need. It also keeps the balls from sticking together in storage.
Common Mistakes to Avoid
Overcooking the potatoes can make them too watery. Boil them only until they are tender enough to mash.
Not seasoning the filling can lead to bland potato bombs. Always taste the mixture and adjust the salt and pepper before shaping.
Frying at too high a temperature can burn the outside. Keep the heat moderate so the inside warms while the outside crisps.
Skipping the cooling step can make the mixture hard to shape. Let the potatoes cool slightly so the balls hold together better.
Helpful Notes
For a creamier filling, try adding a dollop of cream cheese to the mixture. This can make the inside even softer and richer.
Italian seasoning or fresh chives can be wonderful add-ins for extra flavor. They bring a different herb profile while keeping the recipe cozy and savory.
You can substitute butter with vegan margarine for a dairy-free option. This gives you a way to adjust the frying fat based on your needs.
If you have allergies or need the recipe to be gluten-free, check labels on cheese and seasonings. Make sure all ingredients are certified gluten-free.
Frequently Asked Questions
Can Crispy Potato & Cheese Bombs Be Frozen?
Yes, you can freeze the potato balls before frying. Place them on a baking sheet in a single layer and freeze until solid.
Once frozen, transfer them to an airtight container. They can last up to 2 months in the freezer.
Can I Substitute the Ingredients?
Yes, you can use different types of cheese based on your preference. Mozzarella, pepper jack, or another favorite cheese can give the potato bombs a different flavor.
For a lighter option, you can substitute butter with olive oil. You can also use dairy-free cheese alternatives if needed.
How Should I Store Leftovers?
Store leftovers in an airtight container in the refrigerator for up to 3 days. Make sure they are completely cooled before sealing.
This helps maintain freshness and reduces moisture inside the container. Reheat them in the oven or air fryer for the best texture.
Can This Recipe Be Made Ahead?
Yes, this recipe can be made ahead. You can prepare the potato mixture in advance and store it in the refrigerator for up to 2 days before forming and frying.
This makes the recipe easier when you are preparing for gatherings. You can handle the mixing ahead of time and fry them closer to serving.
What Should I Serve With Potato Cheese Bombs?
They are delicious with sour cream, marinara sauce, or your favorite dipping sauce. The dipping sauce adds flavor and makes them even more fun to eat.
You can serve them as an appetizer, snack, or side dish. They pair especially well with a hearty meal when you want something warm and comforting.
Why Are My Potato Balls Falling Apart?
The mixture may be too hot, too wet, or not compacted enough. Let the potatoes cool slightly and make sure they are well drained before mixing.
Rolling them firmly but gently helps them hold their shape. Avoid overcrowding the pan, because too much movement can also cause them to break.
How Do I Make the Outside Crispy?
Fry them in butter over medium heat until each side becomes golden brown. Give them enough time to form a crust before turning.
Do not rush the process with high heat. Moderate heat creates a better crispy exterior without burning.
Final Thoughts
Crispy Potato & Cheese Bombs are the kind of recipe that turns simple ingredients into something warm, memorable, and deeply comforting. With tender potatoes, melted cheddar, savory Parmesan, fresh parsley, and buttery golden edges, every bite feels cozy and satisfying.
They are easy enough for beginners, yet special enough to serve at family gatherings or casual parties. They can be made ahead, frozen, reheated, and served with different dips depending on the moment.
What makes them truly special is the feeling they bring to the table. They are the kind of food people gather around, the kind that makes a chilly evening feel warmer, and the kind that reminds you how much joy can come from a simple homemade bite.
Serve them hot, share them with people you love, and enjoy each crispy, cheesy, creamy morsel. This is comfort food in a small golden package, and it is exactly the kind of recipe worth making again.
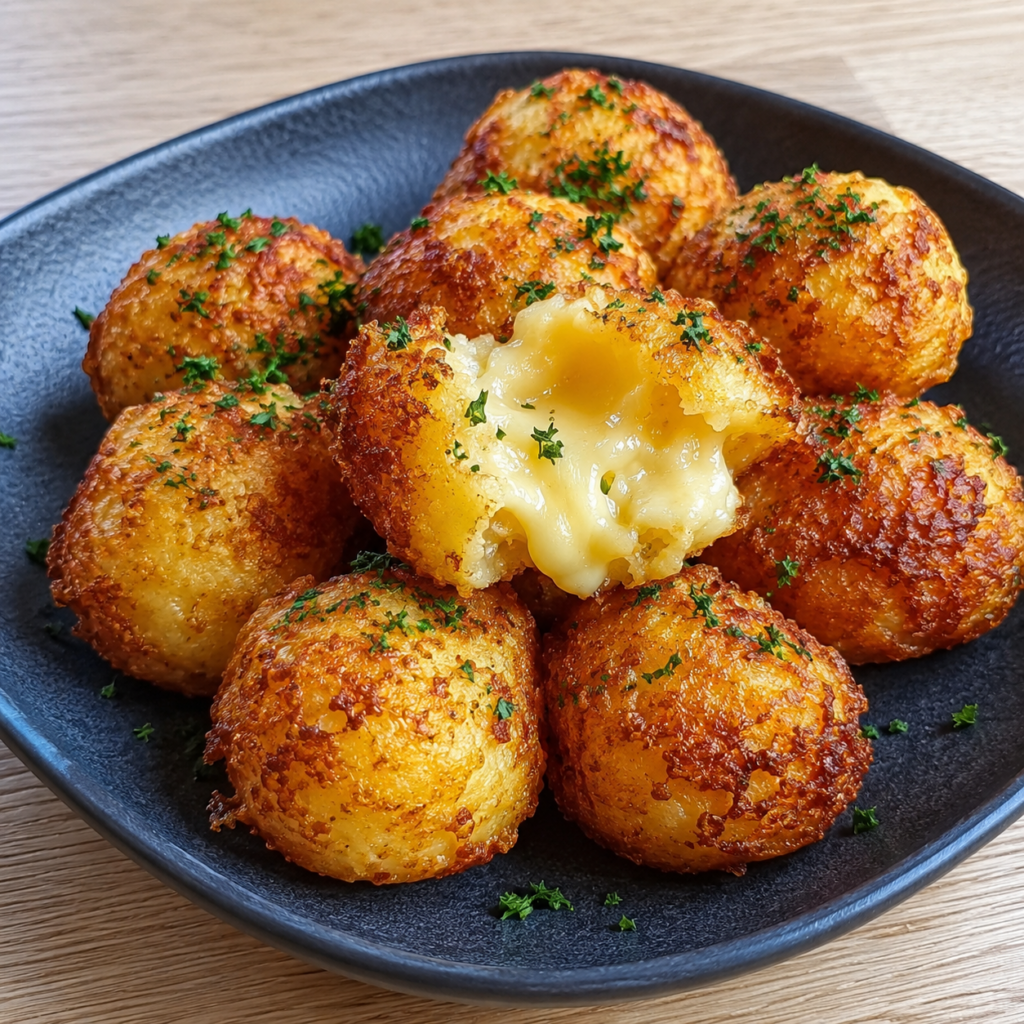
Crispy Potato & Cheese Bombs

These crispy potato and cheese bombs are warm, golden potato bites filled with melty cheese, fresh herbs, and simple seasoning. They make a comforting snack or appetizer with a crisp outside and a soft, cheesy center.
Recipe Information
- Prep Time: 15 minutes
- Cook Time: 25 minutes
- Total Time: 40 minutes
- Course: Snack
- Cuisine: American
- Servings: 4 people
- Calories: 250 kcal
Equipment
- Pot
- Frying pan
Ingredients
For the Filling
- ¼ cup chopped fresh parsley
- 1 cup shredded cheddar cheese
- 2 large potatoes, peeled and diced
- ¼ cup grated Parmesan cheese
For Cooking
- To taste salt and pepper
- 4 tablespoons butter
Instructions
- Add the peeled and diced potatoes to a pot of boiling water and cook until they are tender.
- Drain the potatoes well, then mash them until smooth.
- Stir the shredded cheddar cheese, grated Parmesan cheese, chopped fresh parsley, salt, and pepper into the mashed potatoes.
- Mix until the cheese, herbs, and seasoning are evenly worked through the potato mixture.
- Shape the mixture into small balls, keeping them compact so they hold together while cooking.
- Melt the butter in a frying pan over medium heat.
- Fry the potato balls in the butter until the outside is golden brown and lightly crisp.
- Serve hot while the cheese filling is warm and the outside is crispy.
Notes
- These potato cheese bombs are best served hot as a snack or appetizer.
- Add a dipping sauce like ranch, garlic aioli, or marinara for extra flavor.
- Make sure the potato mixture is firm enough to shape before frying.

Fernando is the creator and writer behind the food blog Eating with your Hands. Living and working in cities like Paris, Barcelona, and Berlin, and being married to a Canadian foodie, has given Fernando a passion and interest in food and inspired him to run EWYH.