
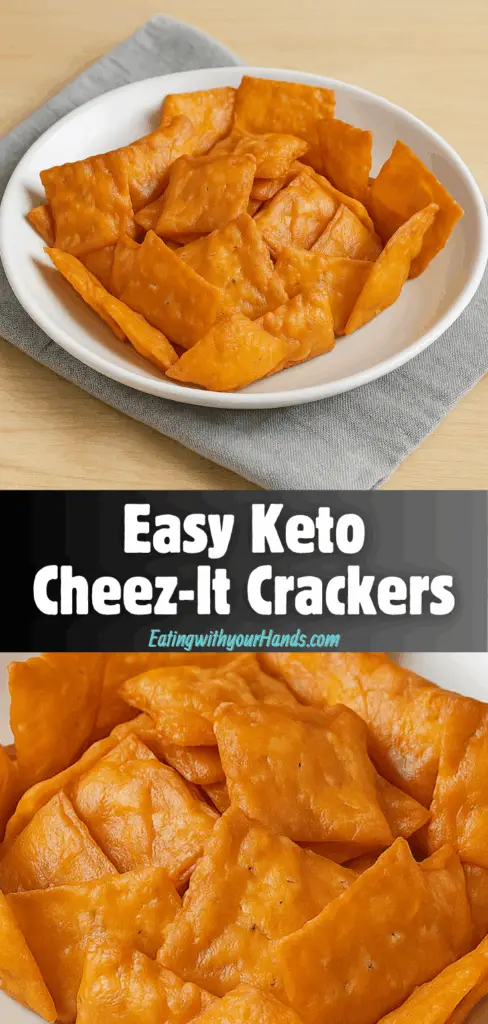
Discovering the Snack That Changed My Keto Routine
It started with a craving. You know, one of those nagging little urges that hits you at the most inconvenient time—right when you’re in the middle of your low-carb commitment.
For me, it wasn’t sweets or cakes or even bread. It was the irresistible crunch and salty tang of a Cheez-It. That one little square of cheesy joy that I had kissed goodbye when I started keto. But let’s be honest: the craving never truly left.
I kept spotting this simple idea floating around on Pinterest. Thin cheese slices, baked until golden and crispy. That was it. No flour, no eggs, no binder. Just cheese. It sounded almost too easy, like the kind of thing you’d scroll past thinking, “That can’t possibly work.” But one afternoon, curiosity got the best of me.
I grabbed some ultra-thin cheddar slices, preheated the oven, and gave it a go. What happened next was a snack-time epiphany.
Table of Contents
Why These Cheese Crackers Became My Favorite Keto Snack
These DIY keto crackers are now a regular part of my weekly meal prep, and it’s not just because they’re incredibly easy to make. They’re crunchy, savory, and addictive—in the best way possible. Whether I’m heading to work or packing my bag for a road trip, these cheesy bites find a way into my snack box.
But the magic doesn’t stop at convenience. The real surprise was the flavor. When baked, cheddar transforms. It goes from mild and soft to nutty, sharp, and toasty—shockingly similar to the flavor of traditional Cheez-Its. It’s one of those “how is this even possible?” moments that feels like cheating, except it’s totally keto.
If you’re someone who feels like snacking is the hardest part of staying low-carb, this recipe is going to be your new best friend.
And if you’re like me and still hold fond memories of munching on crunchy snacks during movie night, this is your moment to bring it all back—without the carbs.
The Ingredients: Simple and Straightforward
Let’s get something out of the way right now: you don’t need a long grocery list. In fact, you only need one thing—really thin sliced cheese.
- Ultra Thin Cheese Slices: The key to this recipe is thinness. The thinner the cheese, the crispier the final product. I swear by Sargento Ultra Thin slices, especially the cheddar version. When baked, it develops the most wonderful golden hue and tastes almost identical to those nostalgic Cheez-It crackers.
- Optional Varieties: If you’re feeling adventurous, pepper jack, Swiss, or Colby Jack can add a unique twist. Just keep the slices thin.
That’s it. No flour, no oil, no mystery ingredients. Just cheese and heat—and a little patience while they bake.
Step-by-Step Directions
Step 1: Preheat the Oven
Start by preheating your oven to 250°F (120°C). This temperature is low enough to slowly draw out moisture from the cheese without burning it. The goal is to dehydrate and crisp the cheese, not melt it into oblivion.
Step 2: Prepare Your Baking Sheet
Line a baking sheet with parchment paper. Don’t skip this step. Parchment keeps the cheese from sticking and helps the crackers lift cleanly when they’re done. Wax paper won’t work here—stick with parchment for best results.
Step 3: Cut the Cheese into Squares
Take your thin cheese slices and cut them into smaller squares. I like to cut each slice into 9 equal pieces—three rows by three rows.
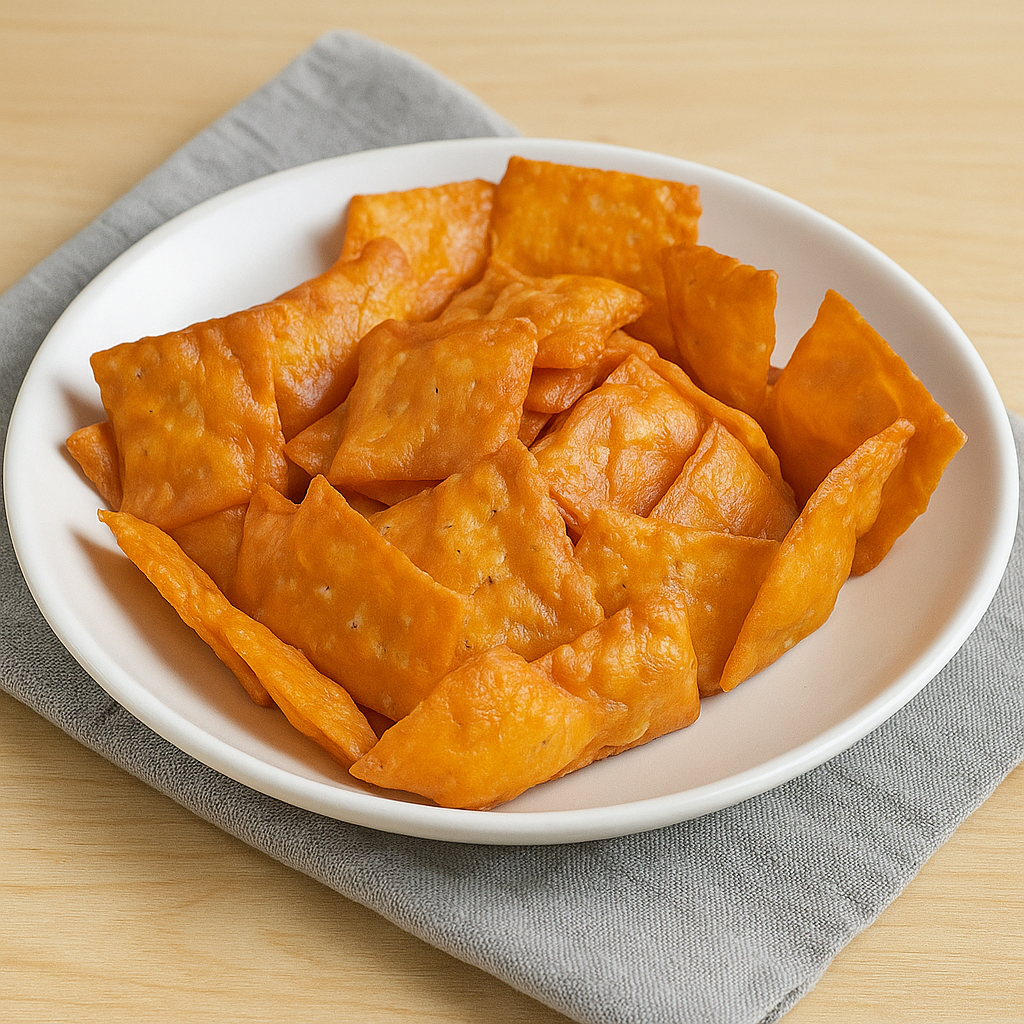
That size gives you the perfect bite-sized snack. It’s also the closest in appearance to traditional Cheez-Its, which makes the experience even more satisfying.
Lay out the pieces evenly on the parchment-lined baking sheet. Make sure there’s a bit of space between each one. They will shrink slightly as they bake, but you still don’t want them too close together.
Step 4: Bake Low and Slow
Place the tray in the oven and set a timer for 30 minutes. At this low temperature, the cheese will start to dry out gradually.
Depending on the thickness of your slices and your oven’s exact temperature, it might take up to 35 minutes. Keep an eye on them during the last five minutes.
You’ll know they’re ready when the edges turn a deep golden color and the centers are no longer soft. The whole cracker should feel firm to the touch, but not burnt.
Step 5: Let Them Cool
This is the hardest part: waiting. The crackers need to cool completely to crisp up. As they rest, they’ll harden and develop that satisfying crunch. Don’t rush this step by eating them hot out of the oven—they’ll still be a bit chewy.
Transfer the crackers to a cooling rack or simply leave them on the baking tray until completely cooled. Once cool, store them in an airtight container. If you’re anything like me, though, they may not even make it to storage.
Tips for Success
- Use parchment, not foil: Cheese sticks to foil like glue. Always use parchment.
- Space them evenly: They need airflow to crisp up evenly. Don’t crowd the tray.
- Check early: Ovens vary. Start checking around the 28-minute mark to prevent over-baking.
- Store properly: If you somehow have leftovers, store them in an airtight container. They stay crispy for about 3–4 days at room temperature.
Flavor Variations to Try
While cheddar is my go-to, there’s room to play around here. These are some of the combos I’ve tested and loved:
- Pepper Jack with a dash of cayenne: For a spicy twist.
- Colby Jack and a sprinkle of garlic powder: Adds depth and a savory kick.
- Parmesan and Swiss blend: Nutty and sharp, perfect for a fancier charcuterie feel.
Feel free to experiment with seasoning blends, too. A pinch of Italian herbs, chili flakes, or even smoked paprika can completely transform the flavor.
Why These Crackers Are Keto Gold
In a lifestyle that sometimes feels restrictive, finding easy, indulgent snacks like these is a game-changer. Not only do these keto crackers satisfy the crunchy snack craving, but they also come with zero guilt.
No weird ingredients. No complicated prep. Just delicious, salty goodness that feels way more indulgent than it is.
And beyond that, they offer the comfort of familiarity. There’s something special about recreating a childhood favorite in a new, healthier way.
It connects the past with the present, reminding us that keto doesn’t mean missing out—it means reimagining.
Final Thoughts
When I first pulled that tray out of the oven and bit into one of those warm, crispy cheddar bites, I felt like I had cracked some kind of culinary code.
It was the crunch I’d been missing, the flavor I’d been craving, and the simplicity I didn’t know I needed.
So if you’ve got ten minutes, some thin sliced cheese, and a craving for something salty and crispy, give this a try. It might just become your favorite keto snack too.
And if you end up eating the whole tray in one sitting—don’t worry. You’re not alone. Been there, done that. Every single time.

Fernando is the creator and writer behind the food blog Eating with your Hands. Living and working in cities like Paris, Barcelona, and Berlin, and being married to a Canadian foodie, has given Fernando a passion and interest in food and inspired him to run EWYH.