
Some recipes do more than fill a cookie tin. They carry a feeling with them, the kind that lives somewhere between a holiday memory and the scent of butter drifting through a warm kitchen.
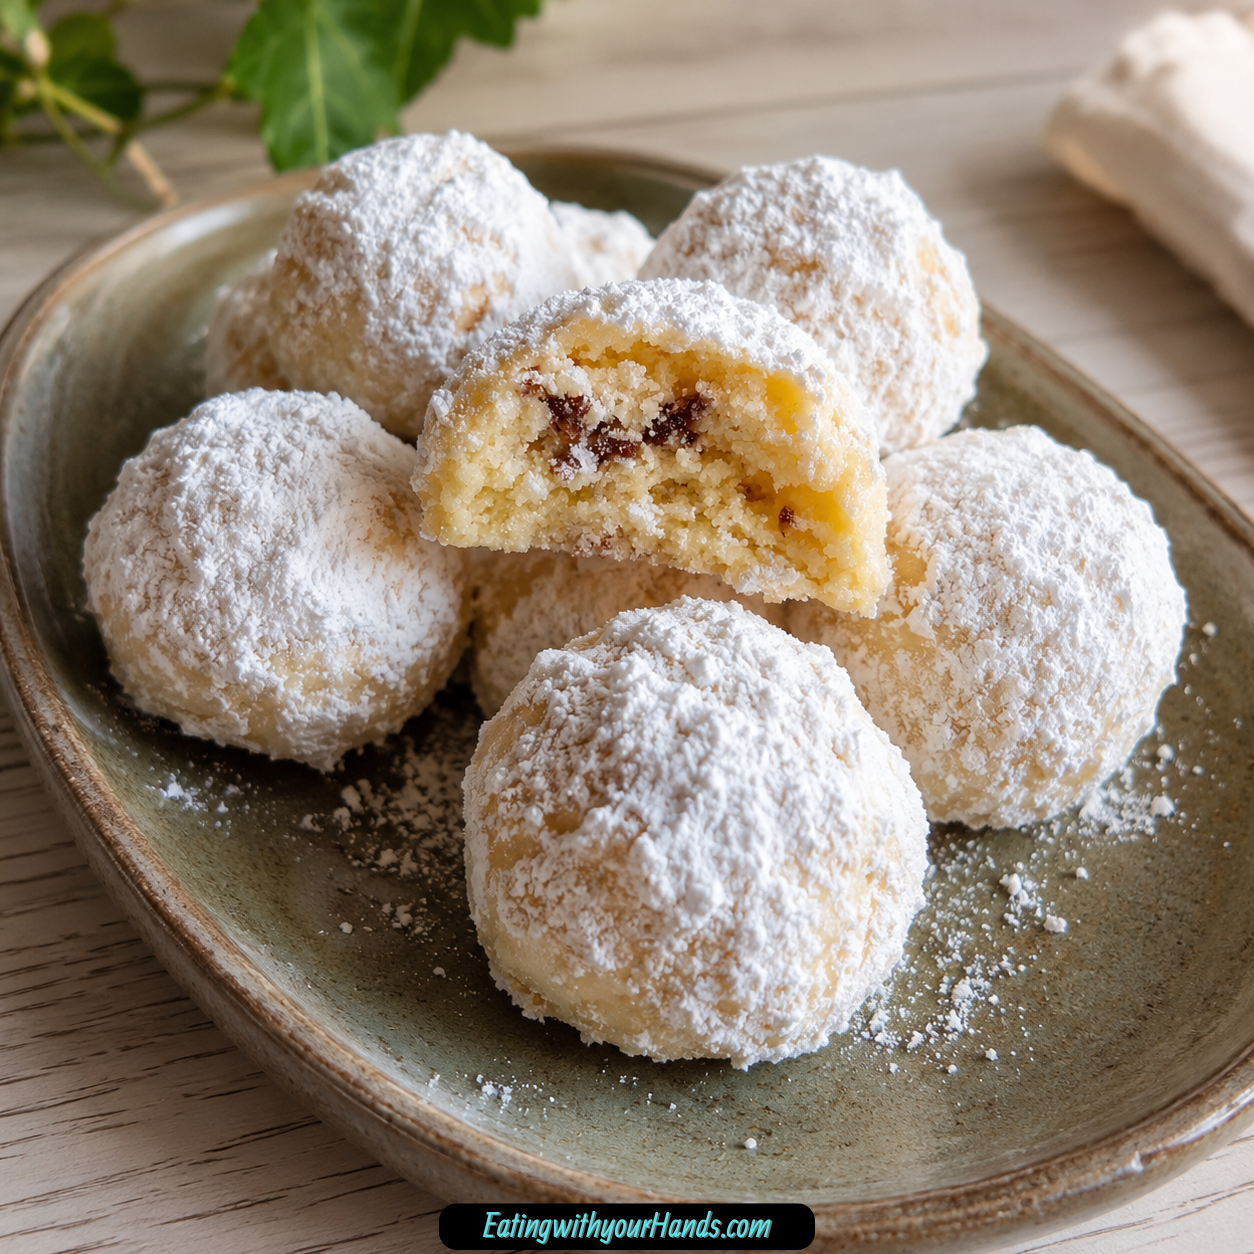
Grandma’s Snowballs Cookies have always felt like that kind of recipe to me. They are simple in the best possible way, soft and tender with a delicate crumb, lightly nutty from the pecans, and covered in powdered sugar until they look like tiny little drifts of fresh snow.
There is something instantly comforting about them before you even take a bite. Maybe it is the pale, snowy coating, or maybe it is the way they seem to belong so naturally to winter baking, holiday trays, and quiet afternoons spent near the oven.
These are not flashy cookies, and that is part of why they are so special. They do not rely on decorations, complicated shaping, or any sort of fussy technique to win people over.
Instead, they show up with pure buttery flavor, a melt-in-your-mouth texture, and that familiar powdered sugar finish that somehow makes every batch feel a little magical. They are the kind of cookies that disappear from a plate much faster than anyone expects.
They also happen to be wonderfully easy to make. There is no need for fancy equipment, difficult steps, or hard-to-find ingredients, which is probably one reason they have stayed beloved for so long.
If you have never made snowball cookies before, this is a lovely place to begin. If you already grew up with them, then you probably know exactly why they keep finding their way back into kitchens year after year.
Table of Contents
- Why Grandma’s Snowballs Cookies Always Feel So Special
- Why You’ll Love This Recipe
- Ingredients You’ll Need for Grandma’s Snowballs Cookies
- A Few Notes Before You Start
- How to Make Grandma’s Snowballs Cookies
- Step 1: Preheat the Oven Properly
- Step 2: Cream the Butter and Powdered Sugar
- Step 3: Stir in the Vanilla Extract
- Step 4: Add the Flour Gradually
- Step 5: Mix in the Finely Chopped Pecans
- Step 6: Adjust the Dough Only If Needed
- Step 7: Roll the Dough Into 1-Inch Balls
- Step 8: Arrange the Cookies on the Baking Sheet
- Step 9: Bake Until Just Set
- Step 10: Roll the Warm Cookies in Powdered Sugar
- Step 11: Cool the Cookies Completely
- Step 12: Roll the Cookies a Second Time
- Shaping and Baking Tips
- Variations for Grandma’s Snowballs Cookies
- Serving Ideas for Grandma’s Snowballs Cookies
- Storage and Freezing Tips
- Helpful Notes for Perfect Snowballs
- Frequently Asked Questions About Grandma’s Snowballs Cookies
- Final Thoughts on Grandma’s Snowballs Cookies
- Grandma’s Snowballs Cookies
Why Grandma’s Snowballs Cookies Always Feel So Special
There are some holiday cookies that impress because they are elaborate. Then there are cookies like these, which feel even more memorable because they are humble, familiar, and full of comfort.
Grandma’s Snowballs Cookies belong firmly in that second category. They do not ask much from you, yet they give back so much in flavor, texture, and that unmistakable homemade feeling.
The first bite is what makes them unforgettable. The cookie is tender and delicate, almost like a buttery shortbread that has been softened further by a generous coating of powdered sugar.
That sugar matters more than it might seem at first. It is not just there for looks, although it certainly gives the cookies their signature snowy finish.
The first roll in powdered sugar clings to the warm cookie and begins building that soft, sweet coating. The second roll, after the cookies have cooled completely, is what gives them the full wintery look that makes them feel so classic and so festive.
Another reason people love these cookies is how approachable they are. You do not need a mixer if you do not have one, and there is nothing intimidating about the ingredient list or the method.
That simplicity makes them perfect for busy holiday baking days. It also makes them perfect for the moments when you want to bake something comforting without turning the kitchen upside down.
These cookies are also wonderfully crowd-friendly. Children are drawn to their snowy appearance, and adults tend to love the rich buttery flavor and the subtle crunch from the chopped pecans.
They fit beautifully on holiday trays, in cookie tins, and on dessert tables. They also make lovely edible gifts, especially when packed carefully and dusted with one last fresh coat of sugar before serving.
Why You’ll Love This Recipe
One of the biggest strengths of Grandma’s Snowballs Cookies is how little effort they ask for compared with how rewarding they are. They come together quickly, bake in a short amount of time, and look immediately festive without requiring any decoration beyond powdered sugar.
The texture is one of their best qualities. These cookies are soft, tender, and crumbly in that lovely way that makes each bite feel delicate rather than heavy.
The buttery flavor comes through clearly, which is exactly what you want in a cookie this simple. The vanilla adds warmth, and the finely chopped pecans give just enough nutty texture to keep every bite interesting.
Another reason this recipe is easy to love is that it is very forgiving. If you do not have a mixer, you can still make them with a wooden spoon and a bit of patience.
They are also freezer-friendly, which makes them especially helpful during the holiday season. You can make extra, store some away, and bring them out later with a fresh dusting of powdered sugar when you are ready to serve them.
And then there is the timing. These cookies go from bowl to baking sheet quickly, which makes them perfect for last-minute baking, unexpected guests, or those days when you simply want the comfort of a homemade cookie without a long project.
Ingredients You’ll Need for Grandma’s Snowballs Cookies
What makes this recipe so inviting is how short and familiar the ingredient list is. Every ingredient plays an important role, and together they create cookies that feel delicate, cozy, and unmistakably homemade.
- 1 cup butter, softened
The butter should be soft, not melted, because softened butter blends smoothly while still giving the cookies the right structure. If it is too soft, the dough may spread more than it should, and if it is too cold, mixing becomes much harder. - 1/2 cup powdered sugar
This goes into the dough itself and helps create the tender texture and gentle sweetness that make these cookies so lovely. You will also need extra powdered sugar later for rolling. - 1 teaspoon vanilla extract
Vanilla gives the cookies warmth and depth. It may seem like a small addition, but it brings the buttery dough to life in a very comforting way. - 2 1/4 cups all-purpose flour
Flour forms the structure of the cookies. Spoon and level it rather than scooping directly so you do not accidentally add too much and end up with a dry dough. - 3/4 cup finely chopped pecans
The pecans add that subtle nutty crunch that gives snowball cookies part of their character. If you want a deeper flavor, you can toast them first for a few minutes in a dry pan. - Extra powdered sugar for rolling
This is essential to the finished look and flavor. These cookies are rolled once while warm and again after cooling, and both coats matter.
A Few Notes Before You Start
Before mixing the dough, it helps to pause for a moment and make sure the butter is softened properly. You want it soft enough to leave a fingerprint when pressed, but not so soft that it looks oily or melted.
That one detail can affect the dough more than people expect. Butter that is too warm can lead to stickier dough and more spread, while butter that is too cold makes creaming difficult and can leave the mixture uneven.
The pecans should also be chopped finely. If the pieces are too large, the dough can become harder to roll into smooth little balls.
If you want to toast the pecans first, you can do that for a few minutes in a dry pan. It is not required, but it brings out more of their nutty flavor.
You should also set aside plenty of powdered sugar for rolling before you begin baking. Having it ready nearby makes the process easier once the warm cookies come out of the oven.
How to Make Grandma’s Snowballs Cookies
The steps are simple, but taking care with each one helps you get the best texture and the prettiest finish. These cookies are easygoing, though, which is part of what makes them so comforting to bake.
Step 1: Preheat the Oven Properly
Start by preheating your oven to 350°F, or 175°C. Let it fully heat while you make the dough so the cookies bake evenly from the moment they go in.
A properly heated oven matters for tender cookies like these. If the oven is not ready yet, the dough may sit too long and the cookies may not bake with the same gentle, even texture.
Step 2: Cream the Butter and Powdered Sugar
Place the softened butter and the 1/2 cup powdered sugar in a mixing bowl. Cream them together until the mixture looks smooth and fluffy, which should take about 2 minutes.
If you are using a mixer, medium speed works well. If you are mixing by hand, a sturdy spoon and steady pressure will do the job just fine.
This step is important because it helps distribute the sugar evenly through the butter. It also begins creating the soft, delicate texture that makes these cookies feel so tender once baked.
Step 3: Stir in the Vanilla Extract
Add the vanilla extract to the creamed butter and sugar mixture. Stir until it is fully blended in and the mixture smells warm and rich.
Vanilla may look like a small addition in such a simple dough, but it makes a noticeable difference. It helps round out the buttery flavor and gives the cookies a little extra depth without taking over.
Step 4: Add the Flour Gradually
Begin adding the all-purpose flour a little at a time rather than all at once. Mixing gradually makes it easier to combine everything evenly without sending flour everywhere or overworking the dough.
As the flour goes in, the dough will start to look more crumbly. That is normal, and you should not worry if it does not look silky or soft like a cake batter.
What matters is that the dough holds together when pressed. You want it to feel cohesive, even if it still looks a little sandy or crumbly at first glance.
Step 5: Mix in the Finely Chopped Pecans
Add the finely chopped pecans once most of the flour is incorporated. Stir until the nuts are evenly distributed throughout the dough.
The pecans should be mixed in just enough to spread them throughout the dough without overworking it. Too much mixing can make the cookies tougher, which works against the delicate texture you want.
At this point, the dough should look crumbly but workable. When you press some between your fingers, it should hold together rather than fall apart completely.
Step 6: Adjust the Dough Only If Needed
If the dough feels too dry to hold together, add 1 teaspoon of cold water. Mix gently and test it again before adding anything more.
You can also use a teaspoon of cold water or milk if needed, but the key is restraint. The dough should feel like damp sand, not sticky, wet dough.
If your dough is instead sticky, chill it for about 10 minutes. This usually solves the problem, especially if the butter was a little warmer than ideal.
Step 7: Roll the Dough Into 1-Inch Balls
Portion the dough and roll it into 1-inch balls. A small cookie scoop can help keep them even, but your hands work perfectly well too.
Do not pack the dough too tightly when rolling. A gentle roll gives the cookies a lighter, more tender texture once baked.
Try to keep the size consistent so the cookies bake at the same rate. Uniform size helps prevent some from becoming too dark while others stay underbaked.
Step 8: Arrange the Cookies on the Baking Sheet
Place the rolled dough balls on a baking sheet with about 2 inches of space between them. They do not spread very much, but they still need a little room.
This spacing helps the heat circulate around each cookie. It also makes it easier to remove them later without bumping into the powdered sugar step before they are ready.
Step 9: Bake Until Just Set
Bake the cookies for 12 minutes. You are looking for bottoms that are just barely golden while the tops remain pale.
This part matters more than it might seem. These cookies should not bake to a deep golden color, because overbaking takes away the melt-in-your-mouth quality that makes them so appealing.
They may still feel soft when they come out of the oven, and that is perfectly fine. They continue to firm up as they cool.
Step 10: Roll the Warm Cookies in Powdered Sugar
As soon as the cookies are cool enough to handle safely, roll them in powdered sugar. The warmth helps the sugar cling to the surface and creates the first layer of that signature snowy coating.
You can use a fork to move them gently through the sugar if you want to keep your hands cleaner. You can also roll them carefully by hand, just taking care because they will still be warm.
This first roll is important and should not be skipped. It gives the cookies their base layer of sweetness and starts building the classic finish.
Step 11: Cool the Cookies Completely
After the first sugar coating, let the cookies cool fully. Give them enough time to firm up and settle before adding the second coat.
This cooling stage helps the second layer of powdered sugar stay brighter and more visible. It also keeps the final coating from dissolving too much into the warm cookie.
Step 12: Roll the Cookies a Second Time
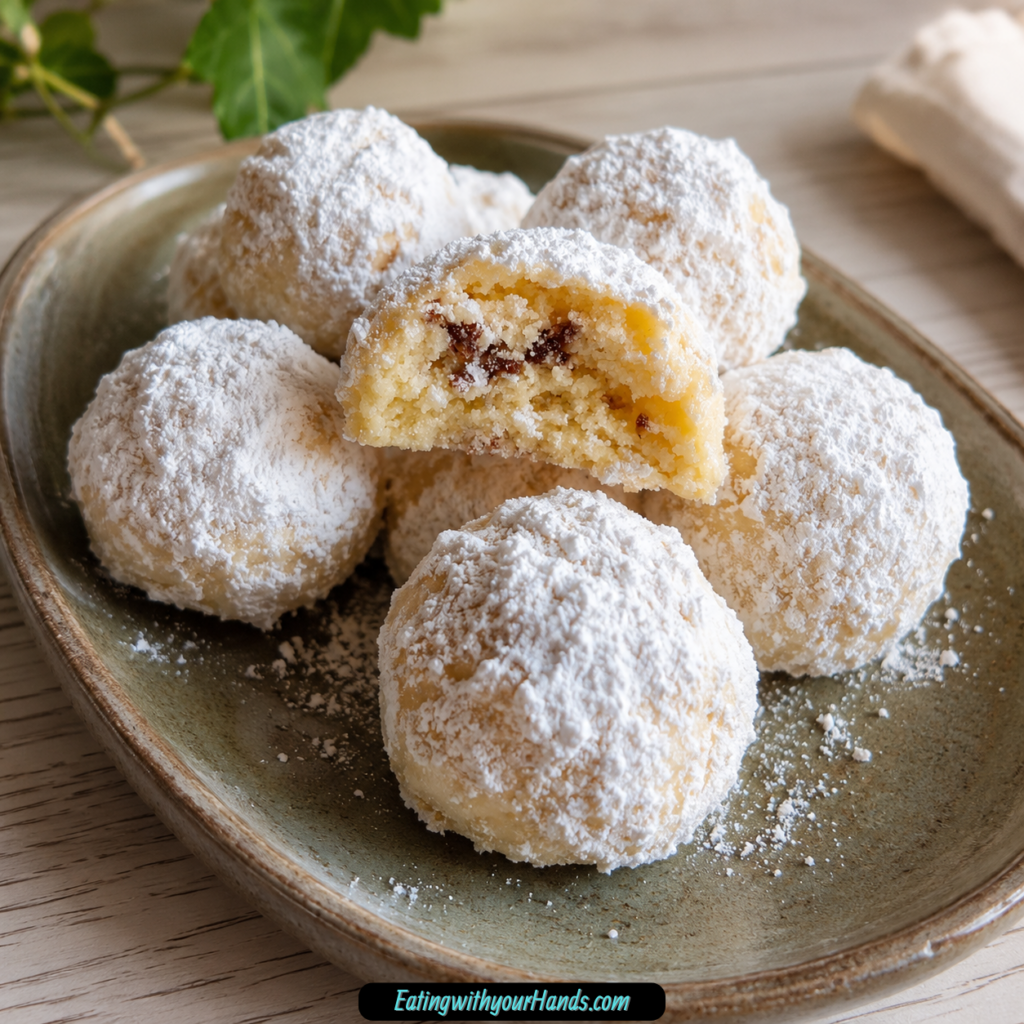
Once the cookies are completely cool, roll them again in powdered sugar. This second coating is what gives them that full, snowy look that makes them so recognizable.
This step is really what finishes the cookies. Without it, they still taste good, but they do not have quite the same charm or the same classic appearance.
The double coating also improves the texture around the outside. It gives each cookie that soft, powdery finish that contrasts so nicely with the buttery crumb underneath.
Shaping and Baking Tips
Because these cookies are simple, the small details make a big difference. Paying attention to the dough texture and bake time will help you get the softest, most tender result.
If the dough feels too sticky while shaping, put it in the refrigerator for 10 minutes. That short chill helps the butter firm back up and makes rolling much easier.
Try not to bake them until they are deeply colored. Snowball cookies are supposed to stay fairly pale, and that soft appearance is part of their charm.
The cookies are done when they look set and the bottoms are barely golden. A slightly underdone snowball cookie is much better than one that has baked too long and lost its delicate texture.
If your chopped pecans are too large, rolling can become awkward and the cookies may not hold together as neatly. Finely chopped nuts make the dough easier to shape and help the texture stay balanced.
Variations for Grandma’s Snowballs Cookies
One of the nice things about a classic recipe like this is that it leaves room for small changes while still keeping its character. The base cookie remains buttery, tender, and sweet, and a few gentle adjustments can make it feel slightly different each time.
If pecans are not your favorite, walnuts or hazelnuts work beautifully in their place. Just make sure they are chopped very finely so the dough stays easy to roll and the texture stays delicate.
For a different flavor profile, you can swap the vanilla extract for almond extract. Only use 1/2 teaspoon, since almond extract is stronger and can quickly take over if you use too much.
If you want a brighter note in the dough, add 1 teaspoon of lemon zest or orange zest. That little bit of citrus gives the cookies a fresh contrast while still letting them feel cozy and festive.
For a more decorative finish, you can dip half of each cookie in melted chocolate after the final sugar roll. It adds a richer look and flavor while keeping the basic cookie itself unchanged.
These little twists can be fun, but the original version remains beautifully simple. That is part of why it keeps returning year after year.
Serving Ideas for Grandma’s Snowballs Cookies
These cookies look lovely almost anywhere, which makes them especially useful during the holiday season. Their snowy coating gives them a natural festive feel without any extra decoration.
Pile them onto a cake stand for parties, and they immediately look inviting. Their pale finish stands out beautifully among darker cookies and richer desserts.
They also tuck nicely into treat bags or cookie tins. A bit of parchment paper between layers helps protect the powdered sugar coating so they stay pretty until serving.
They are also perfect for those little quiet moments at home. A few on a plate beside coffee or tea feel just as right as a whole tray set out for guests.
Storage and Freezing Tips
Grandma’s Snowballs Cookies store very well, which is one more reason they are so practical during the holidays. Once fully cooled, keep them in an airtight container at room temperature for up to a week.
If you are layering them in a tin or container, use parchment paper between the layers. That helps protect the coating and keeps the powdered sugar from being rubbed off too much.
These cookies also freeze beautifully for up to 3 months. For the best result, freeze them after baking but before the final roll in powdered sugar.
You can place them on a tray to freeze first, then transfer them to a bag or container once firm. When you are ready to serve them, thaw them at room temperature and give them a fresh coating of powdered sugar.
That final dusting brings them back to life beautifully. They come out tasting just as cozy and ready for the cookie tray as the day they were made.
Helpful Notes for Perfect Snowballs
If the dough feels crumbly, do not panic right away. A teaspoon of cold water or milk can help bring it together, but only add a little at a time so the dough does not become too soft.
If the dough is sticky, the butter is usually the reason. A short chill in the refrigerator often solves the problem quickly and makes rolling much easier.
Timing matters with the first sugar coating. Roll the cookies while they are still warm, because that warmth helps the sugar stick instead of sliding away.
The second sugar coating matters too. It is what gives the cookies their full snowy appearance and that soft, powdery finish that makes them look bakery-ready.
Store them well if they last more than a day or two. An airtight container helps keep them tender and prevents them from drying out.
Frequently Asked Questions About Grandma’s Snowballs Cookies
Can I use margarine instead of butter?
Butter is the better choice for this recipe. Margarine changes the flavor and texture, while butter gives the cookies the rich, tender quality they are known for.
If you need a dairy-free option, a high-quality vegan butter is a better substitute than margarine. Still, real butter is what creates that classic melt-in-your-mouth result.
My dough is too sticky. What should I do?
Start by chilling the dough for 10 to 15 minutes. Sticky dough usually happens when the butter is a little too warm.
If it is still difficult after chilling, add flour 1 tablespoon at a time until the dough is easier to roll. Just be careful not to add too much, because dry cookies lose that tender texture very quickly.
Can I freeze the dough?
Yes, you can. Roll the dough into balls first, freeze them on a tray, and then transfer them to a bag or container once firm.
You can bake them straight from frozen. Just add a minute or two to the baking time and continue with the sugar rolling process as usual.
Final Thoughts on Grandma’s Snowballs Cookies
There is a reason cookies like these stay loved for generations. They are easy, tender, buttery, and comforting in a way that feels almost impossible to improve on.
They do not depend on trends or decoration or anything complicated. They simply do what all the best family recipes do, which is make people feel welcome the moment they appear.
Whether you are baking them to continue a tradition or to begin one of your own, they fit naturally into the season. They bring sweetness, warmth, and a little bit of that snowy holiday charm to every batch.
And maybe that is why they feel bigger than a simple cookie recipe. They carry the kind of comfort that turns baking into memory, and memory into something you want to make again next year.
So soften the butter, set out the powdered sugar, and make a little room on the counter for a mess worth making. These cookies may be small, but they bring a lot of heart with them.
Grandma’s Snowballs Cookies
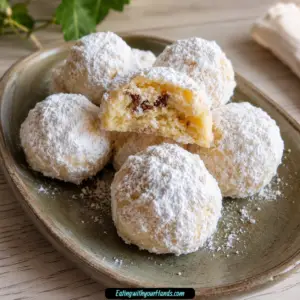
These Grandma’s Snowballs Cookies are tender, buttery, and filled with finely chopped pecans for a classic nutty flavor. Each cookie is baked until set, then rolled in powdered sugar twice for that soft, snowy coating everyone loves. They are simple, nostalgic, and perfect for Christmas cookie trays, holiday gifting, tea time, or any occasion that calls for a delicate homemade cookie.
Recipe Details
- Prep Time: 15 minutes
- Cook Time: 12 minutes
- Total Time: 27 minutes
- Course: Dessert
- Cuisine: American
- Servings: 24 cookies
Ingredients
- Extra powdered sugar, for rolling
- ¾ cup finely chopped pecans
- 2¼ cups all-purpose flour
- 1 teaspoon vanilla extract
- ½ cup powdered sugar
- 1 cup butter, softened
Instructions
Step 1: Prepare the Oven
Preheat the oven to 350°F (175°C).
Set out ungreased baking sheets.
Step 2: Cream the Butter and Sugar
In a mixing bowl, cream the softened butter and powdered sugar until smooth and well combined.
Step 3: Add the Vanilla
Stir in the vanilla extract until evenly mixed into the butter mixture.
Step 4: Add the Flour and Pecans
Gradually mix in the all-purpose flour.
Fold in the finely chopped pecans until the dough comes together.
Step 5: Shape the Cookies
Roll the dough into 1-inch balls.
Place the dough balls on the ungreased baking sheets, leaving a little space between each one.
Step 6: Bake
Bake for 12 minutes, or until the cookies are set but not browned.
Step 7: First Sugar Coating
While the cookies are still warm, gently roll them in extra powdered sugar.
Place them on a rack to cool.
Step 8: Second Sugar Coating
Once the cookies are completely cool, roll them in powdered sugar again for a thicker snowy finish.
Notes
Store the cookies in an airtight container for up to a week.
Serving Suggestions
These snowball cookies pair well with:
- Hot coffee
- Tea
- Hot cocoa
- Cold milk
- Eggnog
- Holiday cookie trays
- Dessert boards
- Christmas gift boxes
Storage
How to Store
Store cooled cookies in an airtight container at room temperature for up to a week.
Best Texture Tip
Roll the cookies once while warm and again after cooling. The first coating melts slightly into the cookie, while the second creates the classic powdery snowball look.

Fernando is the creator and writer behind the food blog Eating with your Hands. Living and working in cities like Paris, Barcelona, and Berlin, and being married to a Canadian foodie, has given Fernando a passion and interest in food and inspired him to run EWYH.