
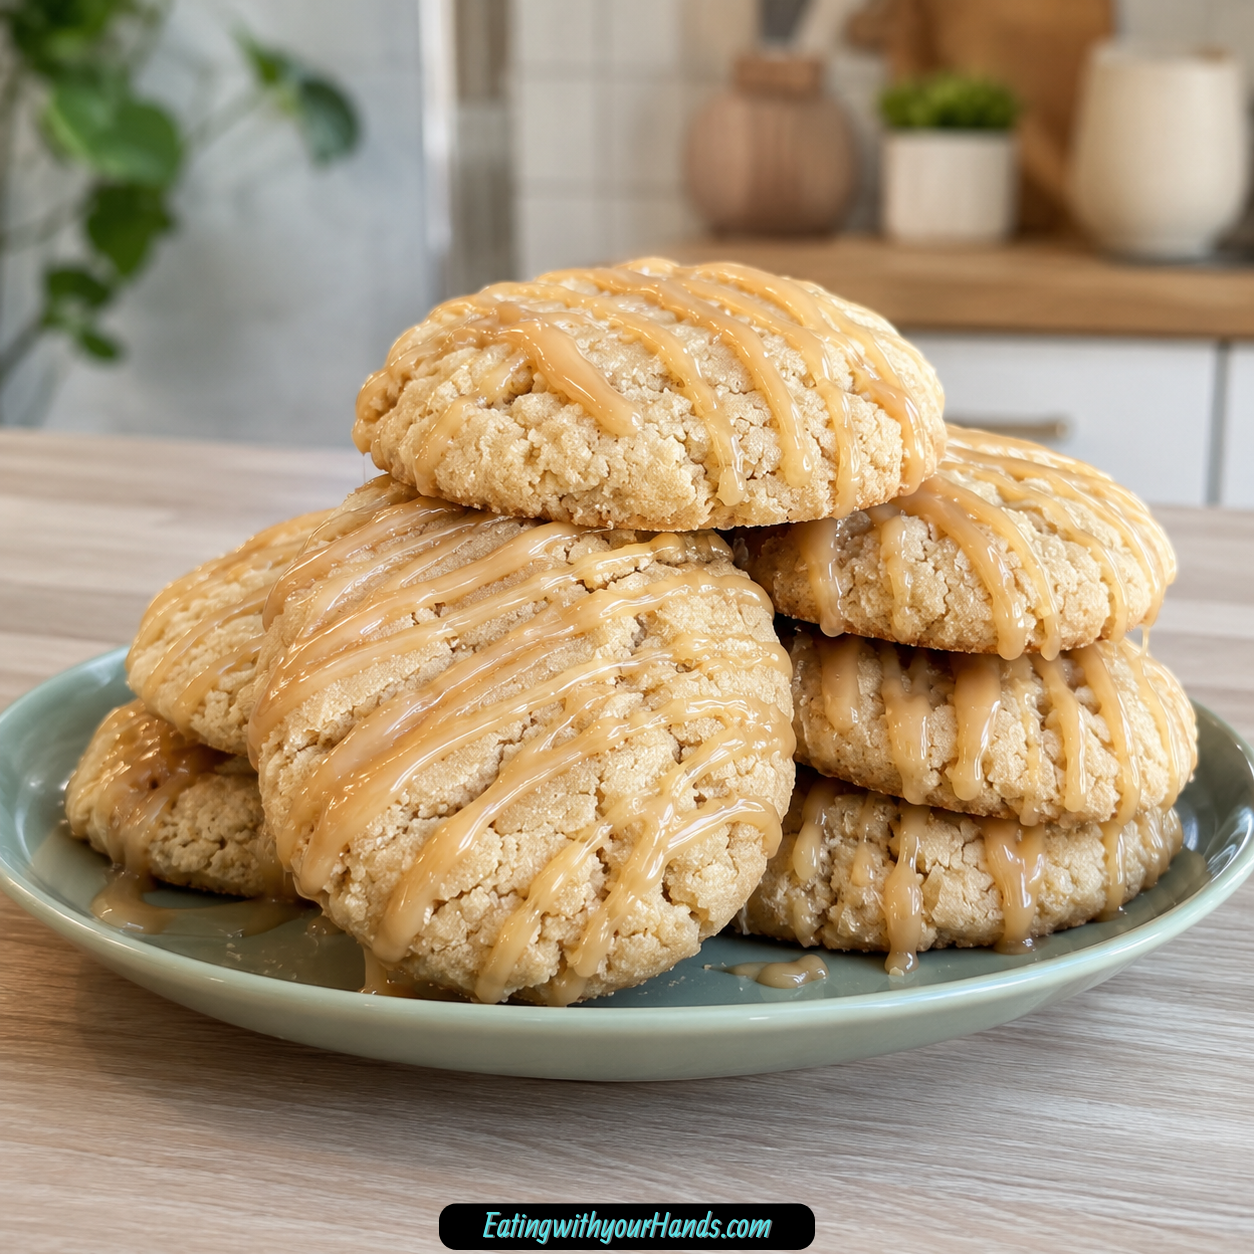
There is something quietly comforting about maple in a cookie. It does not shout the way chocolate sometimes does, and it does not need heavy frosting or complicated decoration to feel special.
These Soft Maple Sugar Cookies are tender, chewy, cozy, and full of warm maple flavor from both pure maple syrup and maple extract. They taste like a familiar sugar cookie dressed for fall, with a soft brown sugar base and a glossy maple icing that turns each cookie into a sweet little seasonal treat.
The texture is what makes them so easy to love. They bake with lightly golden edges, soft centers, and just enough chew to feel satisfying without becoming dense.
The icing is simple but beautiful. Powdered sugar, pure maple syrup, melted butter, maple extract, and a pinch of kosher salt whisk into a smooth, shiny drizzle that sets after about 15 minutes.
These cookies are perfect for lazy Sunday baking, holiday cookie swaps, fall dessert trays, cozy coffee breaks, or any afternoon when you want a homemade cookie that feels warm and nostalgic. They are simple enough for beginner bakers but flavorful enough to become one of those recipes people ask for again.
Table of Contents
- Why You’ll Love Soft Maple Sugar Cookies
- Recipe Details
- Ingredients
- Optional Variations and Add-Ins
- The Cozy Flavor Behind These Cookies
- Why Real Maple Syrup Matters
- Why the Maple Icing Works So Well
- Directions
- Step 1: Preheat the Oven
- Step 2: Prepare the Baking Sheet
- Step 3: Whisk the Dry Ingredients
- Step 4: Soften the Butter Correctly
- Step 5: Beat the Butter and Brown Sugar
- Step 6: Add the Egg
- Step 7: Add the Maple Syrup
- Step 8: Add the Vanilla and Maple Extracts
- Step 9: Add the Dry Ingredients Gradually
- Step 10: Check the Dough Texture
- Step 11: Scoop the Dough
- Step 12: Space the Cookies Properly
- Step 13: Bake the Cookies
- Step 14: Do Not Overbake
- Step 15: Cool on the Baking Sheet
- Step 16: Prepare the Powdered Sugar
- Step 17: Add the Maple Syrup to the Icing
- Step 18: Add the Melted Butter, Maple Extract, and Salt
- Step 19: Drizzle the Cooled Cookies
- Step 20: Let the Icing Set
- Serving Tips
- Storage
- Freezing
- Make-Ahead Tips
- Helpful Notes for Best Results
- Variations
- Troubleshooting
- Frequently Asked Questions
- Why These Cookies Are Perfect for Fall Baking
- Why This Recipe Works So Well
- Final Thoughts
- Soft Maple Sugar Cookies
Why You’ll Love Soft Maple Sugar Cookies
These cookies have a soft, melt-in-your-mouth texture. They are tender without being fragile, and chewy without feeling heavy.
The maple flavor is rich and layered. Pure maple syrup brings that deep, cozy sweetness, while maple extract makes the flavor more noticeable.
They are easy to make because the main recipe does not require chilling. You mix the dough, scoop it, bake it, cool the cookies, and drizzle the icing.
The brown sugar gives the cookies moisture and chew. It also adds a warm caramel-like sweetness that pairs beautifully with maple.
The maple icing looks pretty with very little effort. You can drizzle it with a spoon, pipe it, or flick it over the cookies with a fork for a rustic finish.
They are also flexible. You can add toasted pecans or walnuts, make them spiced, try a maple-bacon version, use cream cheese glaze, or turn them into cookie sandwiches.
Recipe Details
- Recipe name: Soft Maple Sugar Cookies
- Oven temperature: 350°F (175°C)
- Dough scoop size: About 1 ½ tablespoons per cookie
- Baking time: 10 to 12 minutes
- Cooling time on baking sheet: 5 minutes
- Icing setting time: About 15 minutes
- Main texture: Soft, tender, chewy, and maple-rich
- Room temperature storage: Up to 3 days
- Freezer storage: Up to 2 months
- Make-ahead tip: Bake cookies ahead, then add icing right before serving
- Optional dough chill: 15 minutes if dough is sticky, or 10 minutes if cookies spread too much
Ingredients
For the Cookies
- 2 ⅓ cups all-purpose flour
- 1 teaspoon baking soda
- ½ teaspoon kosher salt
- ½ cup unsalted butter, room temperature
- 1 cup packed light brown sugar
- 1 large egg, room temperature
- ⅓ cup pure maple syrup
- 1 teaspoon vanilla extract
- 1 teaspoon maple extract
For the Maple Icing
- ½ cup powdered sugar
- 3 tablespoons pure maple syrup
- 1 tablespoon unsalted butter, melted
- ¼ teaspoon maple extract
- Pinch of kosher salt
Optional Variations and Add-Ins
- ½ cup chopped toasted pecans
- ½ cup chopped toasted walnuts
- ½ teaspoon cinnamon
- ½ teaspoon pumpkin pie spice
- 3 strips cooked bacon, crumbled
- Cream cheese glaze made with 4 oz softened cream cheese, 1 cup powdered sugar, and 1 tablespoon milk
- Maple buttercream for cookie sandwiches
- Extra vanilla extract if skipping maple extract
- 1:1 gluten-free flour blend
- Honey in a pinch instead of maple syrup
- Cold milk
- Coffee
- Spiced cider
The Cozy Flavor Behind These Cookies
Soft Maple Sugar Cookies take the familiar comfort of a sugar cookie and give it a deeper, warmer personality. Instead of relying only on white sugar and vanilla, this version uses light brown sugar, pure maple syrup, and maple extract.
The brown sugar keeps the cookies moist and adds chew. It also brings a gentle caramel note that makes the maple taste fuller.
Pure maple syrup adds natural maple sweetness and helps give the cookies that cozy flavor that feels perfect for fall. The recipe specifically depends on real maple syrup, because pancake syrup will not give the same deep taste.
Maple extract boosts the flavor so it does not disappear during baking. It is especially helpful because cookies can soften delicate flavors once they bake.
The icing repeats the maple flavor in a glossy, sweet drizzle. It gives each cookie a finished look and adds a final layer of maple richness.
Together, the cookie and icing feel simple but complete. They are sweet, soft, tender, and full of warm maple character.
Why Real Maple Syrup Matters
Pure maple syrup is a central ingredient in these cookies. It brings a deep sweetness that tastes warmer and more natural than pancake syrup.
The original notes are clear that real maple syrup is important. Fake syrup will not provide the same rich, caramelized flavor.
Grade A or Grade B can be used, as long as it is real maple syrup. The key is choosing a syrup with actual maple depth.
The syrup goes into both the cookie dough and the icing. That means its flavor matters twice.
If you are in a pinch, honey is mentioned as a possible fallback, but the cookies will not taste the same. For the true maple sugar cookie flavor, pure maple syrup is worth using.
Why the Maple Icing Works So Well
The maple icing is simple, but it makes the cookies feel finished. It adds shine, sweetness, and a stronger maple flavor.
Powdered sugar gives the icing body. Pure maple syrup turns it into a pourable drizzle and adds the main flavor.
Melted butter gives the icing richness and a pretty glossy finish. It keeps the drizzle from tasting flat.
Maple extract is optional in the icing, but it makes the maple flavor stronger. A pinch of kosher salt helps cut the sweetness so the icing does not taste overwhelming.
The icing should be added only after the cookies are completely cool. Warm cookies can melt the icing and make it run too much.
After drizzling, the icing needs about 15 minutes to set. Once set, the cookies are easier to serve, stack with parchment, or pack for sharing.
Directions
Step 1: Preheat the Oven
Preheat your oven to 350°F (175°C). Let it fully heat while you prepare the dough.
A fully preheated oven helps the cookies bake evenly. Since the bake time is only 10 to 12 minutes, the starting temperature is important.
Set out your baking sheet, parchment paper or silicone mat, mixing bowls, and cooling rack. Having everything ready makes the process smooth.
Step 2: Prepare the Baking Sheet
Line a baking sheet with parchment paper or a silicone mat. This prevents sticking and makes cleanup easier.
The cookies will spread slightly as they bake, so a lined sheet helps them release cleanly. It also protects the soft bottoms when they come out of the oven.
Set the prepared sheet aside. You will scoop the dough directly onto it after mixing.
Step 3: Whisk the Dry Ingredients
In a medium bowl, whisk together 2 ⅓ cups all-purpose flour, 1 teaspoon baking soda, and ½ teaspoon kosher salt. Mix until evenly combined.
Whisking the dry ingredients first helps distribute the baking soda and salt. This prevents uneven texture or salty pockets in the cookies.
Measure the flour by spooning it into the measuring cup and leveling it off. Do not pack it down, because too much flour can make the cookies dense.
Step 4: Soften the Butter Correctly
Use ½ cup unsalted butter at room temperature. The butter should be soft enough to leave a dent when pressed, but not oily or melted.
If using the microwave to soften it, use 5-second bursts. Stop as soon as the butter is softened.
Proper butter texture matters because it affects spreading. Butter that is too warm can make the cookies spread more than intended.
Step 5: Beat the Butter and Brown Sugar
Place the softened butter in a large bowl. Add 1 cup packed light brown sugar.
Beat them together until light and fluffy. This should take about 2 to 3 minutes with a hand mixer.
Scrape down the sides of the bowl as needed. Small pockets of unmixed butter can hide along the edges, and scraping helps keep the dough even.
Step 6: Add the Egg
Add 1 large room-temperature egg to the butter and sugar mixture. Beat until the egg is fully incorporated.
A room-temperature egg blends more smoothly than a cold one. This helps create a more even dough.
Mix only until smooth. The dough base should look creamy before the syrup and extracts are added.
Step 7: Add the Maple Syrup
Pour in ⅓ cup pure maple syrup. Beat until the syrup is blended into the dough base.
The mixture may loosen slightly because maple syrup is liquid. That is normal.
Use real maple syrup for the best flavor. This is one of the most important ingredients in the recipe.
Step 8: Add the Vanilla and Maple Extracts
Add 1 teaspoon vanilla extract and 1 teaspoon maple extract. Beat until smooth and creamy.
Vanilla supports the maple flavor and adds warmth. Maple extract boosts the flavor so the cookies taste clearly maple-forward.
If you do not have maple extract, the notes say you can skip it and increase the vanilla to 2 teaspoons. The flavor will be less intensely maple, but still delicious.
Step 9: Add the Dry Ingredients Gradually
Add the dry ingredients to the wet mixture gradually. Mix on low speed just until everything comes together.
Do not overmix. Overmixing can make the cookies less tender.
Stop once you no longer see dry flour. The dough should be soft and scoopable.
Step 10: Check the Dough Texture
The dough should be soft but manageable. It should hold together when scooped.
If the dough clings to your hands or feels too sticky, chill it for 15 minutes. Warm kitchens can soften the butter and make the dough harder to handle.
The main recipe does not require chilling, but this short rest is helpful if needed. It keeps the process forgiving.
Step 11: Scoop the Dough
Scoop about 1 ½ tablespoons of dough per cookie. Try to keep the portions even.
Even cookie sizes bake more consistently. A cookie scoop is helpful, but a spoon works too.
Place the dough portions on the prepared baking sheet. Leave space between each one.
Step 12: Space the Cookies Properly
Arrange the dough scoops about 2 inches apart. The cookies will spread slightly as they bake.
Do not crowd the baking sheet. If needed, bake in batches.
Proper spacing helps the cookies keep their shape. It also prevents them from joining together during baking.
Step 13: Bake the Cookies
Bake the cookies at 350°F (175°C) for 10 to 12 minutes. Watch the edges carefully.
The cookies are done when the edges are just starting to turn golden brown. The centers should still look slightly underbaked.
That soft-looking center is important. It helps create the chewy, tender texture after the cookies cool.
Step 14: Do Not Overbake
Avoid baking until the centers look fully firm. The cookies will continue to set on the baking sheet.
Overbaking can make them less soft. Pull them when the edges are lightly golden and the centers still look gentle.
This is the secret to keeping the texture soft and chewy. The 5-minute baking sheet rest finishes the job.
Step 15: Cool on the Baking Sheet
Let the cookies cool on the baking sheet for 5 minutes. They need this time to firm up.
Do not move them immediately because they are soft when hot. A short rest prevents breaking.
After 5 minutes, transfer them carefully to a wire rack. Let them cool completely before icing.
Step 16: Prepare the Powdered Sugar
Add ½ cup powdered sugar to a small bowl. If it is lumpy, sift it first.
Sifting may feel like a small extra step, but it makes the icing smoother. Lumps are harder to remove once the liquid ingredients are added.
The powdered sugar forms the base of the maple icing. It gives the drizzle body and sweetness.
Step 17: Add the Maple Syrup to the Icing
Add 3 tablespoons pure maple syrup to the powdered sugar. Whisk until the mixture begins to smooth out.
The syrup provides both liquid and flavor. It is the heart of the icing.
Use the same real maple syrup rule here. The icing tastes best when the maple flavor is deep and genuine.
Step 18: Add the Melted Butter, Maple Extract, and Salt
Add 1 tablespoon melted unsalted butter, ¼ teaspoon maple extract, and a pinch of kosher salt. Whisk until smooth and glossy.
The melted butter adds richness and shine. The salt balances the sweetness.
The maple extract intensifies the flavor, but it can be skipped if needed. If skipping it, the icing will be milder.
Step 19: Drizzle the Cooled Cookies
Make sure the cookies are completely cool before icing. Warm cookies can cause the icing to melt and slide off.
Drizzle the icing over the cookies with a spoon, piping bag, or fork. A fork creates a rustic back-and-forth pattern.
Do not worry about making every cookie identical. The drizzle is meant to look homemade and inviting.
Step 20: Let the Icing Set
Let the icing set for about 15 minutes before serving. This helps the drizzle firm enough to touch lightly.
If you prefer a messier cookie, you can eat them sooner. The flavor will be the same, but the icing will be softer.
For stacking or packing, wait until the icing has set. Use parchment paper between layers.
Serving Tips
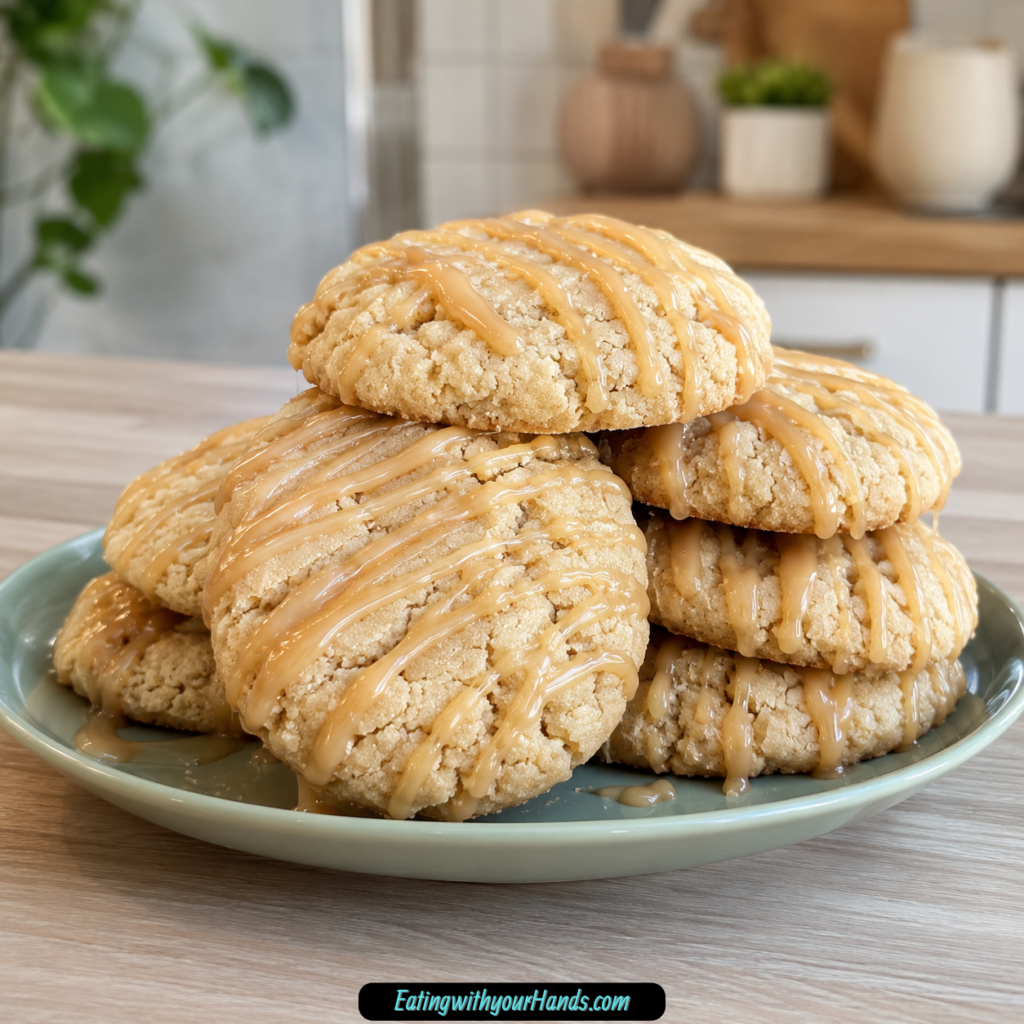
Serve these cookies once the icing has set for about 15 minutes. This makes them easier to pick up and keeps the drizzle looking pretty.
They are delicious with a glass of cold milk. The maple and brown sugar flavor also pairs beautifully with coffee.
Spiced cider is another cozy option. It makes the cookies feel especially autumnal.
For a cookie swap or party, place the cookies in a single layer until the icing is firm. After that, stack them carefully with parchment paper.
If serving them as part of a dessert tray, their glossy maple drizzle adds a beautiful finish. They look simple, warm, and homemade.
Storage
Store the cookies in an airtight container at room temperature for up to 3 days. Let the icing set before storing.
If stacking, place parchment paper between the layers. This prevents the icing from sticking to the cookies above it.
Keep the container sealed tightly. Air exposure can dry out soft cookies.
These cookies are best fresh, but they are still wonderful the next day. The maple flavor remains cozy and sweet.
Freezing
These cookies freeze well. Store them in a freezer-safe bag or container for up to 2 months.
For the prettiest make-ahead result, bake the cookies and wait to add the icing until right before serving. This keeps them looking fresh.
Thaw frozen cookies at room temperature. Once thawed, add the maple icing if you froze them plain.
If freezing already iced cookies, use parchment between layers. Handle gently so the icing does not crack or stick.
Make-Ahead Tips
For parties, bake the cookies ahead of time and store them without icing. Add the icing closer to serving.
This helps the cookies stay fresh and keeps the drizzle glossy. It also prevents the icing from getting damaged during storage.
You can prepare the icing shortly before using it. Whisk until smooth and drizzle over completely cooled cookies.
Let the icing set for 15 minutes before arranging them on a platter. This makes them easier to serve cleanly.
Helpful Notes for Best Results
Use pure maple syrup, not pancake syrup. The flavor will be deeper and more authentic.
Make sure the baking soda is fresh. Old baking soda can affect spread and texture.
If using table salt instead of kosher salt, reduce the amount to ¼ teaspoon. Table salt is finer and saltier by volume.
If the dough is sticky, chill it for 15 minutes. This is especially useful in warm kitchens.
If the cookies spread too much, check the butter temperature and baking soda freshness. You can also chill the dough scoops for 10 minutes before baking.
If you want a less sweet cookie, reduce the brown sugar to ¾ cup and skip the icing. The cookies will still be delicious.
Variations
Nutty Maple Sugar Cookies
Fold ½ cup chopped toasted pecans or walnuts into the dough. The nuts add crunch and pair beautifully with maple.
Toasting the nuts first gives them more flavor. Let them cool before adding to the dough.
This variation is perfect for fall cookie trays. Maple and nuts are a natural match.
Spiced Maple Sugar Cookies
Add ½ teaspoon cinnamon or pumpkin pie spice to the dry ingredients. This gives the cookies a warmer autumn flavor.
The spice should support the maple, not overpower it. Keep the amount modest.
This version is lovely with coffee or spiced cider. It makes the cookies feel even cozier.
Maple-Bacon Cookies
Crumble 3 strips of cooked bacon into the dough. Skip the icing for this version.
The bacon creates a salty-sweet cookie with a savory edge. It is a bold variation for people who love maple-bacon flavor.
Make sure the bacon is cooked and crumbled before adding it. Fold it in gently at the end.
Cream Cheese Glaze Version
Swap the maple icing for a cream cheese glaze. Mix 4 oz softened cream cheese with 1 cup powdered sugar and 1 tablespoon milk.
This gives the cookies a tangier finish. It changes the flavor but still keeps the cookie soft and sweet.
Drizzle or spread the glaze over cooled cookies. Let it set slightly before serving.
Maple Cookie Sandwiches
Skip the drizzle and sandwich two cookies with maple buttercream in the middle. This turns the cookies into a richer dessert.
Use cookies of similar size for the neatest sandwiches. Add just enough buttercream to hold them together without spilling out.
This version is especially fun for holiday trays. It makes the cookies feel more like a bakery treat.
Gluten-Free Version
Swap the all-purpose flour for a 1:1 gluten-free flour blend. The texture may vary slightly.
Keep the same method and watch the baking cues. The edges should be lightly golden, and the centers should remain soft.
Troubleshooting
Why Is My Dough Too Sticky?
The butter may be too warm, or the kitchen may be warm. Chill the dough for 15 minutes.
Soft dough is common with maple syrup in the mixture. A short chill makes it easier to scoop.
Do not add too much extra flour. Extra flour can make the cookies dry.
Why Did My Cookies Spread Too Much?
The butter may have been too soft, or the baking soda may not be fresh. Check both before the next batch.
Chilling the dough scoops for 10 minutes before baking can help. This gives the dough more structure going into the oven.
Make sure the baking sheet is not hot when adding dough. A warm pan can make cookies spread early.
Why Are My Cookies Dry?
Too much flour is a common reason. Spoon and level the flour instead of packing it.
Overbaking can also dry them out. Remove the cookies when the edges are just golden and the centers still look slightly underbaked.
The cookies firm as they cool. Do not wait for them to look fully done in the oven.
Why Is My Icing Lumpy?
The powdered sugar may not have been sifted. Sift it first if it looks lumpy.
Whisk the icing thoroughly until glossy. If needed, press small lumps against the side of the bowl.
A smooth icing looks better when drizzled. It also sets more evenly.
Why Is My Icing Too Sweet?
Add a tiny pinch more kosher salt to balance it. Salt cuts sweetness and makes the maple flavor clearer.
You can also drizzle less icing on each cookie. The cookies themselves already carry maple flavor.
If you prefer a less sweet version overall, reduce the brown sugar and skip the icing next time. This is included in the recipe notes.
Frequently Asked Questions
Can I Skip the Maple Extract?
Yes, you can skip it. Increase the vanilla extract to 2 teaspoons instead.
The cookies will still taste good, but they will be less maple-forward. Maple extract gives the flavor a stronger boost.
Why Did My Cookies Spread Too Much?
Usually the butter was too soft, or the baking soda was no longer fresh. Try chilling the dough for 10 minutes before baking.
Make sure the butter is room temperature, not oily or melted. Fresh leavening matters, too.
Can I Use Pancake Syrup Instead of Real Maple Syrup?
No, pancake syrup will not give the same flavor. The recipe depends on real maple syrup for that deep, caramelized maple taste.
If you are in a pinch, honey is mentioned as an alternative. However, real maple syrup is the best choice for the intended cookie.
Can I Make These Gluten-Free?
Yes, use a 1:1 gluten-free flour blend. The texture may be slightly different.
Watch for the same doneness signs. The edges should be lightly golden, while the centers stay soft.
Can I Freeze These Cookies?
Yes, freeze them in a freezer-safe bag or container for up to 2 months. Thaw at room temperature before serving.
For the best appearance, freeze them without icing and drizzle the icing after thawing. This keeps the cookies prettier for parties.
Can I Make Them Less Sweet?
Yes, reduce the brown sugar to ¾ cup and skip the icing. They will still have maple flavor from the syrup and extract.
This version is less indulgent but still cozy. It is a good choice if you prefer a softer sweetness.
Can I Use Table Salt Instead of Kosher Salt?
Yes, but reduce the cookie dough salt to ¼ teaspoon if using table salt. Table salt is finer and tastes saltier by measurement.
For the icing, use only a small pinch. Taste and adjust carefully.
Can I Add Nuts?
Yes, add ½ cup chopped toasted pecans or walnuts. The nuts add crunch and pair well with maple.
Fold them into the dough after mixing. Do not overmix after adding them.
Why These Cookies Are Perfect for Fall Baking
Soft Maple Sugar Cookies have a gentle fall flavor that feels warm without being too heavy. They are not loaded with pumpkin or spice, but the maple makes them taste seasonal.
They also fit holiday baking because they look pretty after icing. The glossy drizzle adds shine without requiring complicated decoration.
They are easy enough for a relaxed weekend. There is no required chill time, no rolling pin, and no cookie cutter.
They travel well once the icing sets. This makes them useful for cookie swaps, parties, and edible gifts.
The flavor is familiar but different from plain sugar cookies. Maple syrup and maple extract give them a special twist.
Why This Recipe Works So Well
This recipe works because it balances soft texture with strong maple flavor. Brown sugar keeps the cookies tender and chewy, while maple syrup adds moisture and depth.
Butter gives richness, and the egg helps bind the dough. Baking soda gives the cookies just enough spread and lift.
Kosher salt balances the sweetness in both the dough and icing. That keeps the maple flavor from becoming too sugary.
The cookies are pulled from the oven when the edges are just golden and the centers still look soft. This preserves the tender texture.
The icing adds the final layer of flavor and shine. Once set, it makes the cookies feel complete.
Final Thoughts
Soft Maple Sugar Cookies are a cozy twist on classic sugar cookies, made with brown sugar, real maple syrup, maple extract, and a simple glossy maple icing. They are soft, chewy, tender, and full of warm maple flavor without needing complicated steps.
The method is simple and dependable. Whisk the dry ingredients, beat butter with brown sugar, add egg, maple syrup, vanilla, and maple extract, mix in the flour mixture, scoop the dough, and bake at 350°F (175°C) for 10 to 12 minutes.
Let the cookies rest on the baking sheet for 5 minutes before moving them to a wire rack. Once completely cool, drizzle with maple icing and let it set for about 15 minutes.
Serve them with milk, coffee, or spiced cider, and store them in an airtight container for up to 3 days. Whether you make them for a holiday cookie swap, a cozy afternoon treat, or a fall baking day, these cookies bring soft texture and rich maple sweetness to every bite.
Soft Maple Sugar Cookies
These soft maple sugar cookies are tender, warmly sweet, and full of cozy maple flavor. Light brown sugar, pure maple syrup, vanilla extract, and maple extract give the cookies a rich sweetness with a soft, bakery-style bite. A simple maple icing finishes each cookie with a smooth, sweet topping that makes them perfect for fall baking, holiday dessert trays, or a comforting cookie treat with coffee or tea.
Recipe Details
- Course: Dessert
- Cuisine: American
Ingredients
For the Maple Icing
- ½ cup powdered sugar
- 3 tablespoon pure maple syrup
- 1 tablespoon unsalted butter melted
- ¼ teaspoon maple extract
- 1 pinch kosher salt
For the Cookies
- 2 ⅓ cups all-purpose flour
- 1 teaspoon baking soda
- ½ teaspoon kosher salt
- ½ cup unsalted butter room temperature
- 1 cup packed light brown sugar
- 1 large egg room temperature
- ⅓ cup pure maple syrup
- 1 teaspoon vanilla extract
- 1 teaspoon maple extract
Instructions
Step 1: Prepare the Baking Sheet
Line a baking sheet with parchment paper. Prepare the oven according to the temperature from your original recipe source, since the provided recipe does not include a specific baking temperature.
Step 2: Mix the Dry Ingredients
In a bowl, whisk together the all-purpose flour, baking soda, and kosher salt until evenly combined.
Step 3: Cream the Butter and Brown Sugar
In a separate large bowl, beat the room temperature unsalted butter with the packed light brown sugar until smooth and creamy.
Step 4: Add the Maple and Vanilla
Mix in the room temperature egg, pure maple syrup, vanilla extract, and maple extract until the wet mixture is fully combined.
Step 5: Make the Cookie Dough
Gradually add the dry ingredients to the maple mixture. Mix just until a soft cookie dough forms and no dry streaks remain.
Step 6: Shape the Cookies
Scoop the dough into cookie portions and place them on the prepared baking sheet, leaving space between each cookie.
Step 7: Bake the Cookies
Bake according to the time from the original recipe source, since the provided recipe does not include a specific baking time. The cookies should be set around the edges and soft in the centers.
Step 8: Cool Completely
Let the cookies cool on the baking sheet briefly, then transfer them to a wire rack. Allow them to cool completely before adding the icing.
Step 9: Make the Maple Icing
In a bowl, stir together the powdered sugar, pure maple syrup, melted unsalted butter, maple extract, and kosher salt until smooth.
Step 10: Ice the Cookies
Spoon, spread, or drizzle the maple icing over the cooled cookies. Let the icing set slightly before serving or storing.
Serving Suggestions
- Serve with hot coffee or tea.
- Pair with a glass of cold milk.
- Add to fall cookie trays or holiday dessert boards.
- Package in cookie boxes for homemade gifts.
- Serve with warm apple cider for a cozy seasonal treat.
Storage
How to Store
Store the fully cooled and iced cookies in an airtight container once the icing has set.
How to Freeze
Freeze the cookies without icing in a freezer-safe airtight container. Thaw completely before adding the maple icing.
Best Texture Tip
Cool the cookies completely before icing them so the maple icing stays smooth and sets nicely on top instead of melting into the cookies.

Fernando is the creator and writer behind the food blog Eating with your Hands. Living and working in cities like Paris, Barcelona, and Berlin, and being married to a Canadian foodie, has given Fernando a passion and interest in food and inspired him to run EWYH.