
If you’re someone who absolutely adores sausages, there’s nothing quite like the satisfaction of crafting your very own. It’s not just a culinary adventure but also incredibly fulfilling.
But here’s the thing: to get those sausages just right, you need to master the art of tying and cutting sausage links. It might sound a tad intimidating, but don’t worry!
In this handy guide, we’re going to walk you through it step by step, so you can do it like a seasoned pro. So, let’s dive in and learn how to create sausage perfection!
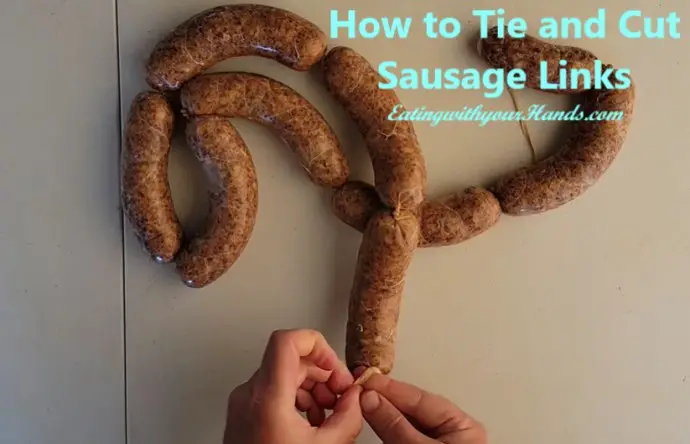
Table of Contents
How to Tie Sausage Links: A Step-by-Step Guide
Tying the sausage links is a crucial step in the process, and it requires some skill and patience. In this section, we’ll take you through the steps of tying them like a pro.
Choosing the Right Casings
There are a few different types of sausage casings to choose from, so it’s important to pick the right one for your needs. Natural casings, made from animal intestines, are great for traditional sausages. They provide a tender, flavorful casing that’s hard to beat.
Synthetic casings, on the other hand, are made from cellulose or collagen and are ideal for sausages that require uniformity in size and shape.
Preparing the Casings
Alright, let’s get down to business!
Now, if you’re rocking natural casings, soak ’em in water for a solid half-hour to make ’em nice and pliable. But if you’re going with synthetic casings, no need for a soak – they’re good to go as is.
Stuffing those casings with your delicious meat filling. Grab a sausage stuffer or use a grinder attachment – whichever suits your fancy. Just remember, don’t go overboard with the filling!
If you pack it in too tightly, you risk your casing going boom during the tying phase. Leave a little room for air in there; it’ll help keep things from getting explosive. Time to sausage-making success!
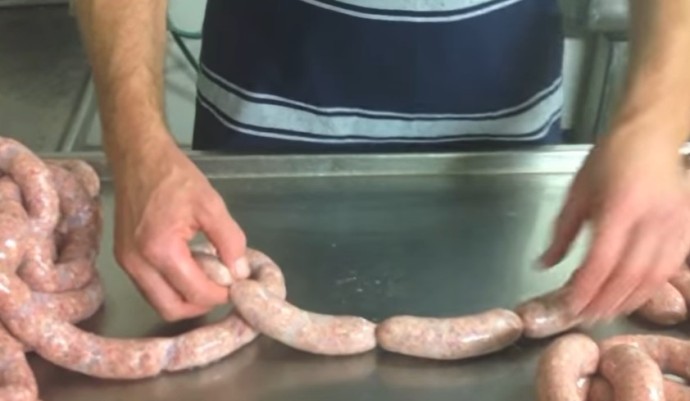
Tying the Links
Step 1: Measure and Nip
Start by measuring about 5 inches of the filled casing and give it a gentle pinch using your thumb and forefinger. You want to make a noticeable dent without poking through the casing.
Step 2: Twist
Hold the casing at both ends of the pinched spot and gently twist it in the same direction, at least five or six times.
Step 3: Repeat
Repeat this twisting process along the length of the casing until you’ve reached the end. If you happen to spot any air holes caused by the twisting, grab a toothpick and carefully puncture them to release any trapped air.
Step 4: Refrigerate
Once you’ve successfully tied all, pop them in the refrigerator for a solid 24 hours. Hanging them is ideal to ensure even drying, but if space is tight, simply place them on a baking sheet on a fridge shelf – that’ll do the trick.
Step 5: Turn
To make sure your sausages dry uniformly, give them a few turns throughout that 24-hour resting period.
Adjusting the Sausage Length
Finally, it’s worth noting that the length of your sausage links is totally up to you. While 12.7 centimeters (5 inches) is the standard length, you can adjust it to your liking.
Just be consistent with your measurements to ensure your sausages cook evenly.
How to Easily Cut Sausage Links at Home
First off, make sure your sausages are at the right temperature. If they’re too sticky, you’ll have a tough time separating them from their casings.
So, take those sausages out of the fridge and let them dry out a bit. Once they’re nice and dry, you’re good to go for the cutting process.
Now, let’s talk tools. You’re going to need a sharp knife with a pointed tip for this job and make sure your workspace is clean and flat.
Alright, let’s get to the fun part – cutting those sausages. Here’s your step-by-step guide:
-
- Take the sausage casing out of the fridge and place it on a clean surface. Ensure that the sausage links are dry.
-
- Use the tip of your sharp knife to carefully cut each link, one by one. Be super cautious not to cut into the casing itself.
-
- It’s best to do this sausage surgery before you start cooking them. Trust me; it’s way easier that way.
-
- If you want to remove the entire casing, you can do that now. However, keep in mind that this might make the sausage lose its shape during cooking.
-
- Speaking of casings, they’re edible! You don’t have to remove them if you don’t want to. Some folks prefer to take off the casing after cooking, but be warned; it can lead to the sausage falling apart.
-
- If you do decide to go casing-free after cooking, wait for the sausages to cool down. You can even give them a quick rinse with cold water. Doing this when they’re cold makes it a whole lot easier to slip off the casing.
>>Read: How to Cut Sausage Without It Falling Apart
Expert Tips and Techniques for Tying and Cutting Sausage Links

To ensure that your sausage-making experience goes smoothly, we’ve compiled some tips for tying and cutting them.
Prepare Everything Beforehand
Before you even start, ensure that you have everything ready. This includes your sausage casings, which should be rinsed with cold water and soaked for about 10 minutes. This step cleans and softens the casings, making it easier to stuff them.
Use Butcher’s Twine
When it comes to tying, go for butcher’s twine, a thin rope that you can use to secure each pinched spot. This ensures the links are tightly closed and your delicious filling stays put.
Remember to poke any pesky air bubbles in the casing to prevent mold or bacteria.
Leave Some Air Inside the Casings
While it’s tempting to stuff your casings to the max, remember to leave some room for air. Overfilling can lead to bursting during cooking, and nobody wants that mess. Balance is key, so ensure there’s enough space for air circulation.
Reuse Your Casings
If you have extra casings or decide to remove them post-cooking, don’t toss them out. You can reuse them for your next batch of sausages. This is especially handy for natural casings, which usually come brined.
Simply wash, dry, and store them in your fridge for up to a year.
Try the Clockwise and Counterclockwise Method
When it comes to tying, there are two methods to try. One involves twisting each link in opposite directions, sort of like a dance between clockwise and counterclockwise twists. Alternatively, you can twist all the links in one direction. Experiment with both to see which suits your style.
Freeze the Sausage Before Cutting the Links
If you’re planning to slice those sausage links, pop them in the freezer for 15 to 20 minutes before you do the deed. This makes the sausages firmer, resulting in cleaner, more precise cuts.
It’s especially handy if you find the filling sticking to the casing.
>Aslo read: Sausage Smells Like Rotten Eggs<
Conclusion
Now that you know how to tie and cut sausage links like a pro, you can impress your family and friends with your newfound skills.
Remember to be patient and practice regularly to improve your technique.
With these simple steps, you’ll be able to produce perfectly tied and cut sausage links every time.
cut the casing
making sausage, sausage sausages, deer sausage, smoking, homemade sausage, way, end, end, end, end, point, point, one, one, one, one, end of the sausage, sausage to lose its shape, making links, decide to remove the casing, sausage to fall apart, don’t have enough room, don’t need to throw, end of the casing, making your own sausages, first link in one direction, individual links, around each pinched spot, place the sausage, twist the first link, remove the sausage

Fernando is the creator and writer behind the food blog Eating with your Hands. Living and working in cities like Paris, Barcelona, and Berlin, and being married to a Canadian foodie, has given Fernando a passion and interest in food and inspired him to run EWYH.